Pin It button on image hover
Showing posts with label pieces of fabric. Show all posts

Sunday, January 9, 2011

Reverse Applique Tutorial

Reverse Applique Tut...Tut....Tutorial

This is a very simple technique that you can do perfectly, or not so perfectly.  If you have been afraid to sew because of being afraid to make mistakes...this is a PERFECT beginner project!!


So here is what I did: Gathered supplies needed:
1. fusible interfacing
2. solid colored t shirt (handmade OR store bought) ;)
3. sharp...did I say sharp scissors
4. sewing machine and thread
5. seam ripper (just in case)...just saying! ;)


Decide what you want to applique, for your first project, maybe start off with something simple that has a simple shape, like a flower or a heart.  For my tutorial, I have decided to make a Transformer's shirt for my son. 

I cut a piece of the interfacing a tad bit larger than my design and ironed it onto the wrong side of my fabic. I then found the Transformer autobot (VERY important to differentiate that) logo :) I started to draw it on the interfacing.  Again, if you think your artistic skills are a bit short of Rembrandt...so are mine.  This project is forgiving.

Ok the fun step....I turned the shirt inside out, I pinned the fabric with the interfacing facing me and started to sew a straight stitch around the perimeter.
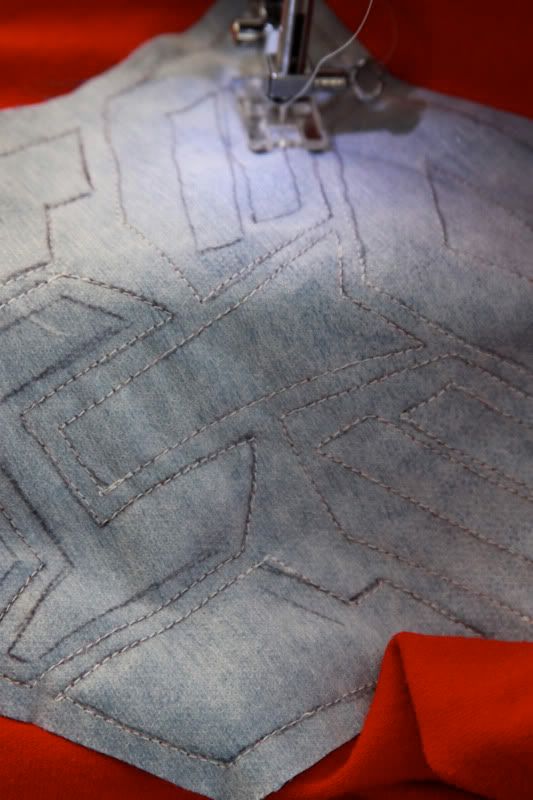


MAKE VERY VERY sure that as you are tracing your lines, you do not get the bottom of the shirt caught underneath the needle, sew it together as one piece and then pull your hair out in frustration...just saying ;)
Another **Tip** is that I back stitched at the beginning and end of each line (look at the pic below and you can see where the stitching is a little darker at the edges)
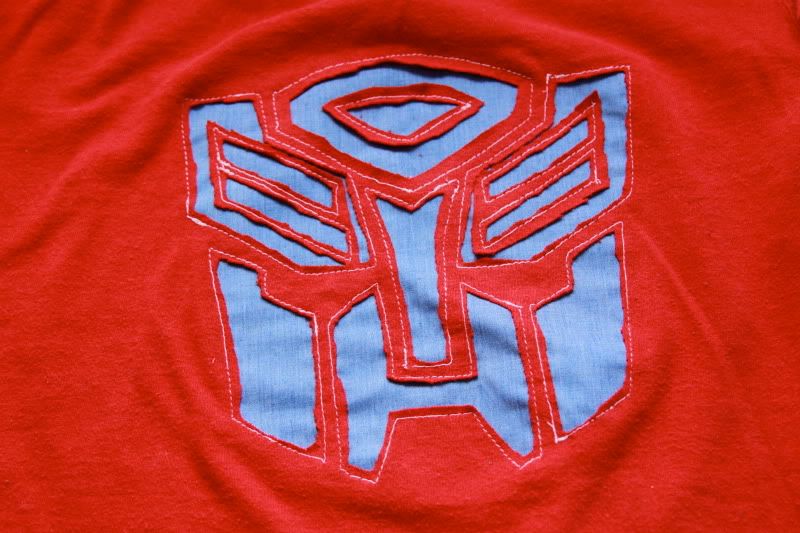
Once you have finished your stitching, turn your shirt back to the right side, and it should look something like this:


As you can see, it is not perfect, but with this type of applique, that is ok, almost better. Also I only stitched around once.


Now take out you sharpest scissors (also the smaller the better when trying to get into small spaces) Clip away at the areas that YOU want to see the under lying fabric come through on the design.


clip clip clip away....until you are happy with your design! (also keep in mind that once you wash it, the knit fabric will curl a little)


Here's mine:


Cute...hugh?


Hugs and Blessings!
Ingrid

Tuesday, November 30, 2010

Applique

Applique 101 Part ONE {SEW ALONG}

Because we have had such success in our first MONTH of running Karatootie.  As a Thank You to all of our readers and Followers, I have decided to give you a secret glimpse into my applique.


When I first discovered the world of Boutique clothing and appliques, I learned one thing FAST, no one would give away their tricks.  As a (fairly) crafty mom of a new baby girl, I wanted to dig my hands right in and learn.  I didn't have anyone to teach me, so I just started playing around, making up my own techniques as I went along.  I love to hear that other new moms want to make goodies for their little ones, something that can be passed on for generations.  I always say that if I could do it, anyone can! (REALLY)  If you are intimidated, don't be, just try it, and really the worst case is, it is not as cute as you'd like.  It was still made with your precious hands, and if you enjoy the process, practice, you'll get better...I promise :)


So with that in mind, this may not be the best way, the fastest way, or easiest, but it is my way...and I want to share it with you....my newest best friends: :)


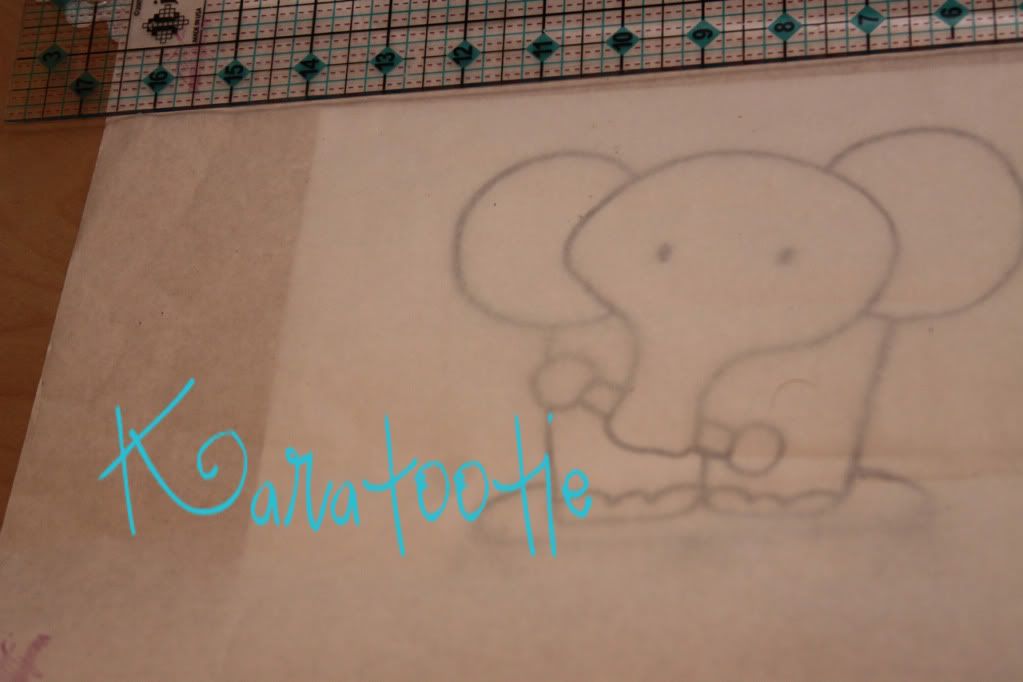
When I applique, my first step is drafting a design that I love, in this case, it is a sweet fumbling lil' elephant, I have named Mr. Saggy Bottoms.  I drew him out on unlined paper.  If I like the design enough, I go over it with a black marker to make it easier to see.  (I used to use sharpies, but after the cloud of disorientation had lifted, I decided to go with plain ol crayolas)


Next, I place my design under my heat n bond.  Remember that your design will be the opposite of however you put it on the heat n bond.  So for example here my trunk will actually end up going to the right instead of the left.  Speaking of heat n bond, I use light, which means it has less glue to gum up your needle. 


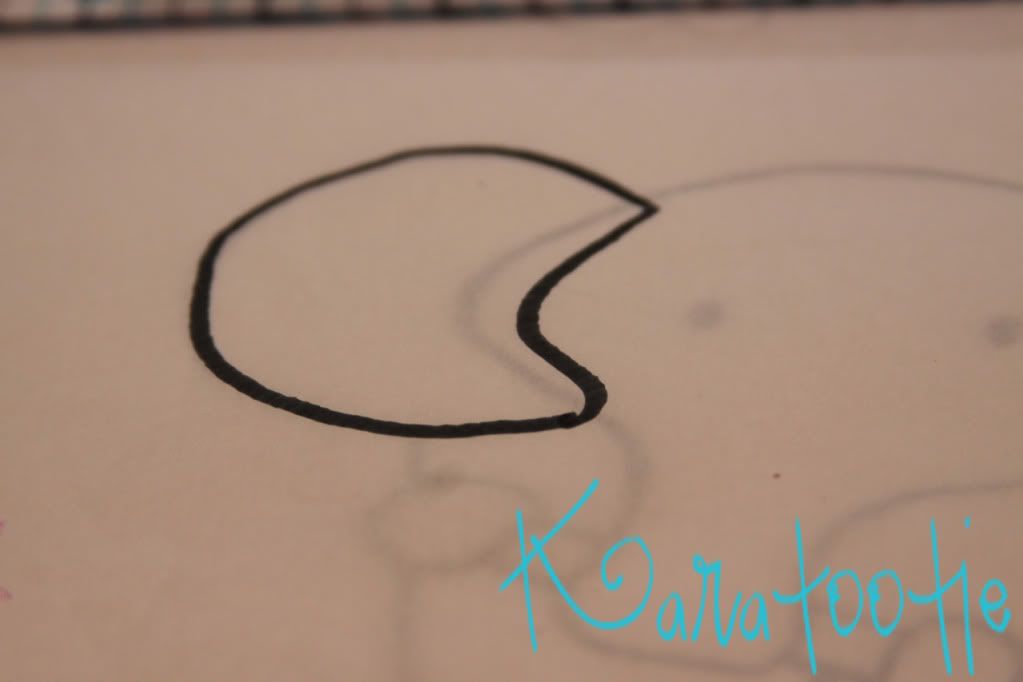
Don't put your marker down just yet, next I trace each piece Mr. Saggy Bottoms.  Starting with the ear here, and I am going to overlap it just a bit so that it can go under the face, and be more secure when we start stitching :)


Here are my pieces so far:


Go ahead and get your pieces traced out one by one and join me next week for the next steps :)


Hugs and Blessings,
Ingrid


Tuesday, November 16, 2010

Baby Doll or Pup Blanket

Hey there!  Sorry it has been so long since the last post.  We had our family dog get really sick last week and pass away this weekend.  My daughter is pretty much obsessed with animals, and when she found out (which I thought was going to be super hard) said "ok...can we get another puppy?"  Then my son, who really isn't that interested with our pets, took it very rough and is still tearing up at the mention of her name.  We are all still adjusting. 


Anyways this little tute, is dedicated to our Codi.  It is a blanket for our other furry friend Minnie.  She is a tiny little thing of a Maltese so I would really compare her with a baby doll.  So if you only have the latter, you can still make your little girl(s)very happy with a custom blanket for her little friend.


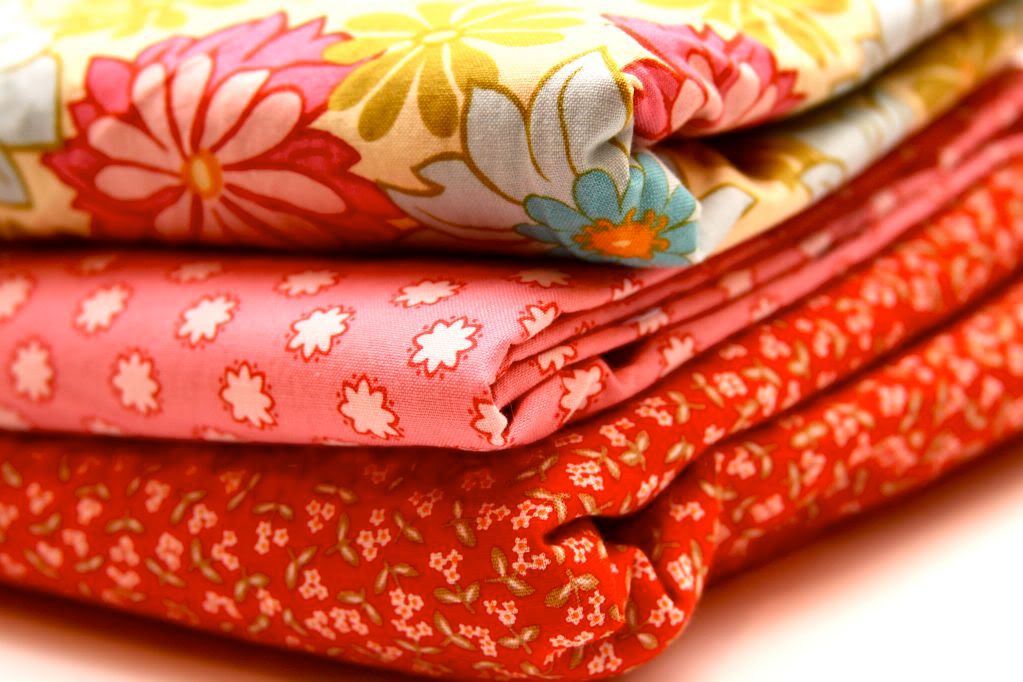
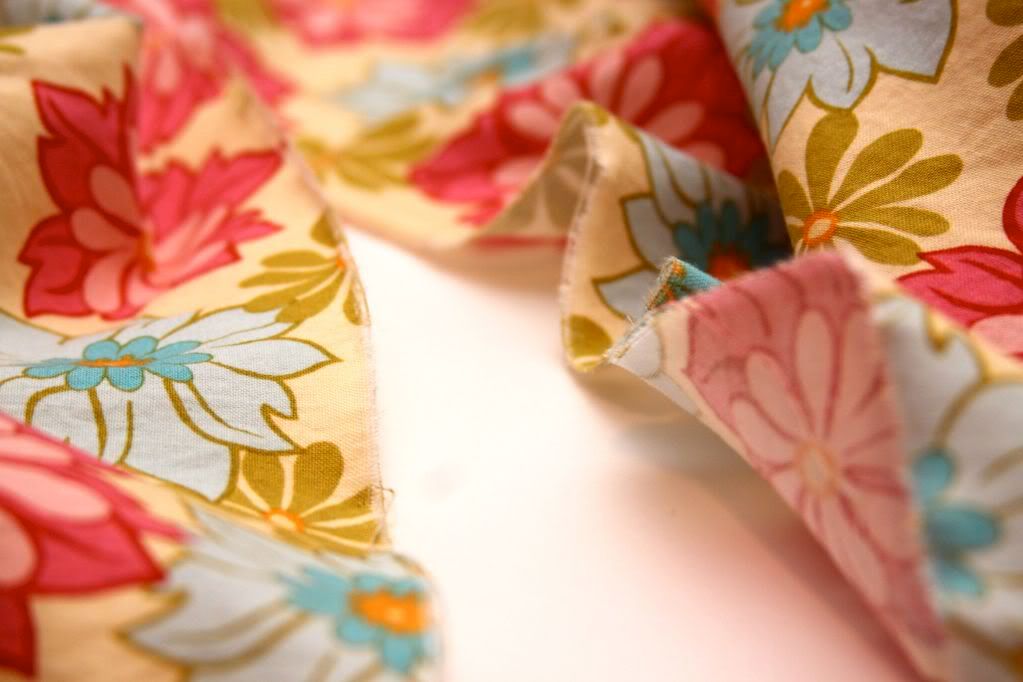
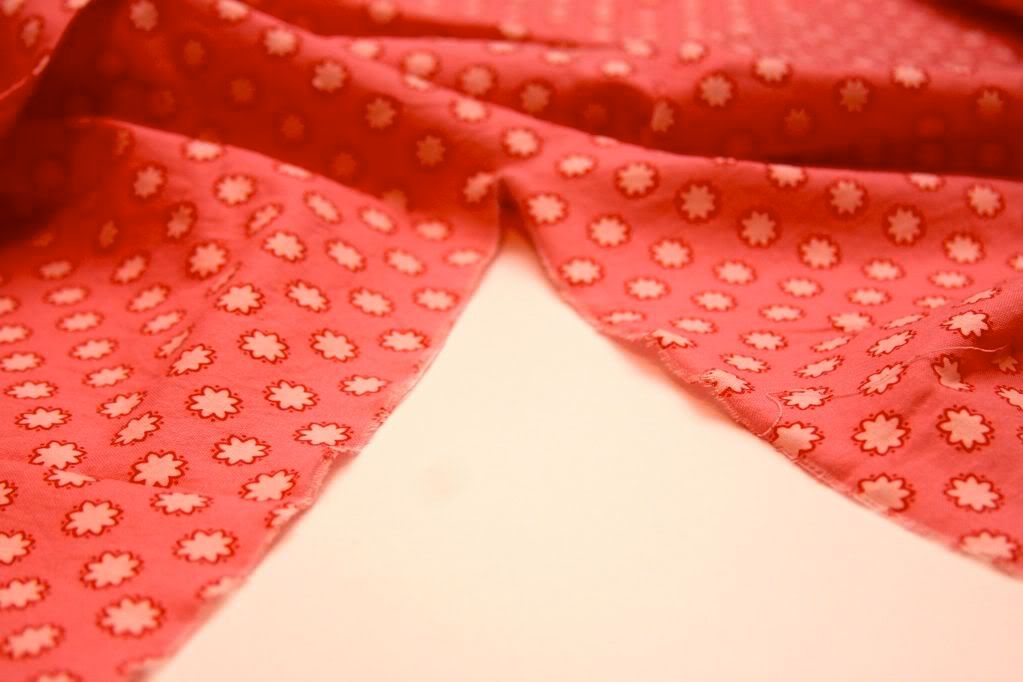
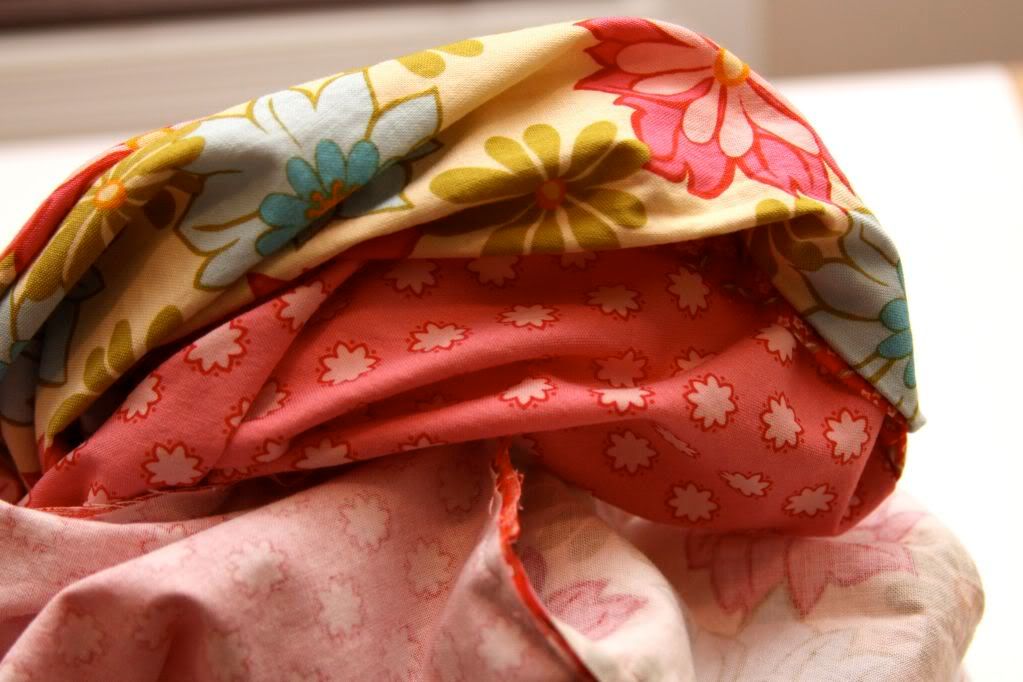
Here are the fabrics that I used.  I wanted 2 coordinating pieces for each side and a contrasting piece for the ruffle.  You can chose to do 3, 2, 1 or even 10!  Be creative!  


This is a very versatile blanket.  You can alter the colors, the dimensions, the colors, even the shape!


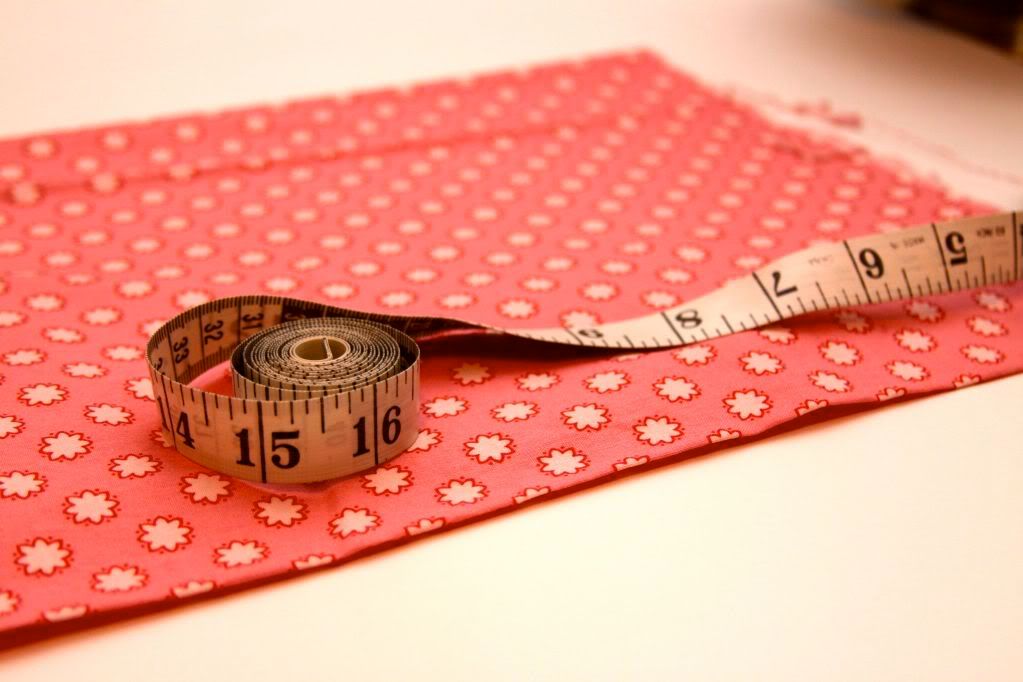
I took my 2 coordinating fabrics (using the Sandi Hendeson Ginger Blossom line) and cut each one into a 17 X 24" piece.


I actually rip my fabric, it rips right at along the grain and makes a straight line. So if you're frustrated at the end of the day, because you've already cleaned your kitchen 3 times today, snip a piece of fabric and...


RRRRRRRRIIIIIIIIIIIIIIIIIIPPPPPPPPPPP


Then measure your width to 24 and cut both pieces to that width.  (I lined mine up and cut once)


Since My piece is essentially 4 sides measuring 17 X 24 X 17 X 24 (equalling 82" total) I cut my ruffle piece 90" (this will give me some extra to play with as well). (this will not be a full ruffle and pretty much just be gathering at the corners)  To get that, I ripped two, 2" pieces salvage to salvage.  Then, sewed them together creating one long strip.


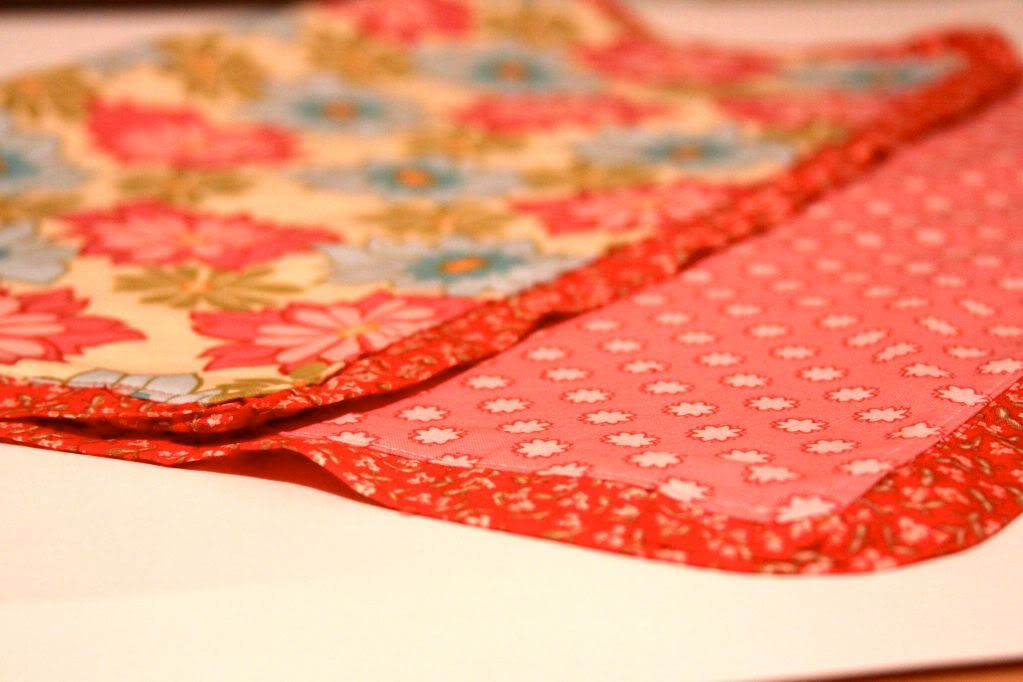
Next I put my main pieces right sides together. 


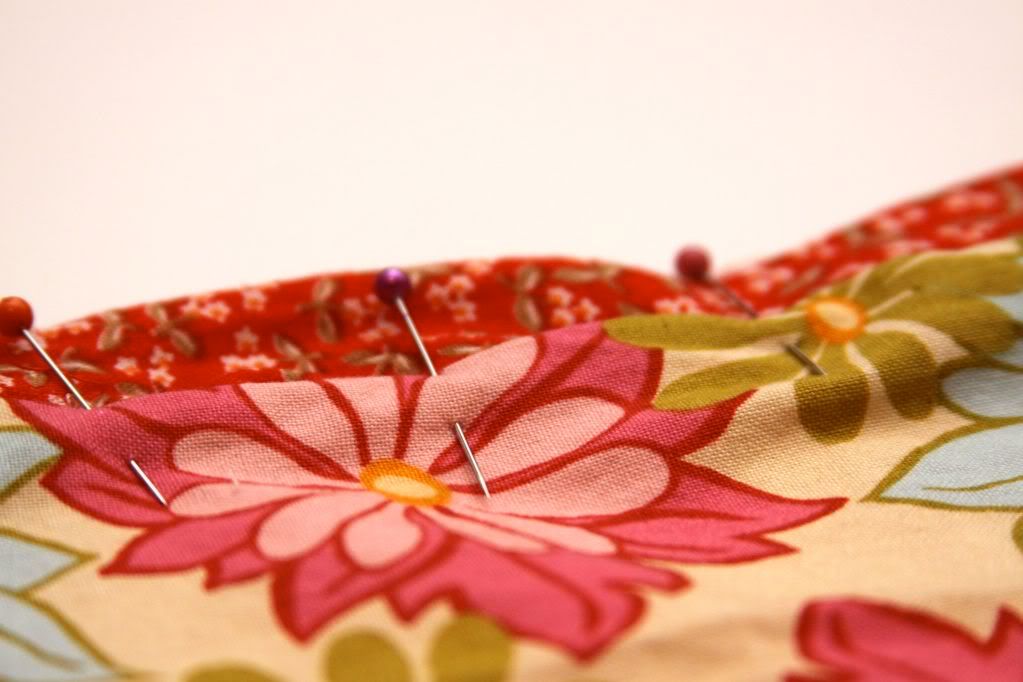
Following, is probably the most time consuming part.  You are going to sandwich your ruffle piece inside the 2 pieces and pin all three together.  (sandwich on the inside, so when you're pinning you can't see the ruffle)


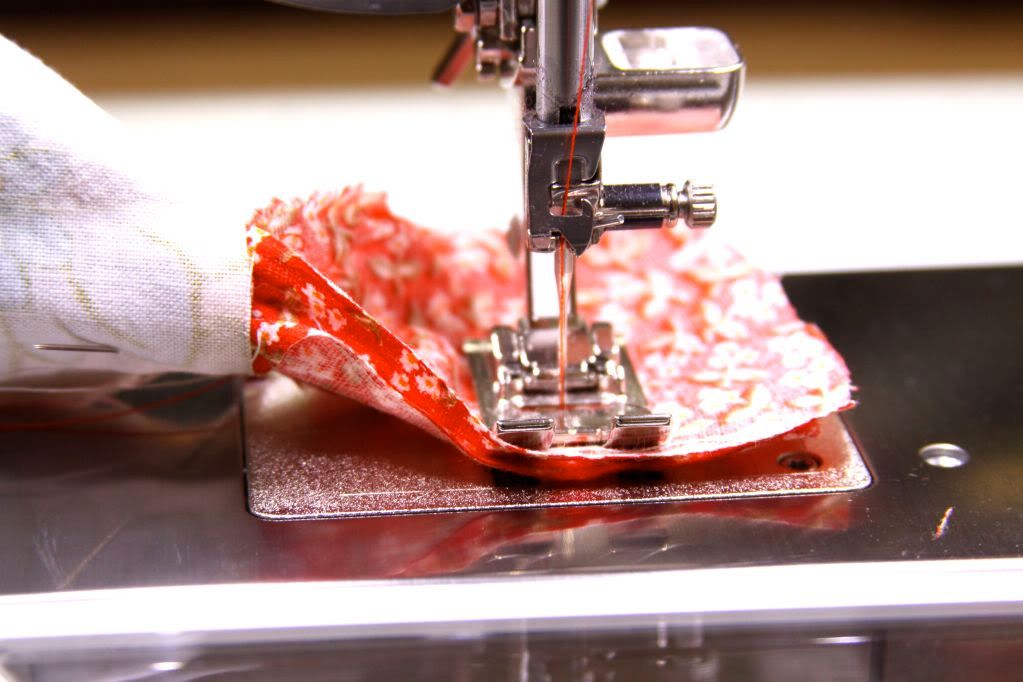
At the corners, I just hand gathered, to create a little gather, and go around the edges.  Pin in place.


You will need to match up the ruffle piece create a seam.


Match it up, sew a seam and cut off any excess.  


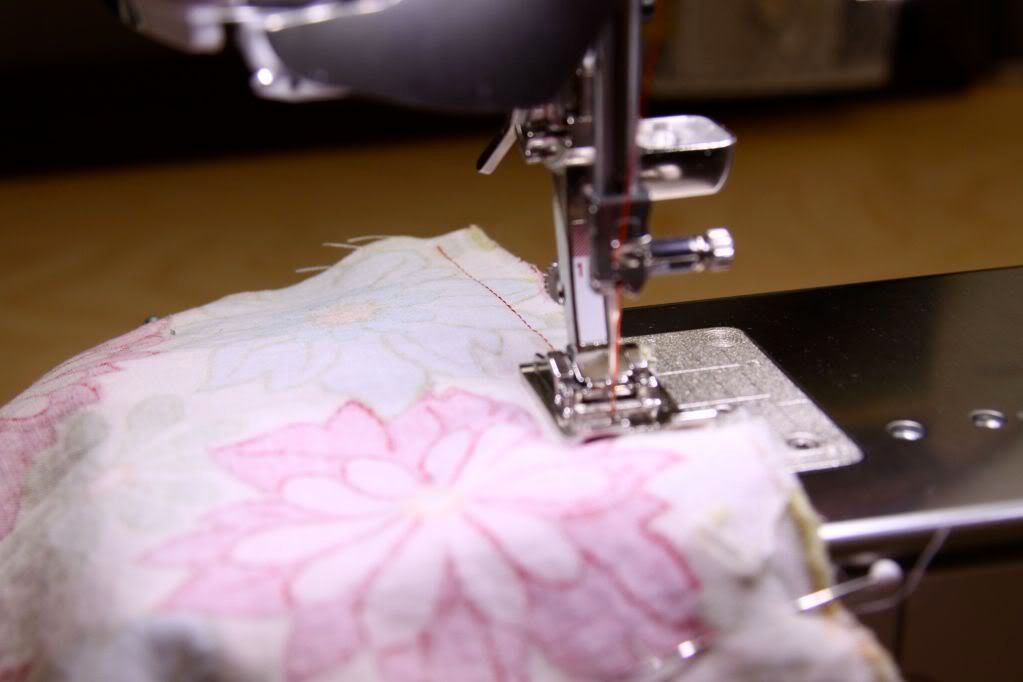
Next sew, using a 1/4 inch seam almost all the way around. (start in the middle of one of your long sides)(not shown here)


You will need to leave a space (large enough to get your hand through, to pull the fabric right side out)


Go ahead and pull it right side out,  and pin the hole in place.


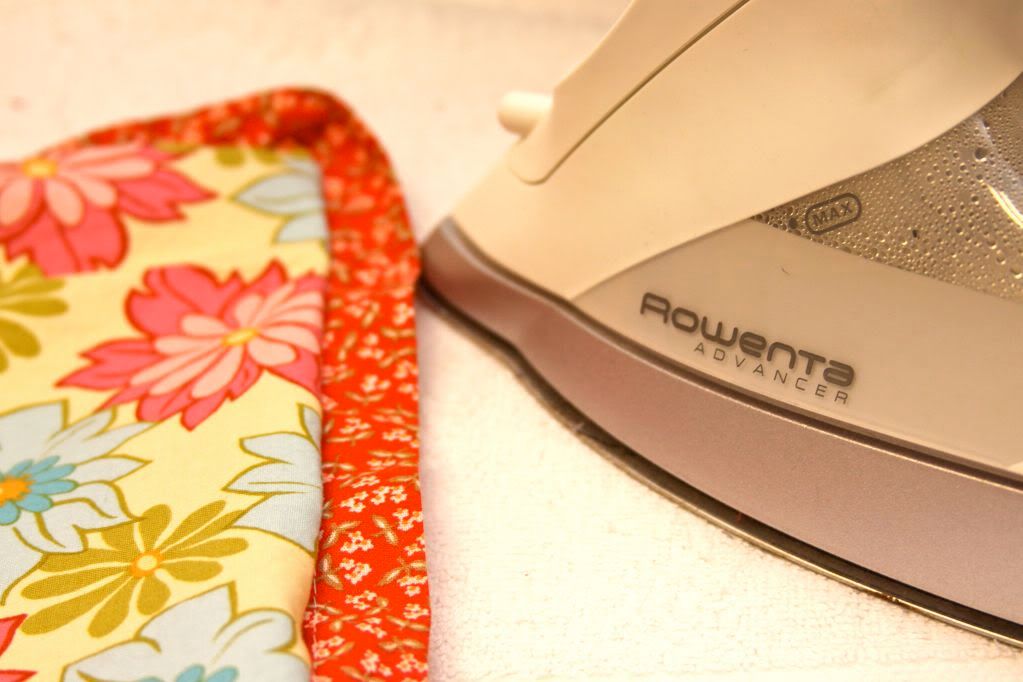
Head to your iron and press the whole thing so that it is crisply ironed.


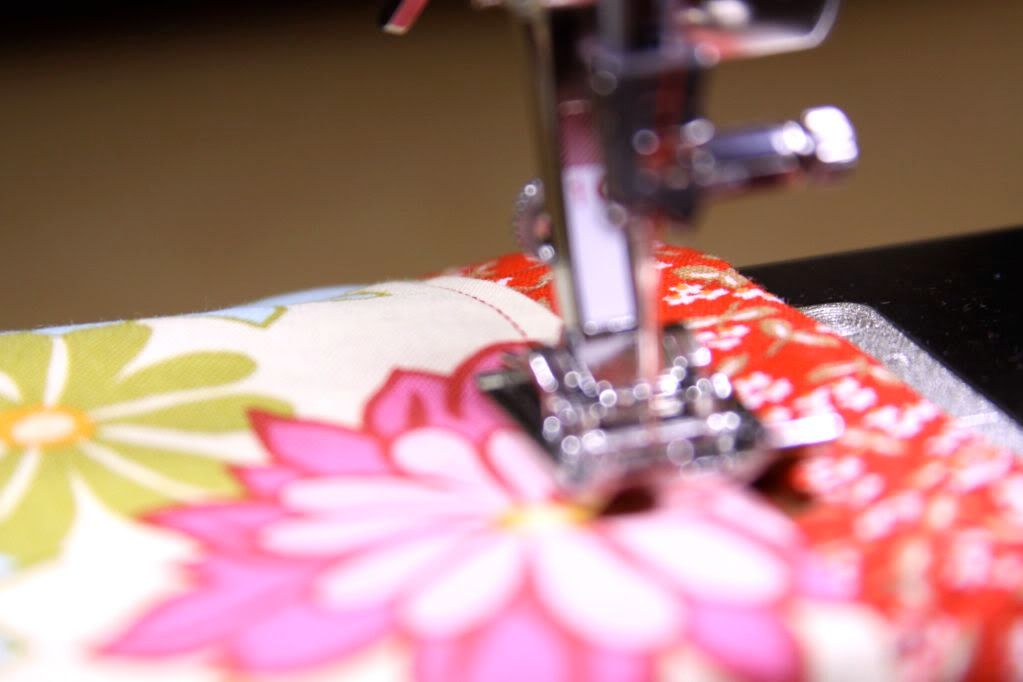
Last step, go around the whole thing with a topstitch about 1/4 from the edge.


Sit back and admire your new blankie.  Wouldn't this make a cute Christmas gift?


Hugs and Blessings!
Ingrid


Thursday, October 28, 2010

Pin Cushion!

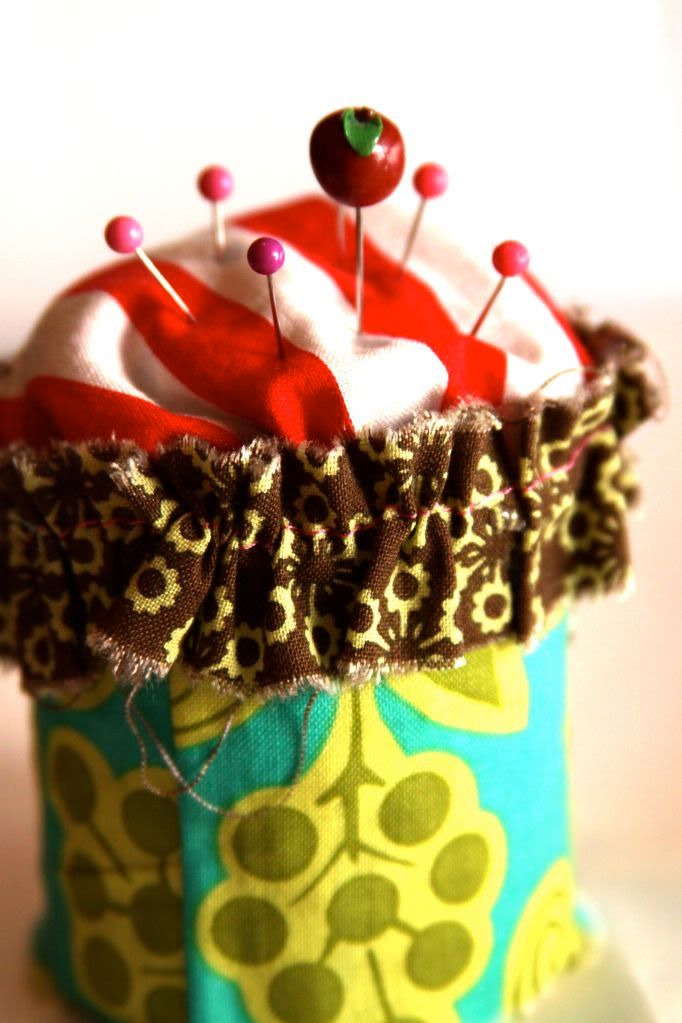
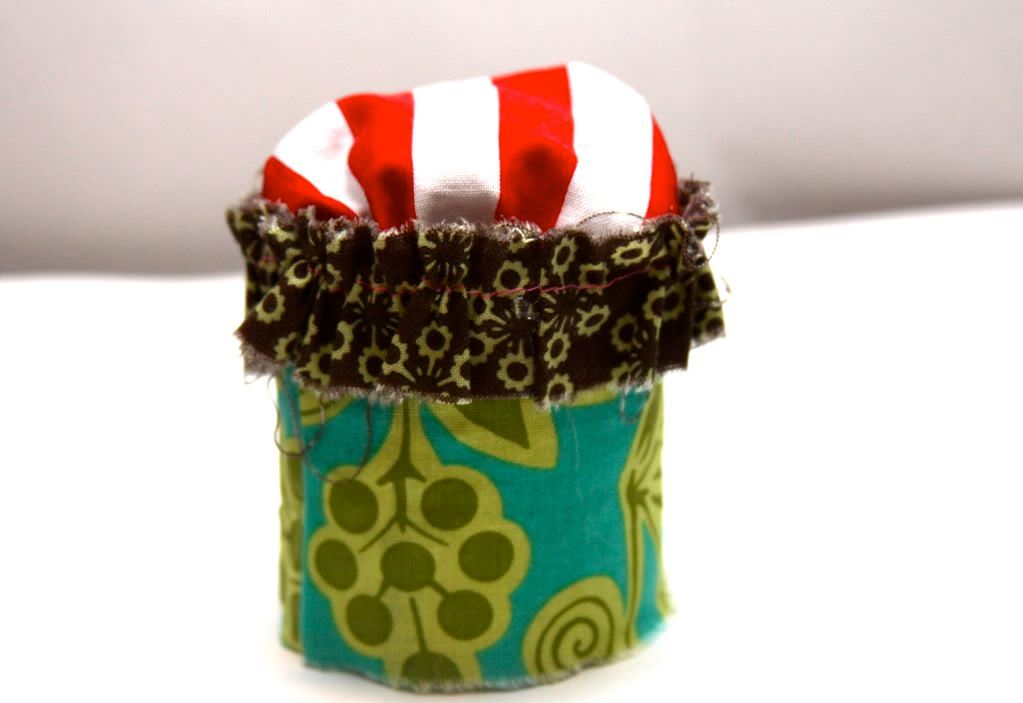
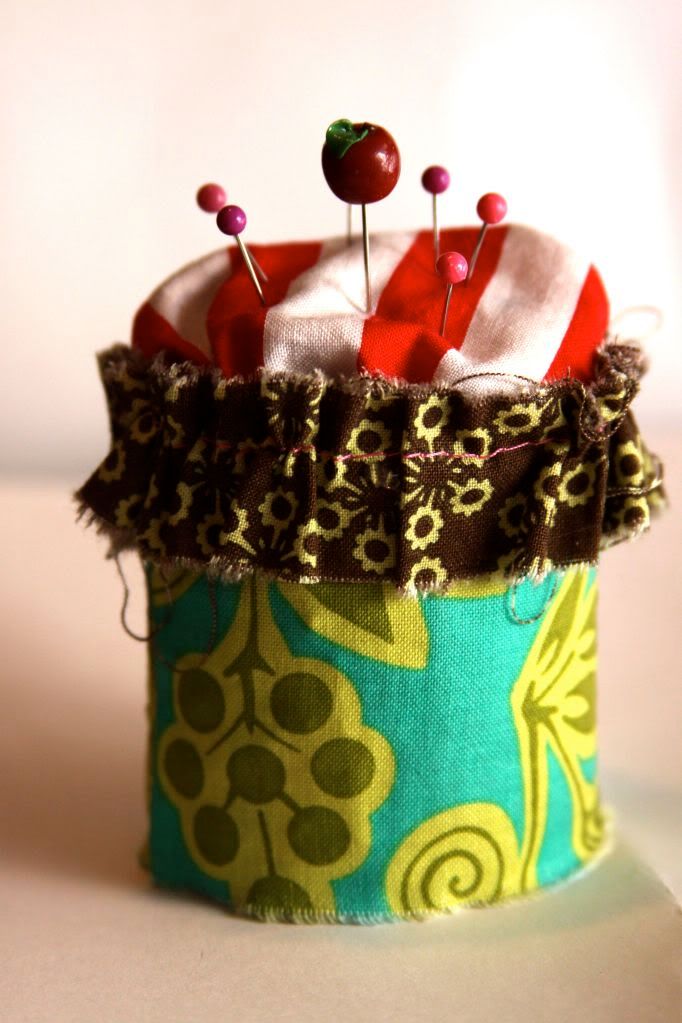
Grungy Ruffled up Pin Cushion!


First, let me explain that although I took a lot of pictures, this project was as easy as they get!  

Second, I want to thank, Living With Punks, for the inspiration for this one!

Third and last disclosure, I used a can of Vienna Sausages that my parent's left on their last trip (no offense mom and dad, or anyone else out there that loves those little stinky things)...they make me gag!  I think when I was younger I may have been gaged, tortured and forced to eat them, or maybe I liked them...who knows?  

Either way, knowing that no one would eat them around here, (if you are my brother reading this please look away now)(he never wastes food) I dumped them out!  

Wait Wait, it was for a kind of good cause...this AWESOME tutorial!

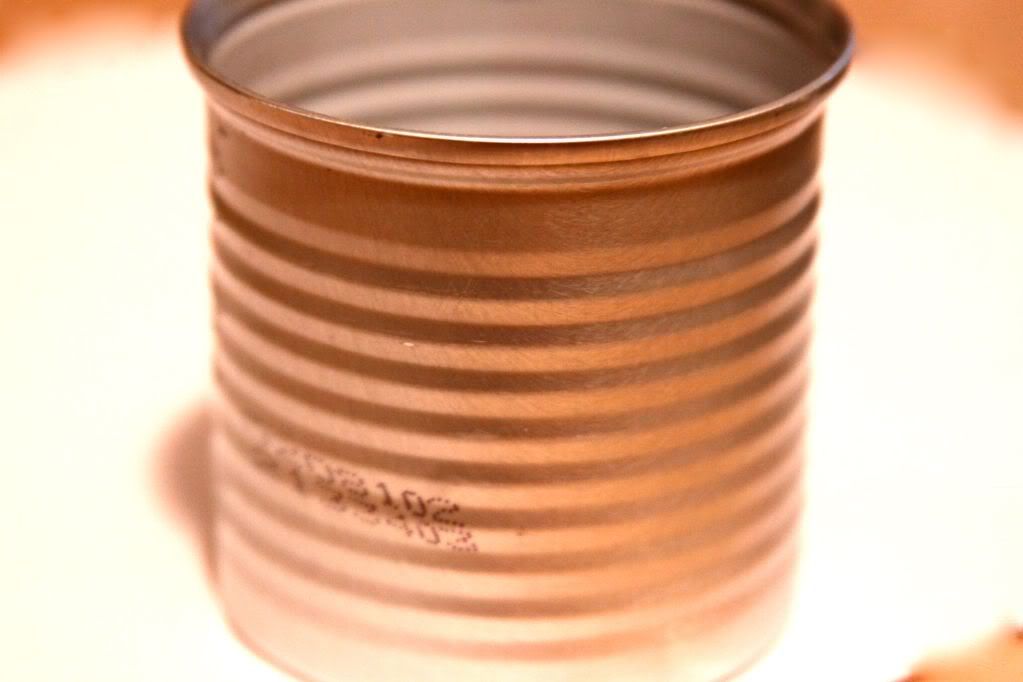
Here is the culprit...and take a WHIFF, after I washed it a few times....no stinky smell! ;)


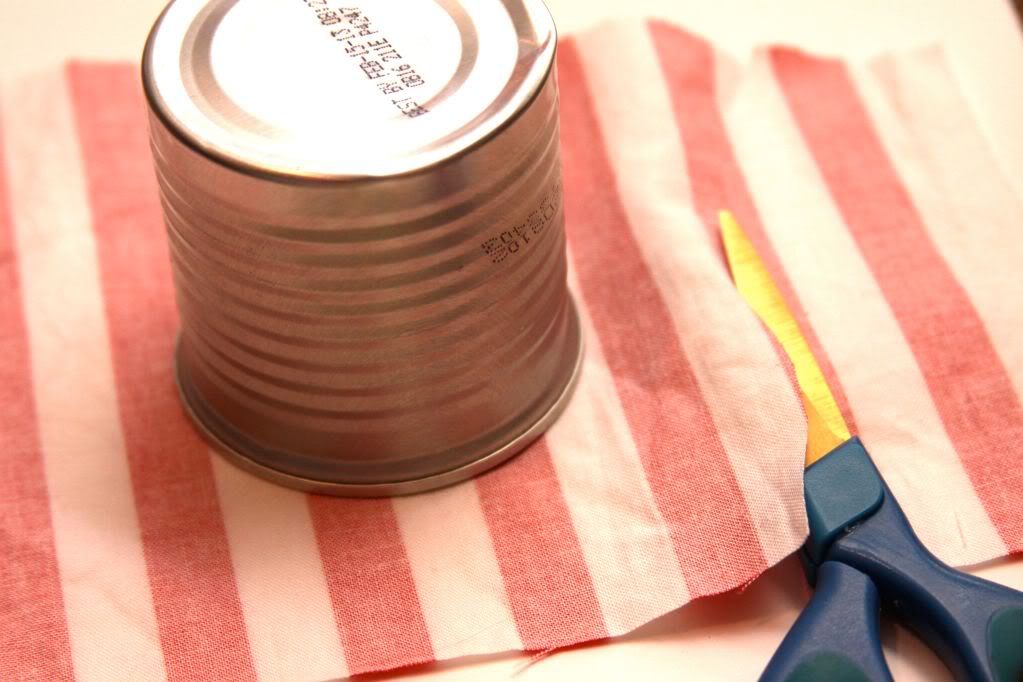
First, measure your cans width and height, mine came out to 8.5 X 2


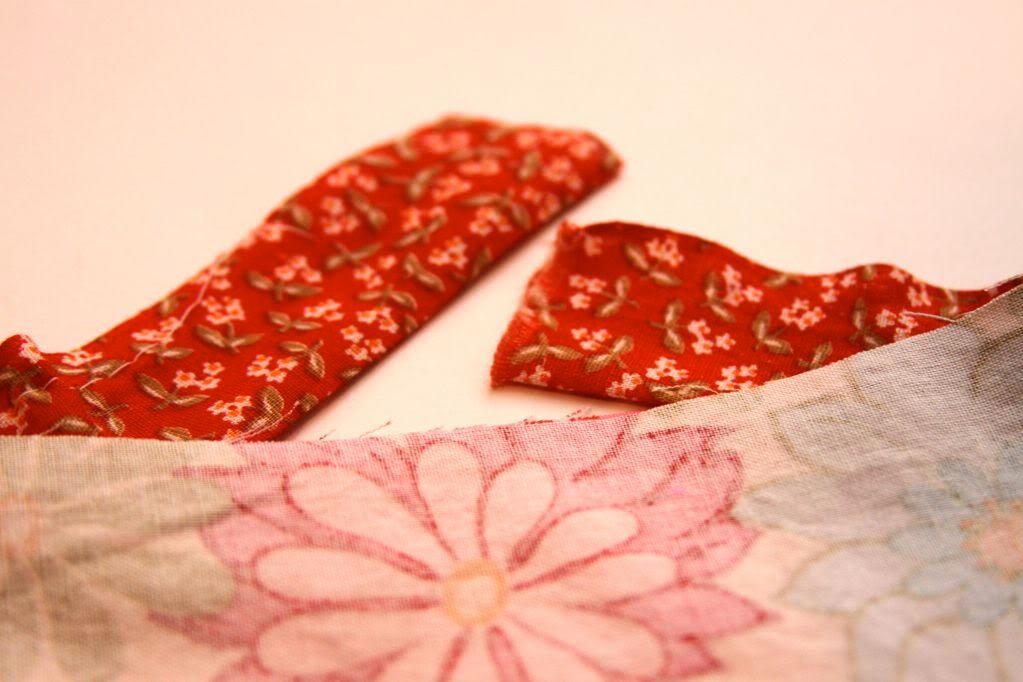
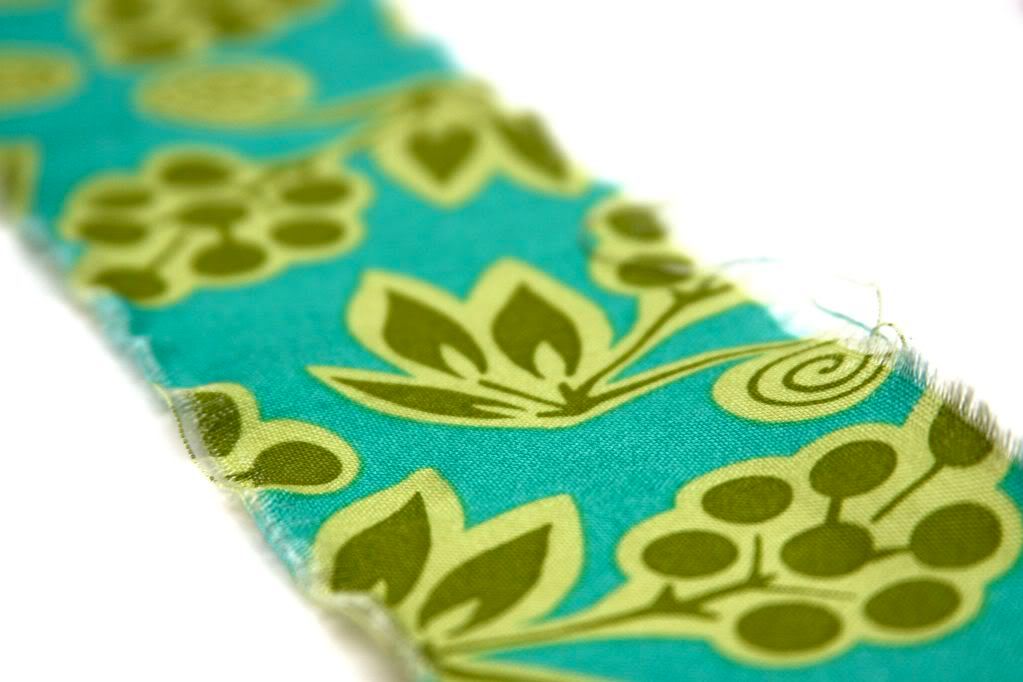
Using the scraps of the fabrics Charity sent me for our challenge this week, I measured at    
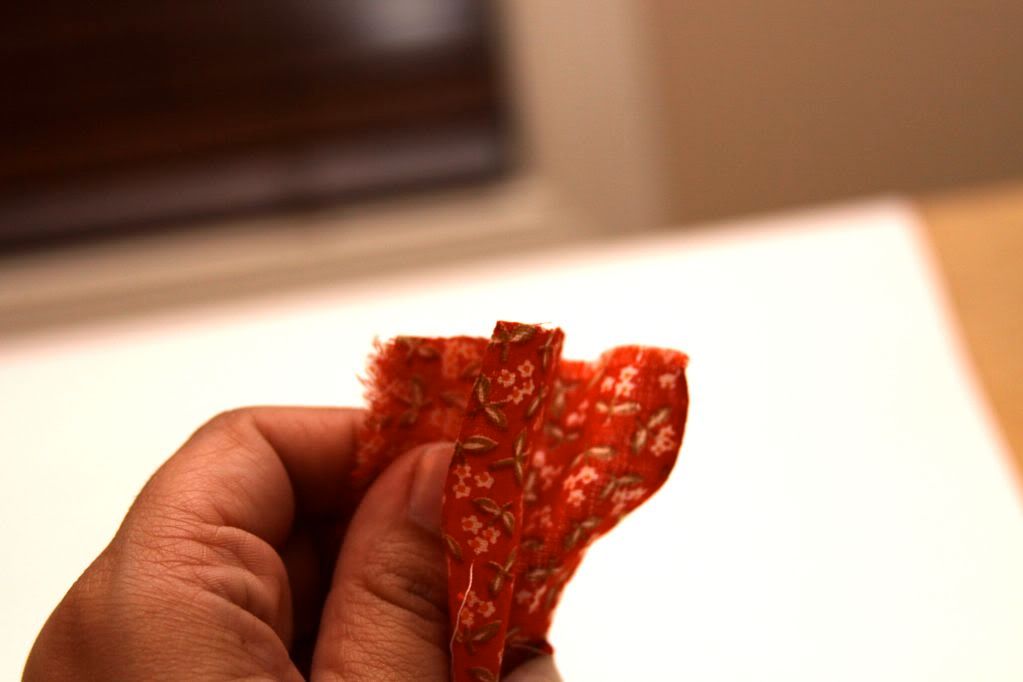
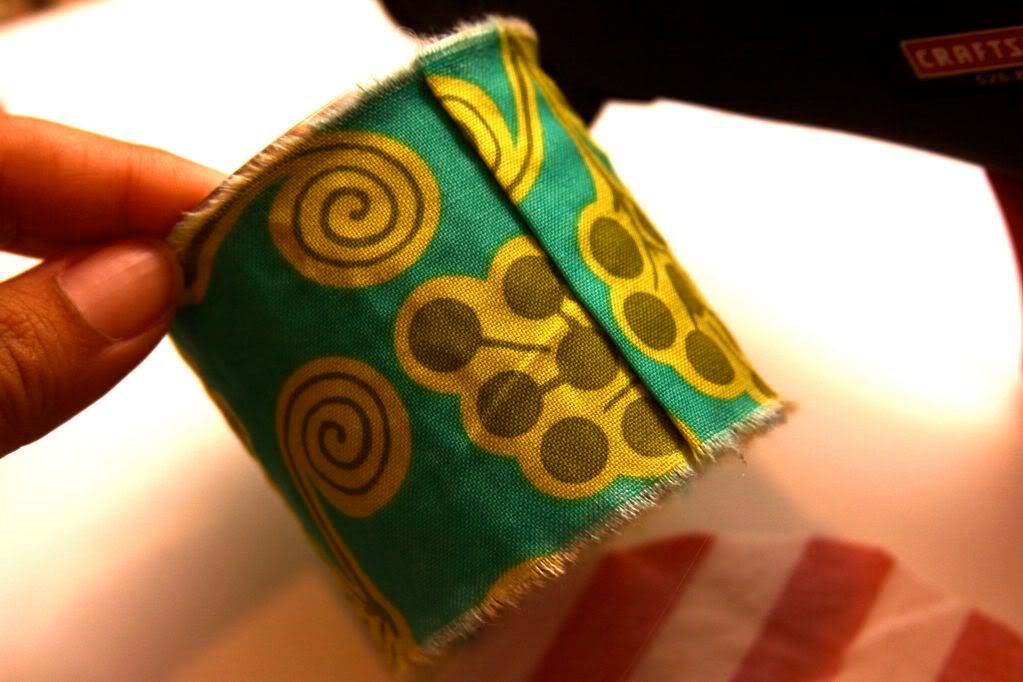
 my salvage 2" and ripped it across.  Then I    
 cut it by 9", to leave about 1/2" for the 
 seam.


I laid my can on my next fabric and cut around the base leaving about 2"


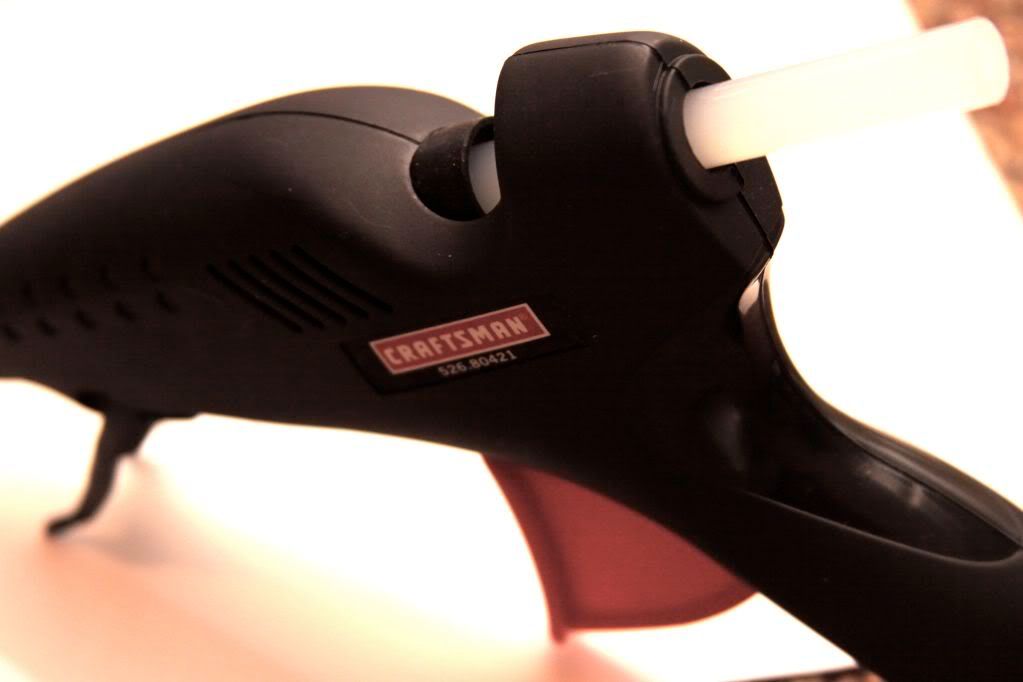
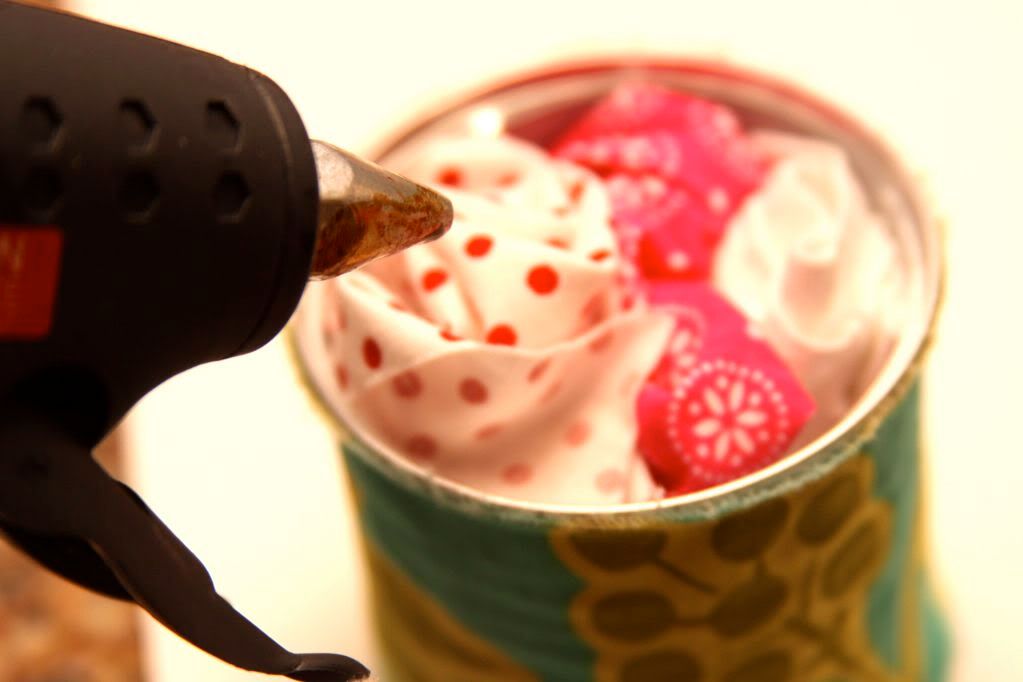
Guess who's making his guest appearance tonight...it is my super hot industrial strength glue gun.  (He hates my fingers!)


Very carefully and quickly, apply glue to small sections of the can, and spread the fabric over it, tightly.


Fold over your edge and glue it down.


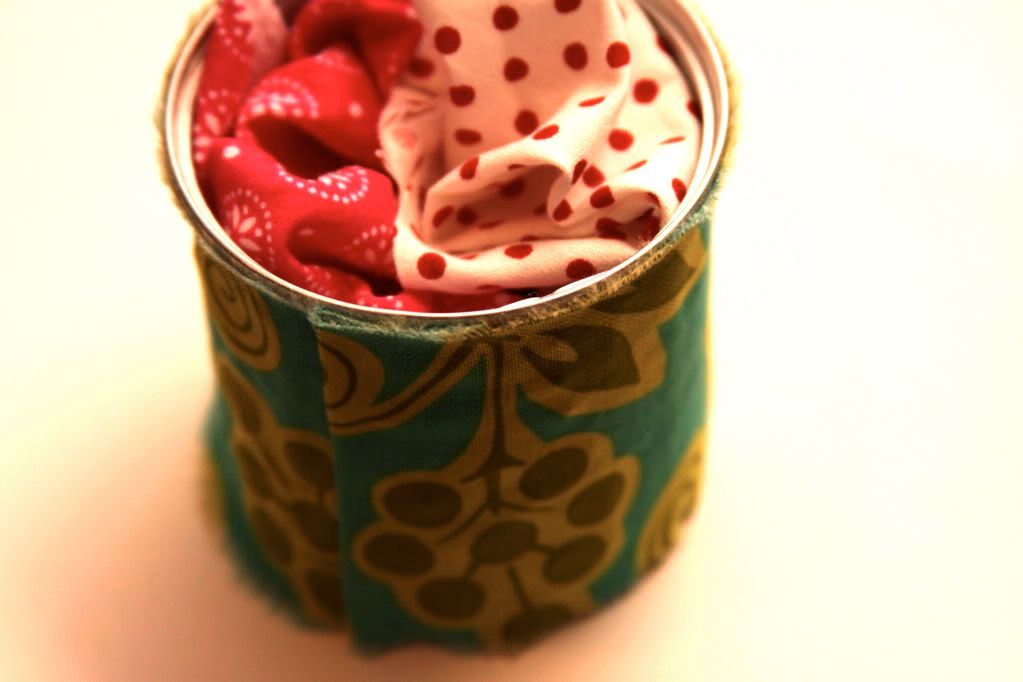
Ok, since I wasted those perfectly yummy sausages ;) I decided to keep the scrap theme going, and I stuffed my can with more scraps. Stuff it with whatever you have laying around.


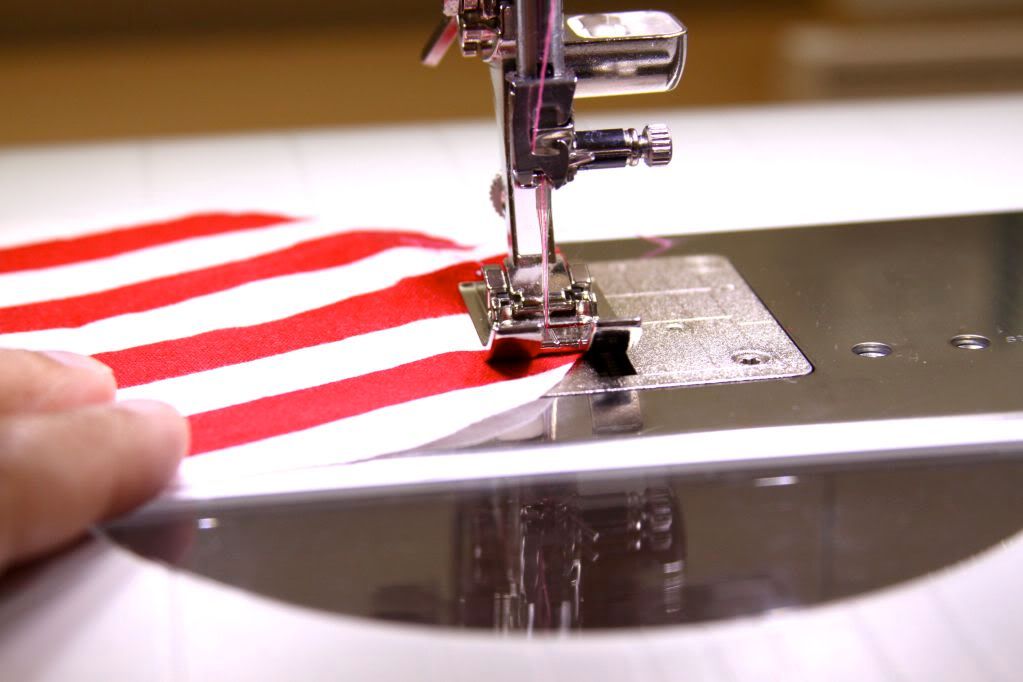
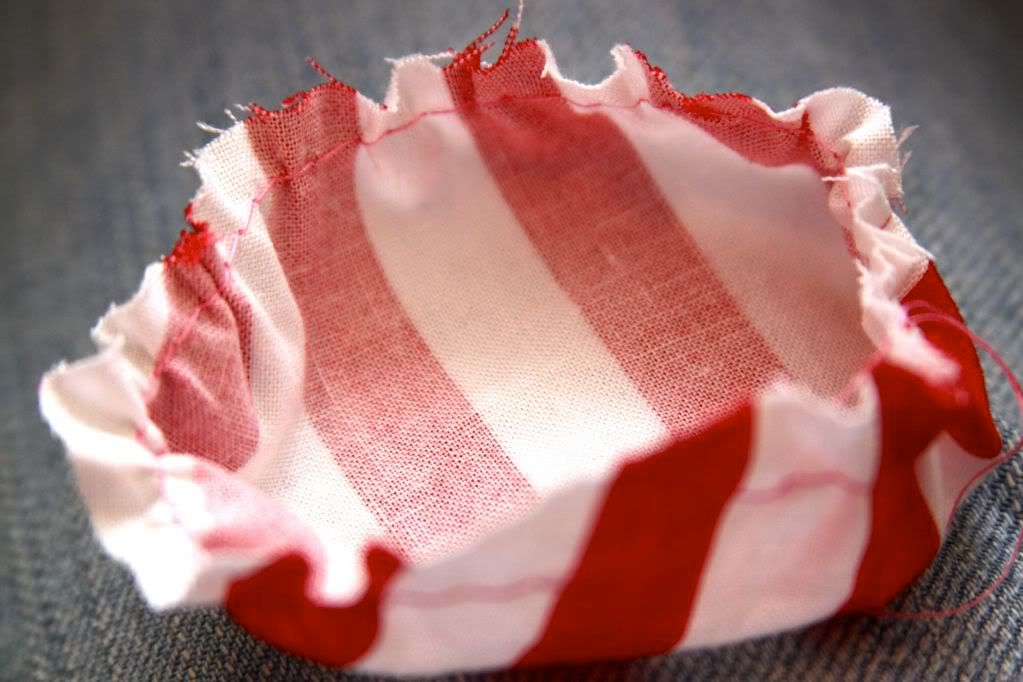
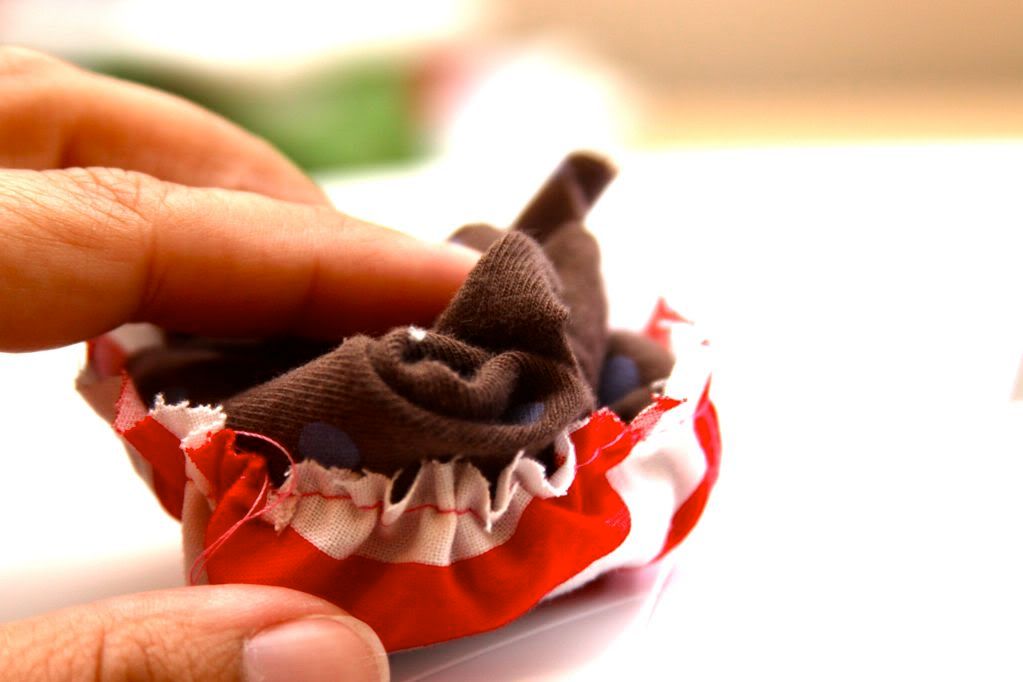
Take your top piece and head to your sewing machine.  Make a basting stitch (long stitch) and then gather.


You'll have something that resembles a shower cap.  (cute huh?)


Again, stuff the cap, with more scraps.


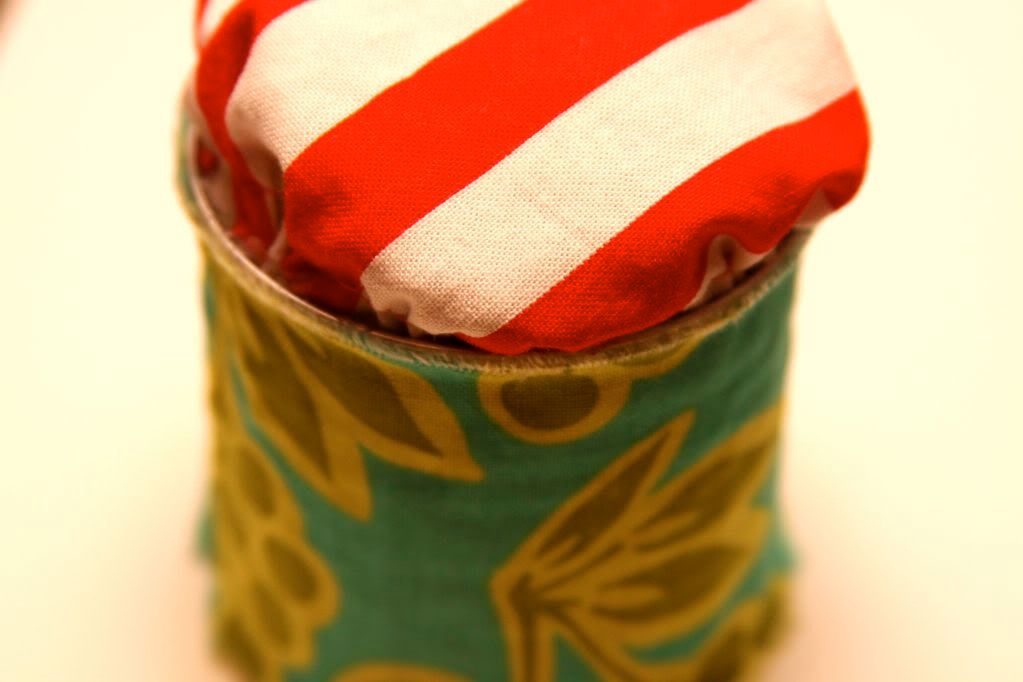
Glue (in small sections again) around the inner edges, and lay your cap on top.


It is ok if it is not perfectly round.  I would have messed with this more to get the cap more even, but for times sake here it is imperfect and all!


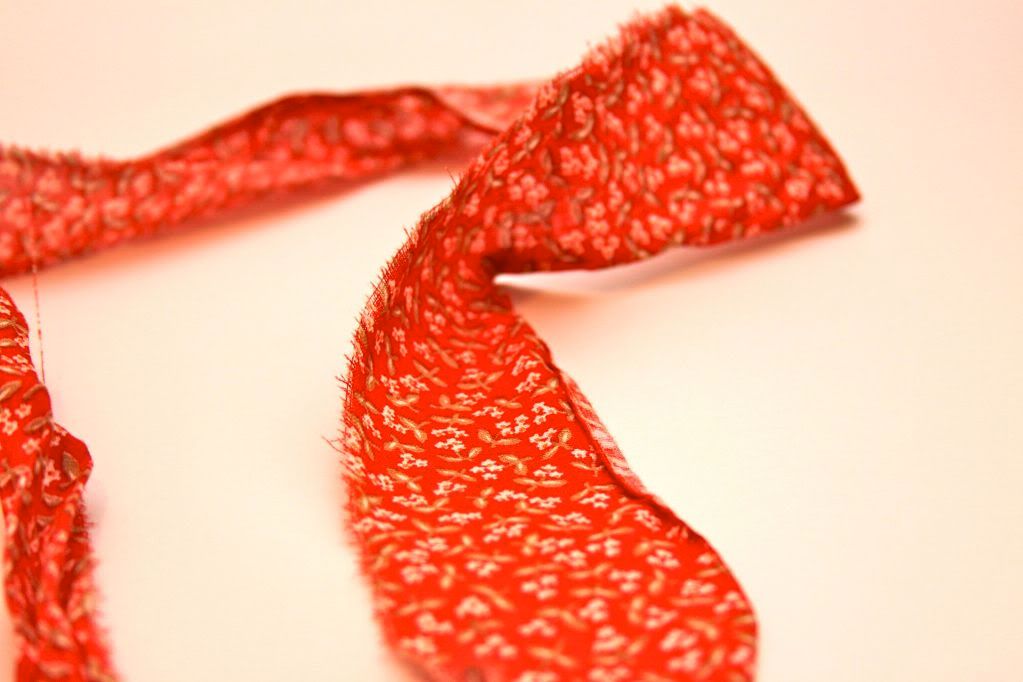
I took another scrap, snipped it at 1.5" and tore it from salvage to salvage....


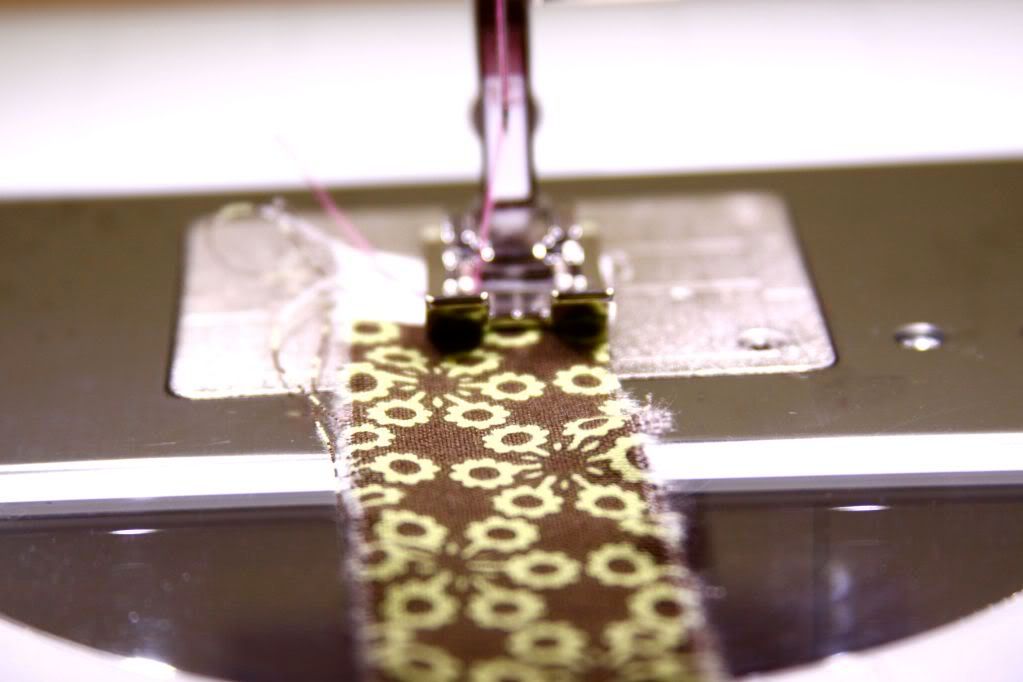
...ran a basting stitch through it about 1/4 from the top edge and gathered


I glued the ruffle to the top edge of my can.


Added some pins and...we're DONE!


I love the grungy look of the tattered edges.  Feel free to finish them off for a more polished look.

Come back tomorrow for our big REVEAL!!

Hugs and Blessings,
Ingrid

LinkWithin