Pin It button on image hover
Showing posts with label easy crafts. Show all posts

Saturday, January 19, 2013

sewing, scrap, craft homeschool ROOM TOUR

I don't know about you all, but I love eye candy.  I love to get magazines like Stampington or Where Women Create.  I grab a seat, prop my feet up, and bask in the beauty of each page, by page. 

vintage ribbons? ............YES!
tea dyed fabric? .............UH HUH!

rhinestone pins?............YES PLEASE!

Filling my visual senses with pretty things not only lifts my mood, but allows me to continue seeing things for their beauty.  Beautiful images fill my heart......ahhhh.

Images of burlap, lace, velvet, chalks, paints, papers, stamps and beads flutter all around me, warming and hugging my soul.

In my house, I have my own little nook that I have filled with my favorite things.  In my magical space, it is not odd that you find a sewing project, my art journaling or even ribbons all over my desk at any given time.  This is the place that I can go to create.....to let my creativity flow.  It is my favorite place.  

My very favorite place indeed.  

Sugar tartes...won't you join me on a tour? 


...ohh there it is!


...mostly used for watching ellen :)


...two light are always better than one!


...do you love fancy jars as much as i do?


...yes! scissors for every occasion!


...you can never have too many dreams


...mermaids + me = ♥


...will some silly ribbon suit your fancy?


...is that adorable bunny not the bees knees?


...agggg! i just can't get over the cuteness!


...yep right down to the fancy green shoes!!


...ok just ONE more ;)


...tweet


...a childhood donkey that reminds me of my dad ♥


...hmmm


...mermaids make me smile...you?


...just BELIEVE!


...mushrooms, owls, a bear and a bird....yay!


...guys I gotta have more...R I B B O N!


...your highness


...a fancy pony to wish you good day

.
..who me?


...photo bombing is fun!


...gazacks! another mermaid..S M I L E
...and another photobomb!


...do you need a hug today?  i can help!


...a chenille heart?


...perhaps a silver fancy one instead?


...ahh friends


...some of my favorite things


...wait is that a pink eiffel tower...S W O O N!


...yep...D R E A M!
Sugar tartes...won't you tell me what you thought? 


Thursday, October 28, 2010

Pin Cushion!

Grungy Ruffled up Pin Cushion!


First, let me explain that although I took a lot of pictures, this project was as easy as they get!  

Second, I want to thank, Living With Punks, for the inspiration for this one!

Third and last disclosure, I used a can of Vienna Sausages that my parent's left on their last trip (no offense mom and dad, or anyone else out there that loves those little stinky things)...they make me gag!  I think when I was younger I may have been gaged, tortured and forced to eat them, or maybe I liked them...who knows?  

Either way, knowing that no one would eat them around here, (if you are my brother reading this please look away now)(he never wastes food) I dumped them out!  

Wait Wait, it was for a kind of good cause...this AWESOME tutorial!

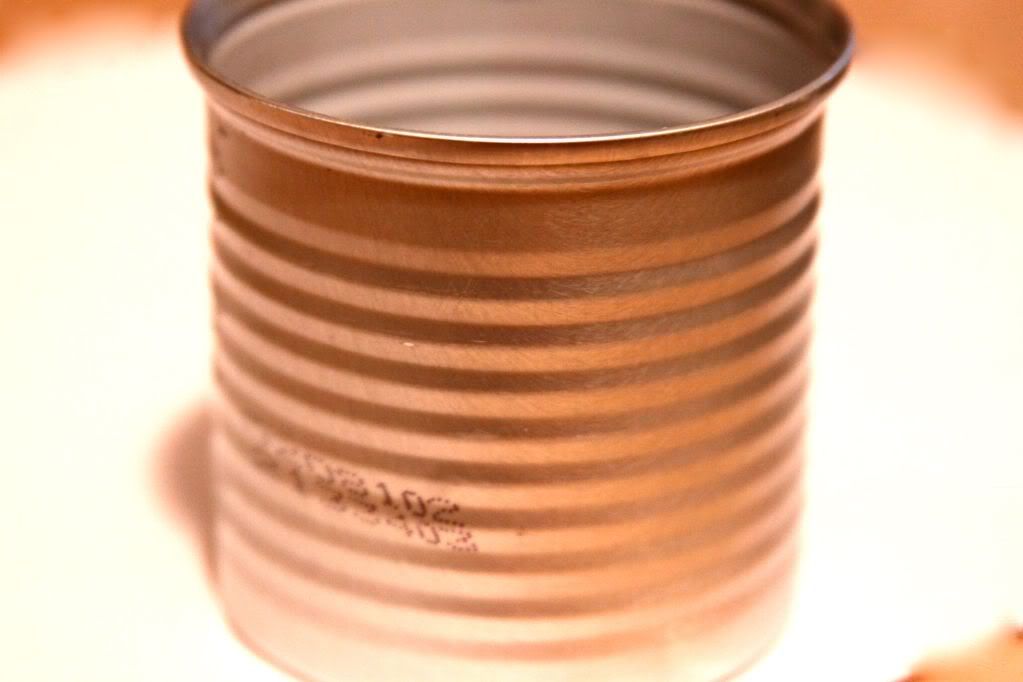
Here is the culprit...and take a WHIFF, after I washed it a few times....no stinky smell! ;)


First, measure your cans width and height, mine came out to 8.5 X 2


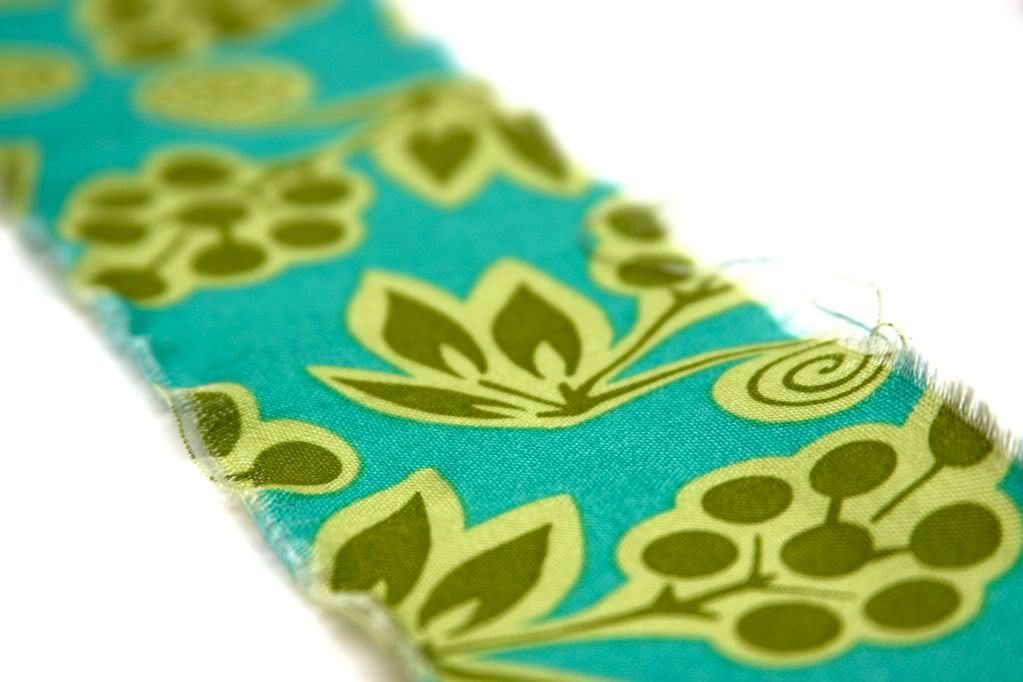
Using the scraps of the fabrics Charity sent me for our challenge this week, I measured at    
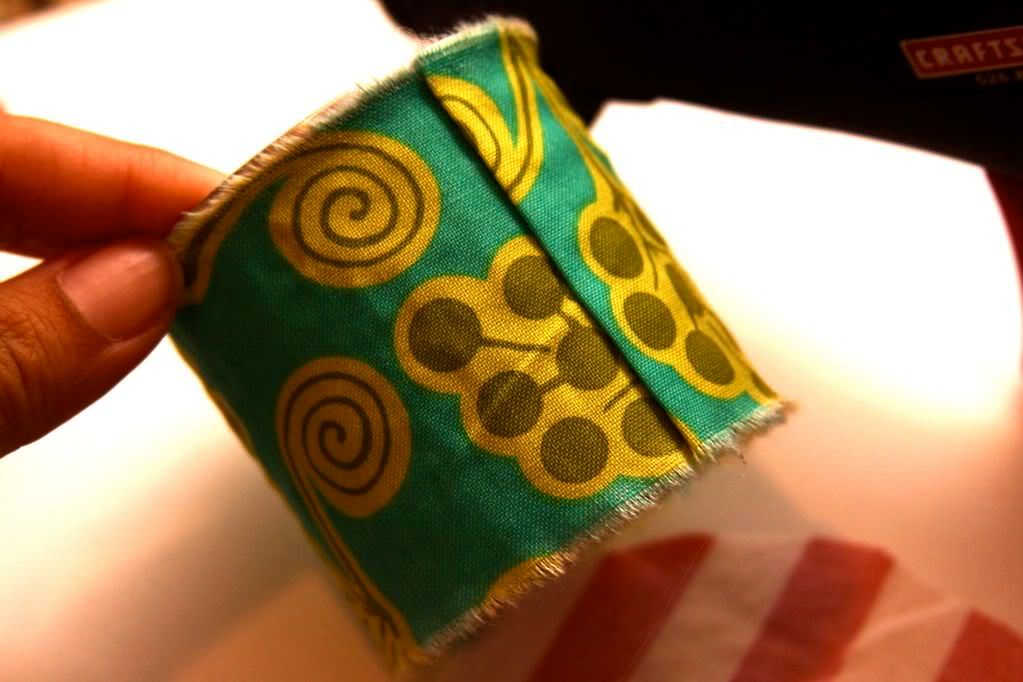
 my salvage 2" and ripped it across.  Then I    
 cut it by 9", to leave about 1/2" for the 
 seam.


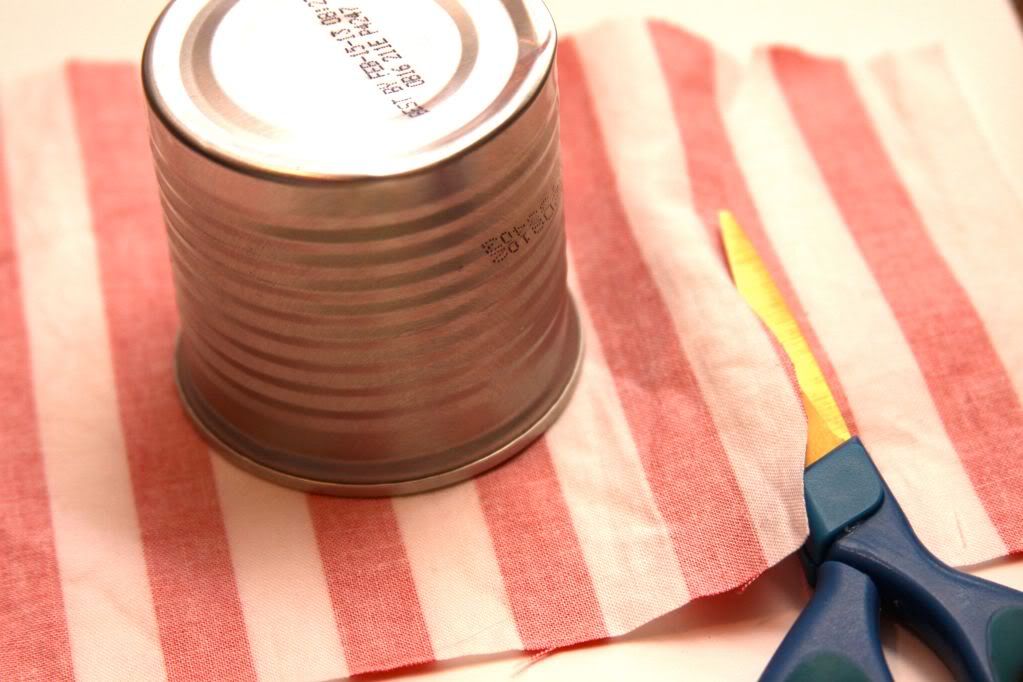
I laid my can on my next fabric and cut around the base leaving about 2"


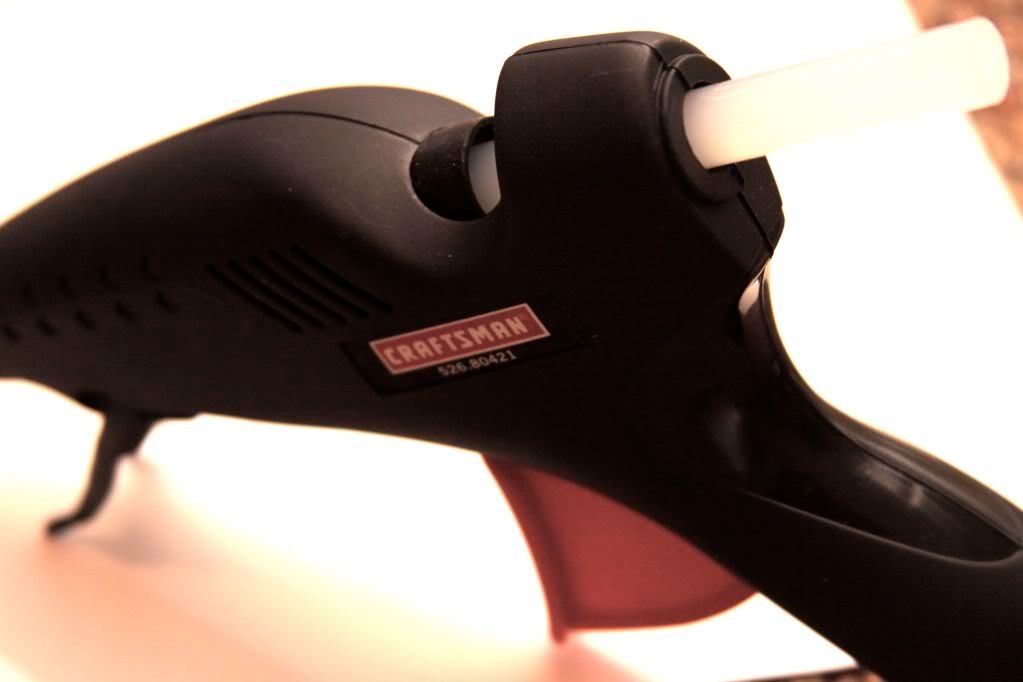
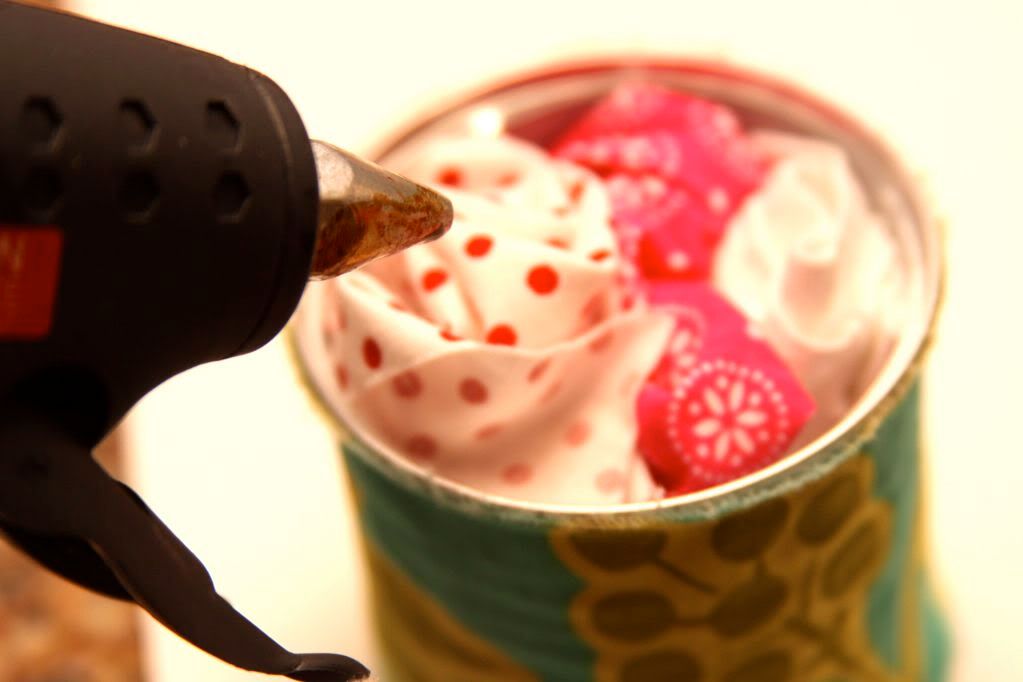
Guess who's making his guest appearance tonight...it is my super hot industrial strength glue gun.  (He hates my fingers!)


Very carefully and quickly, apply glue to small sections of the can, and spread the fabric over it, tightly.


Fold over your edge and glue it down.


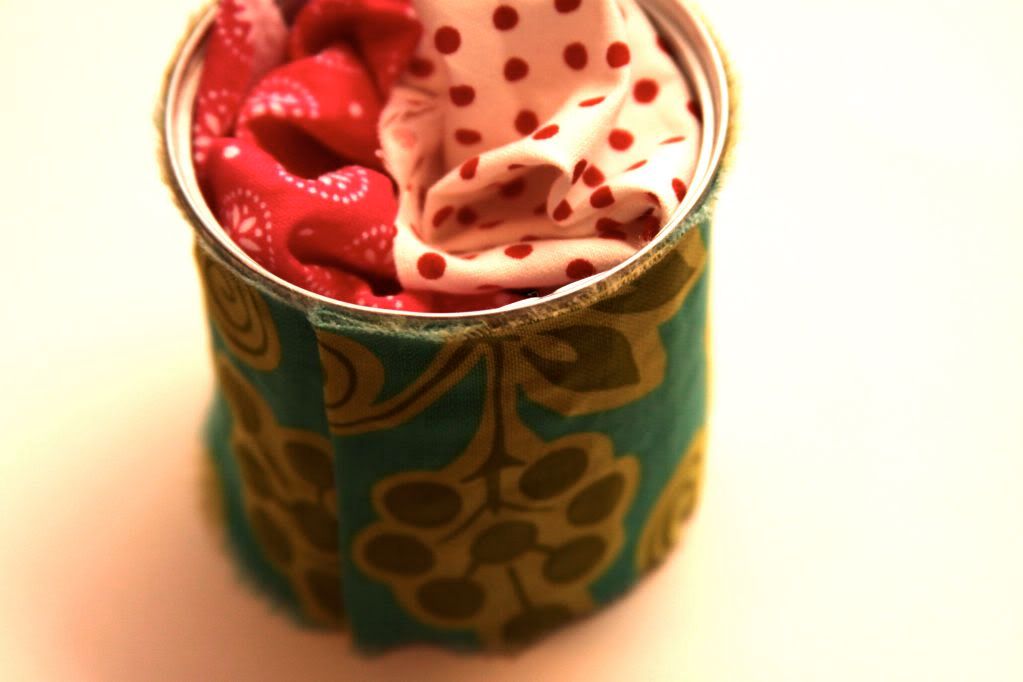
Ok, since I wasted those perfectly yummy sausages ;) I decided to keep the scrap theme going, and I stuffed my can with more scraps. Stuff it with whatever you have laying around.


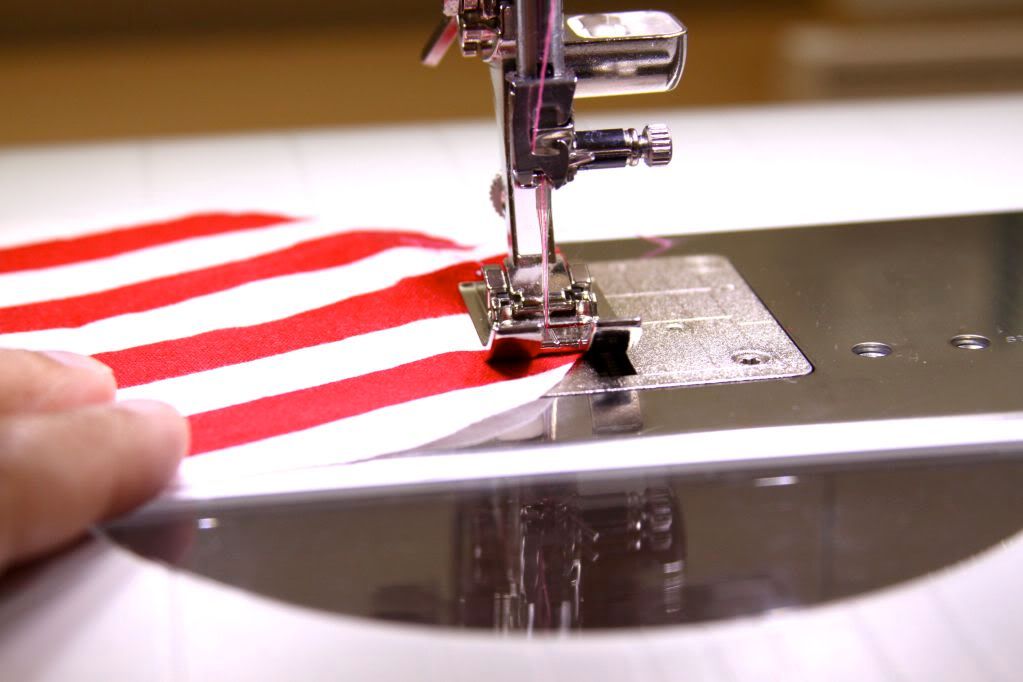
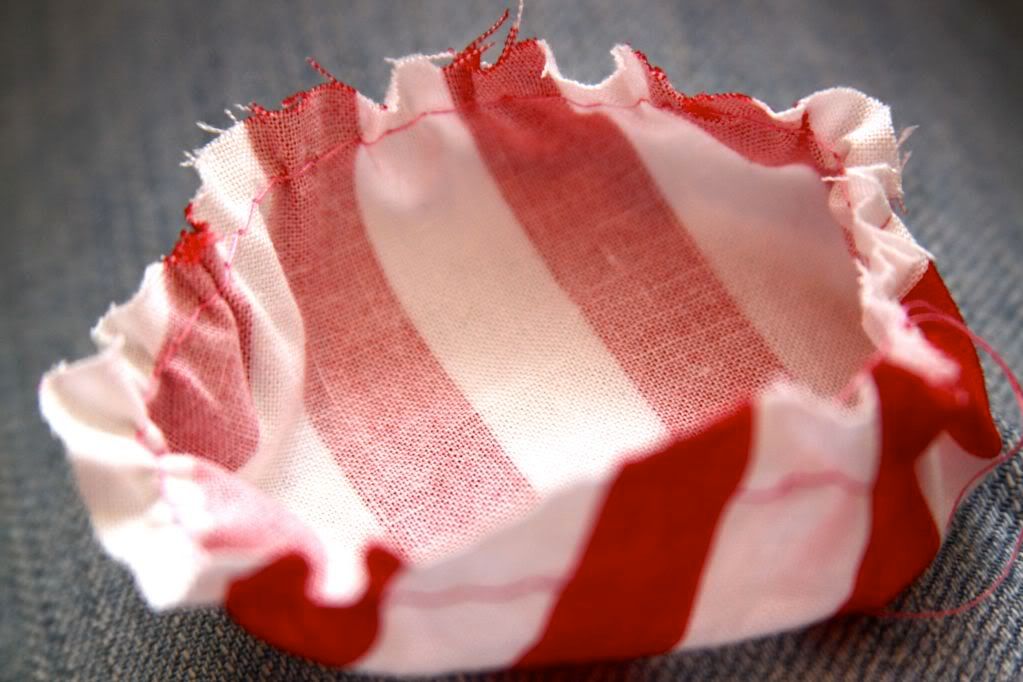
Take your top piece and head to your sewing machine.  Make a basting stitch (long stitch) and then gather.


You'll have something that resembles a shower cap.  (cute huh?)


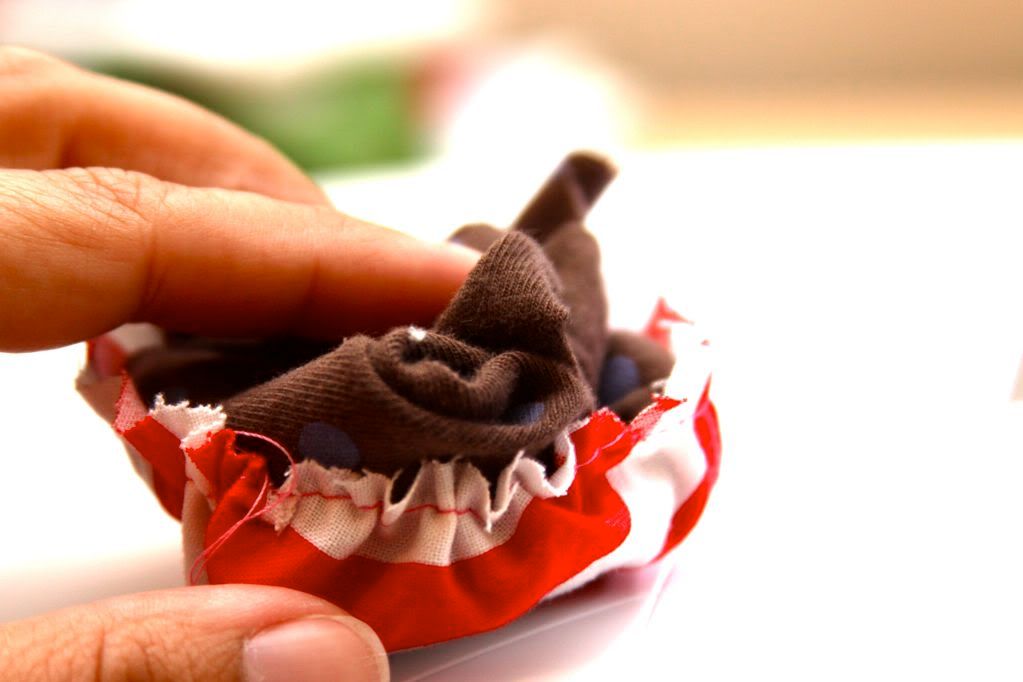
Again, stuff the cap, with more scraps.


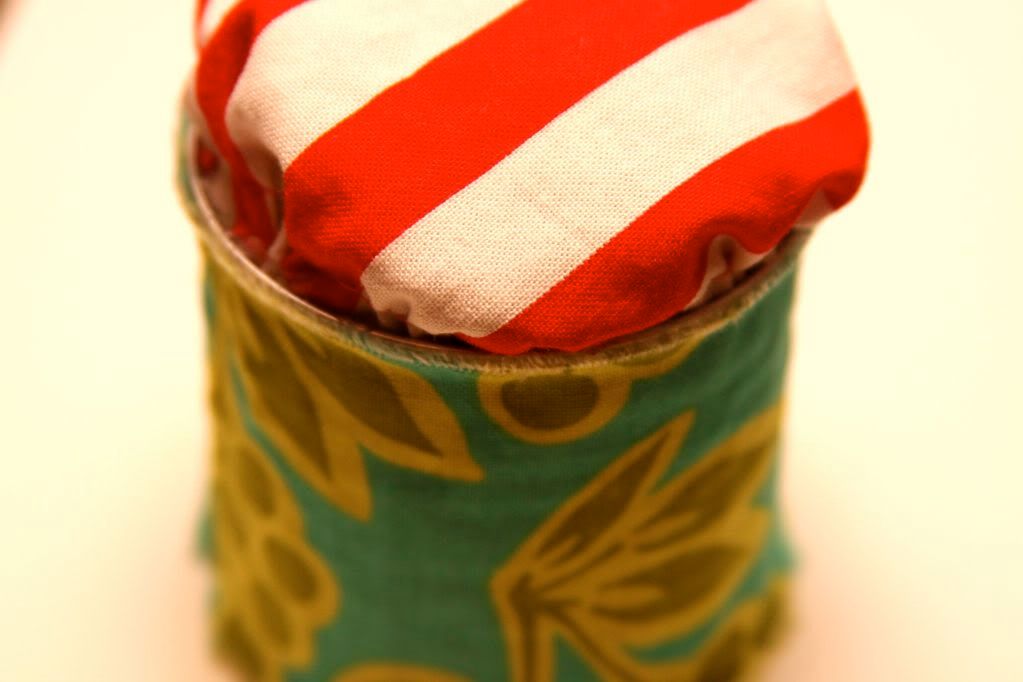
Glue (in small sections again) around the inner edges, and lay your cap on top.


It is ok if it is not perfectly round.  I would have messed with this more to get the cap more even, but for times sake here it is imperfect and all!


I took another scrap, snipped it at 1.5" and tore it from salvage to salvage....


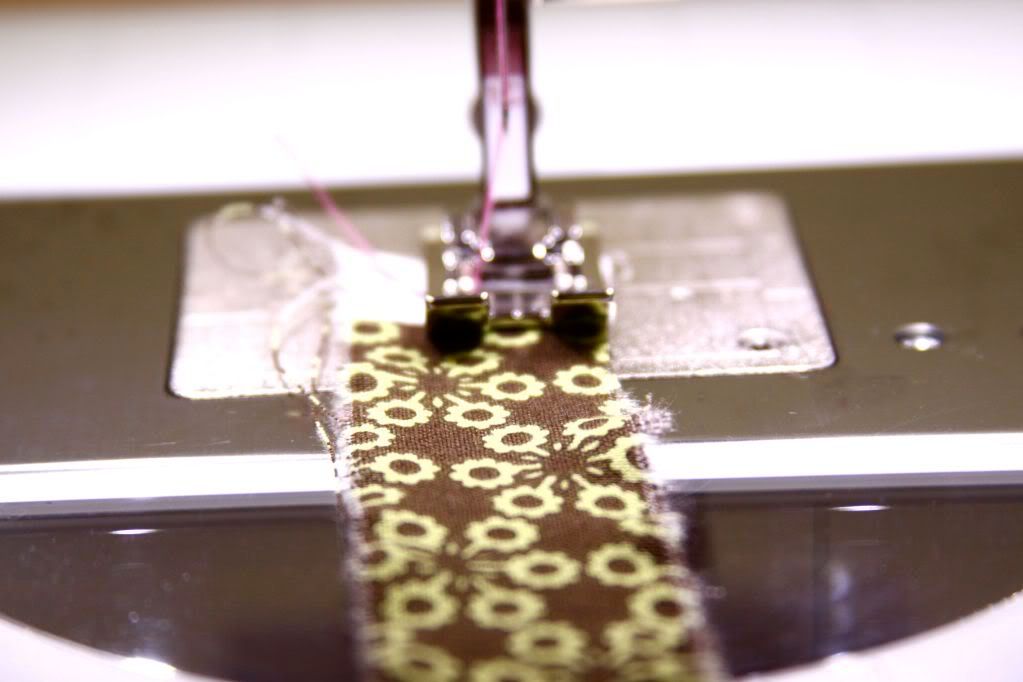
...ran a basting stitch through it about 1/4 from the top edge and gathered


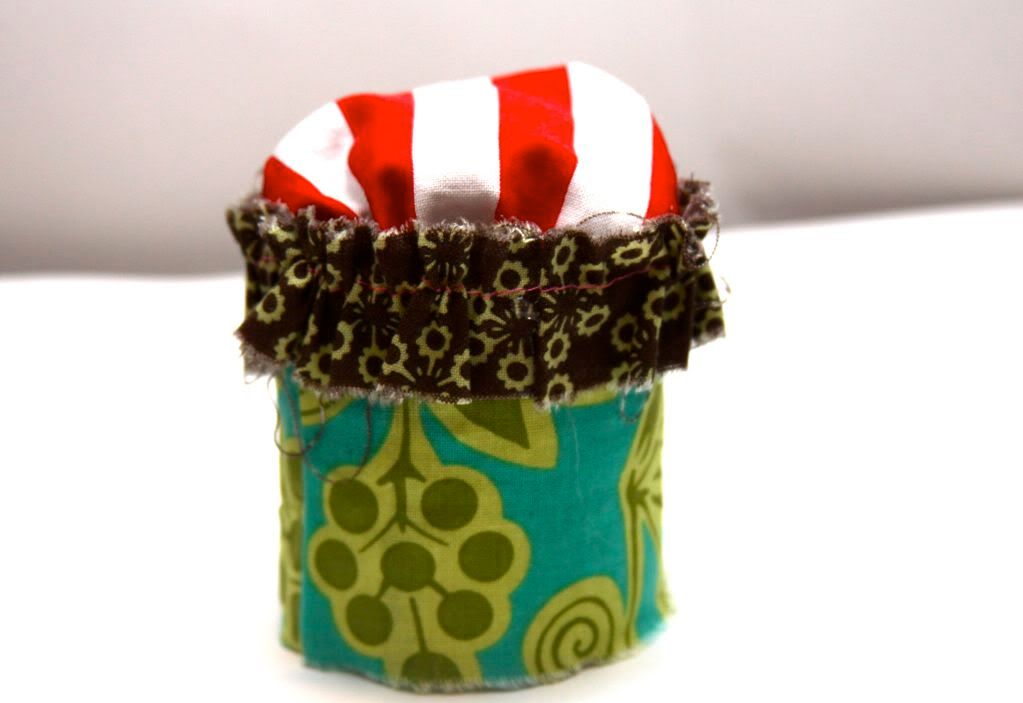
I glued the ruffle to the top edge of my can.


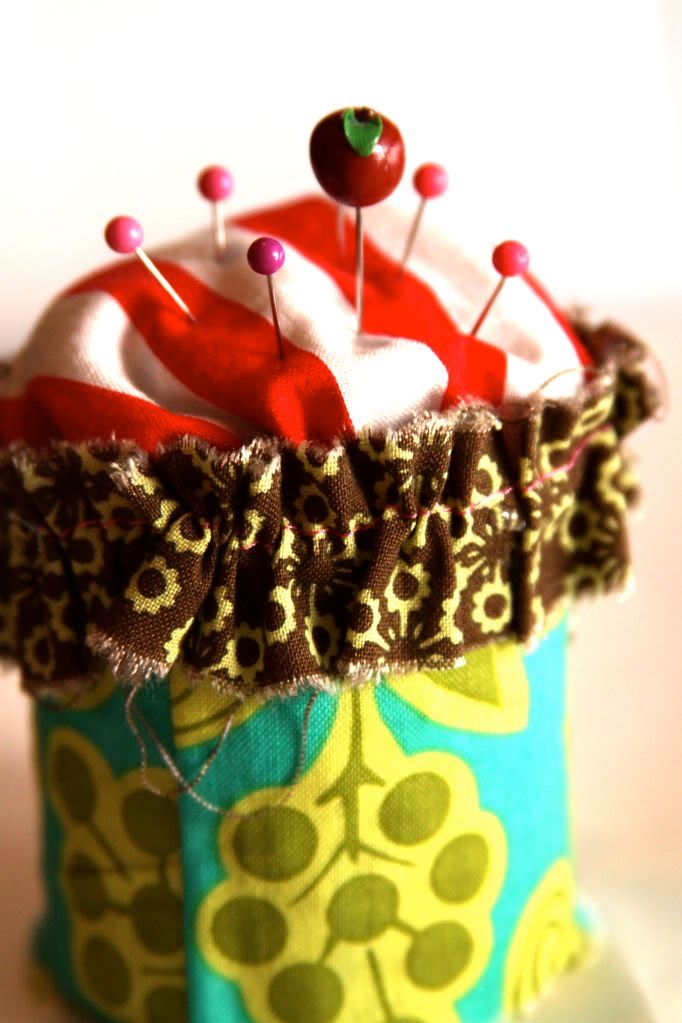
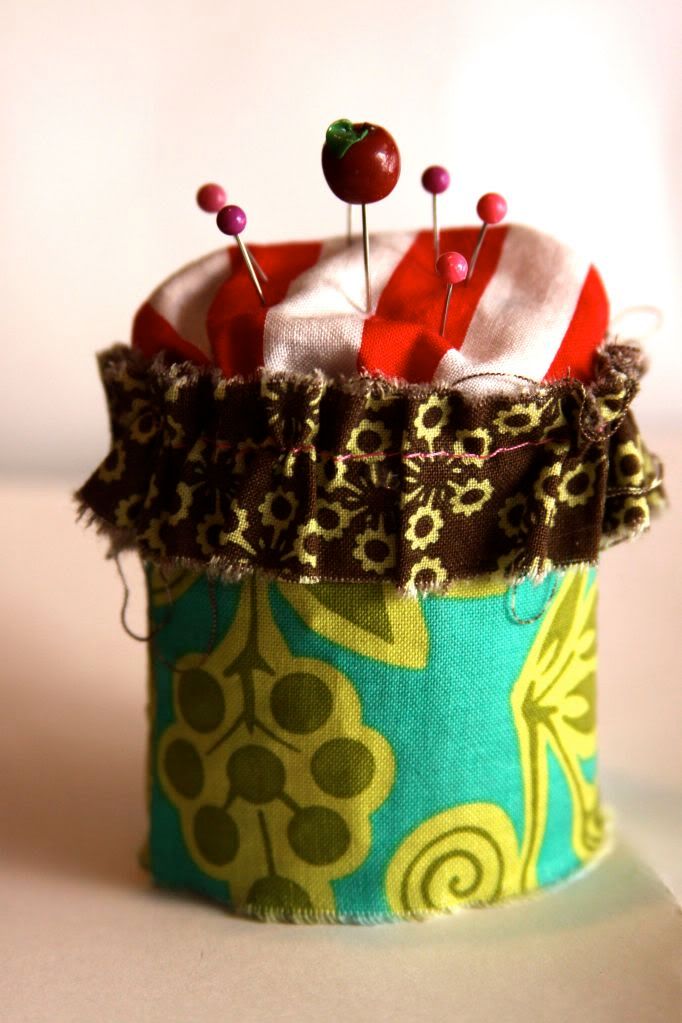
Added some pins and...we're DONE!


I love the grungy look of the tattered edges.  Feel free to finish them off for a more polished look.

Come back tomorrow for our big REVEAL!!

Hugs and Blessings,
Ingrid

LinkWithin