Ok so I have a new strategy. When I usually start a new project, this is the usual routine:
Step One: Idea strikes! I have to make that...N O W!!
Step Two: Head to my sewing nook and start my drawing....
Step Three: Halfway thru, hmmm....makebe I should look online to see some more inspiring ideas!
Step Four: Go online...
Step Five: (Usually 30 min to an hour, or hours, later) One of my kiddos complains of a rumbly tummy, thirsty throat, etc...
Step Six: I get up, put the sketch in my To Do Folder...
(at this point, I have forgotten my brilliant idea)
Step Seven: Idea strikes! REPEAT STEPS 1 thru 6
So, I have decided to go through my list one by one and to help me get thru each project I am setting an alarm. I think it will force me to get thru more projects, and in turn make things that will be fast and easy to make... so here goes!
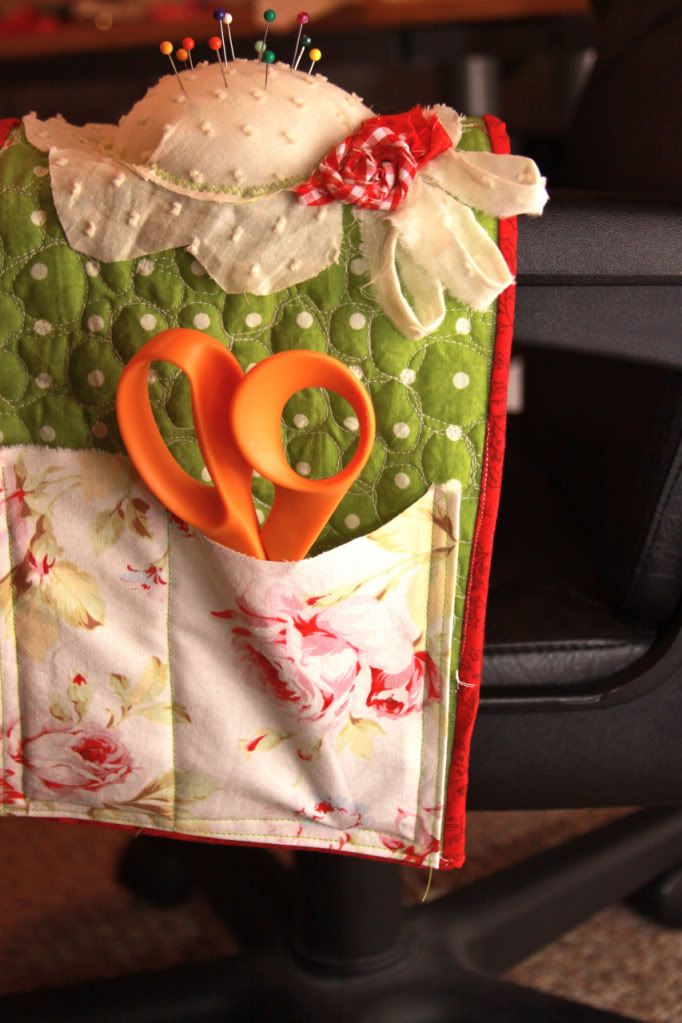
Pin Cushion Quilt
(it's for over your arm chair!)
D E T A I L S:
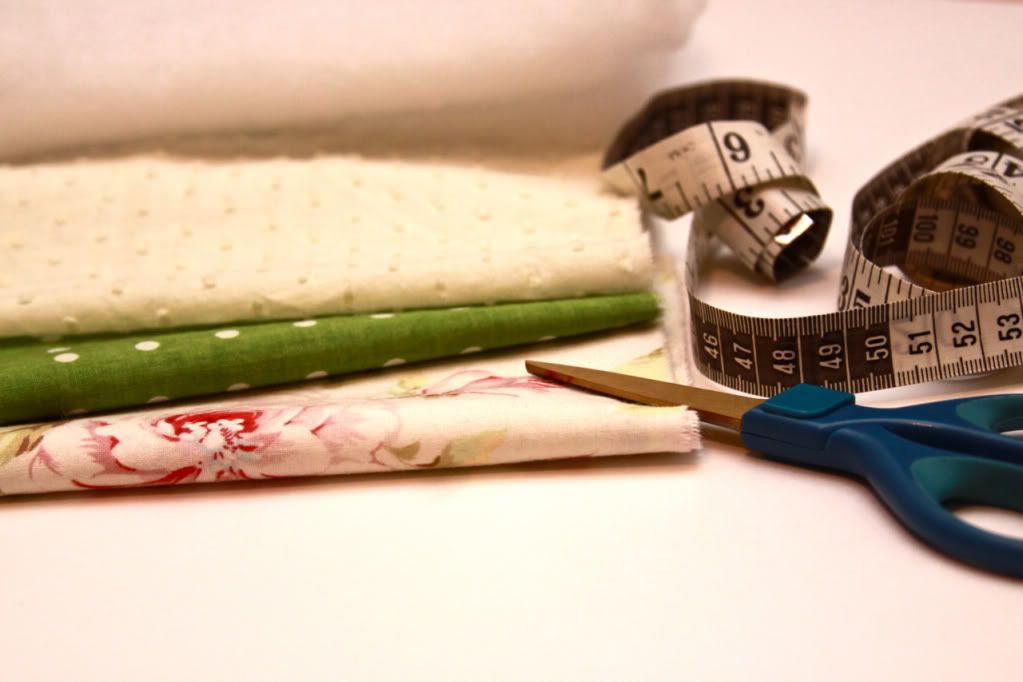
* (main piece)2 pieces of fabric cut 23" X 7"
* (main piece) batting
* (pocket) apx. 8" X 12" (I altered it from
that for asthetics)
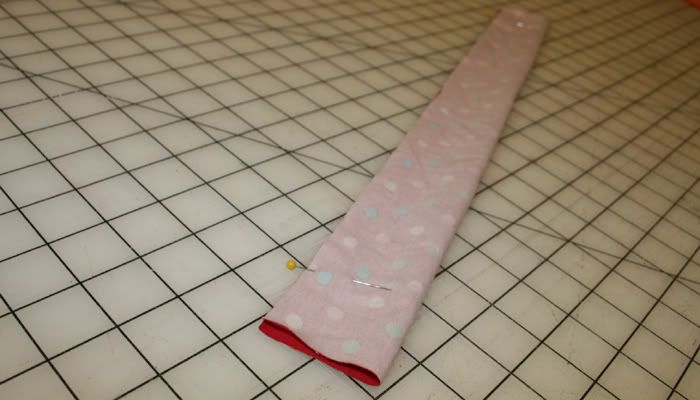
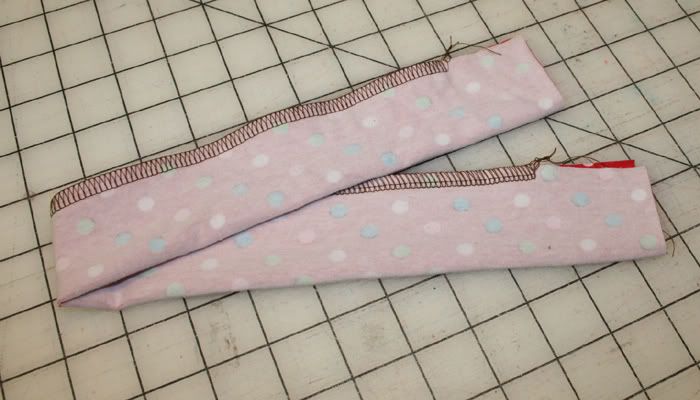
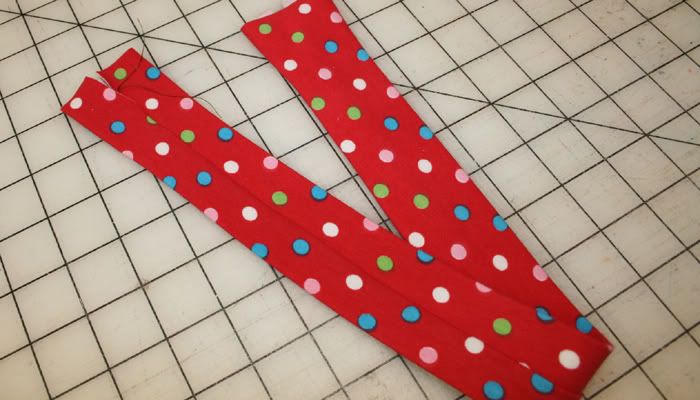
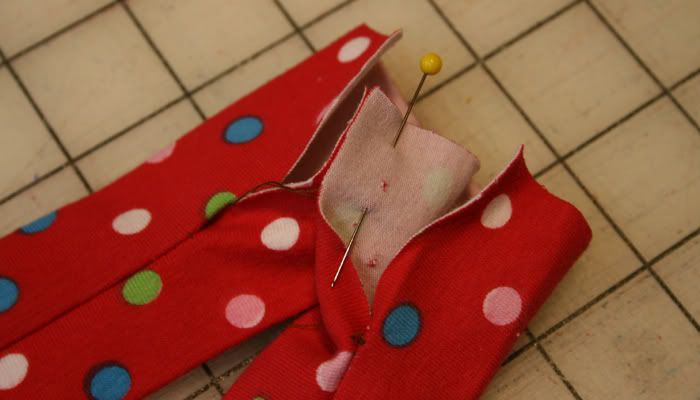
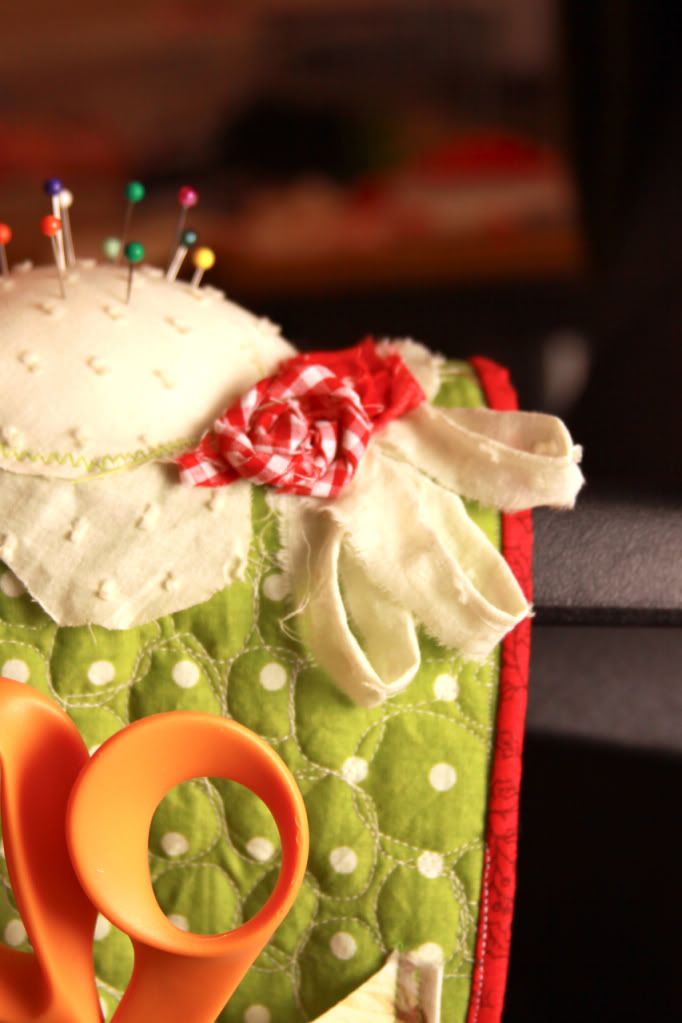
* (binding) 2" X 65"
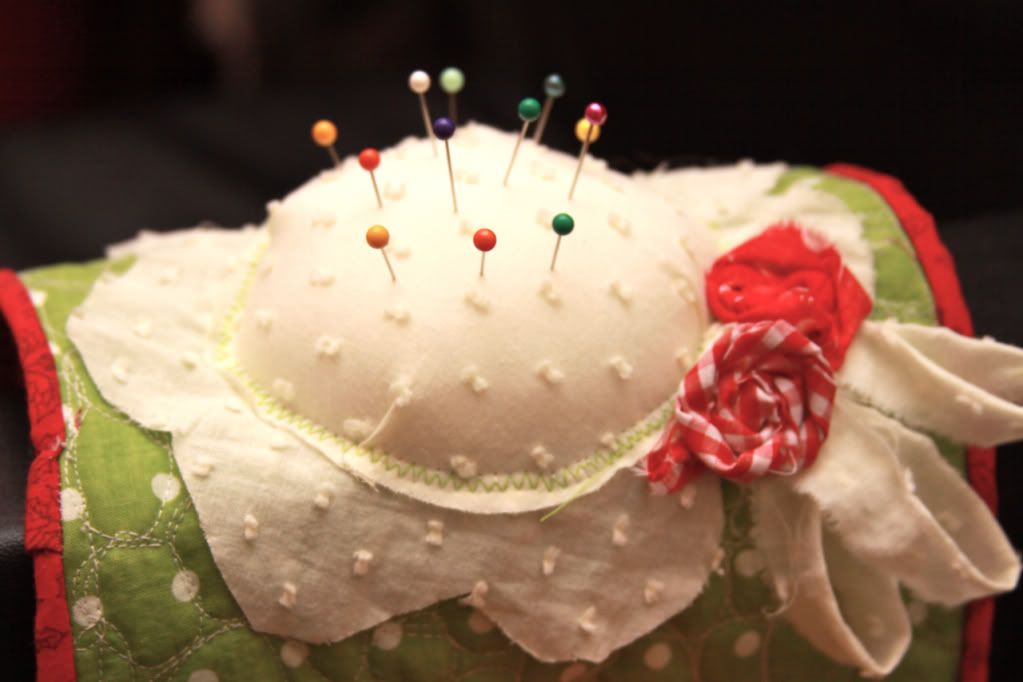
* (flower center) 4" X 4"
* (flower center)fiber fill
* (flower petals) Fabric cut 6" X 6" (then cut to resemble petals
* (scraps for rosettes and leaves)
I wanted something that would go over the arm of my chair that would give me quick access to pins, scissors and other supplies I use every time I sew.. (ok, ok, some candies too!)
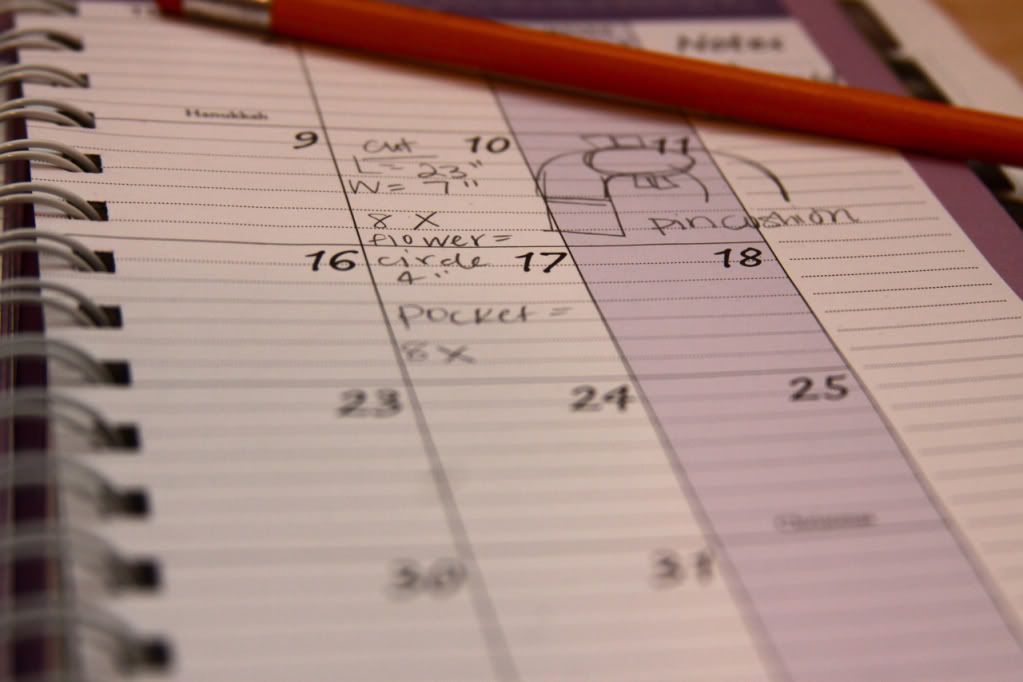
I drew a quick sketch on my calendar of what I was thinking.
I took my tape measure and made an estimate of where I would like it to begin and end, and that is where I came up with my measurements (feel free to adjust accordingly).
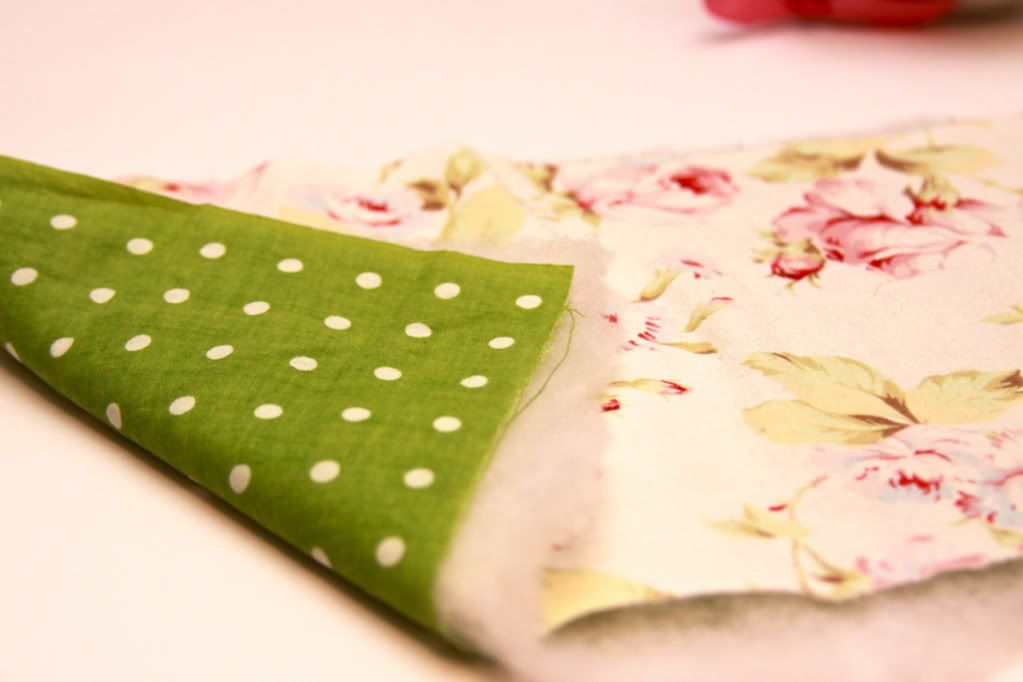
I cut 2 pieces of fabric and bating in a rectangle. (cut 23" X 7") and assembled them like a sandwich, with right sides facing out, and pin through out.
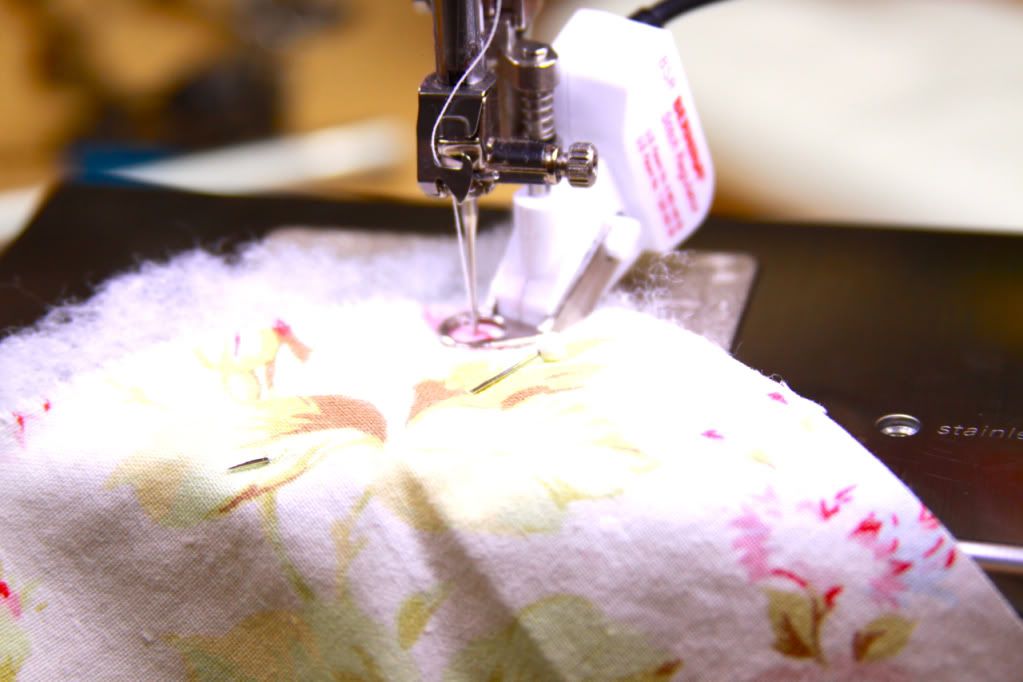
This also gave me an excuse need to use my new BSR foot (it is a free motion quilt foot) :)

I played around with circle swirlies all over....
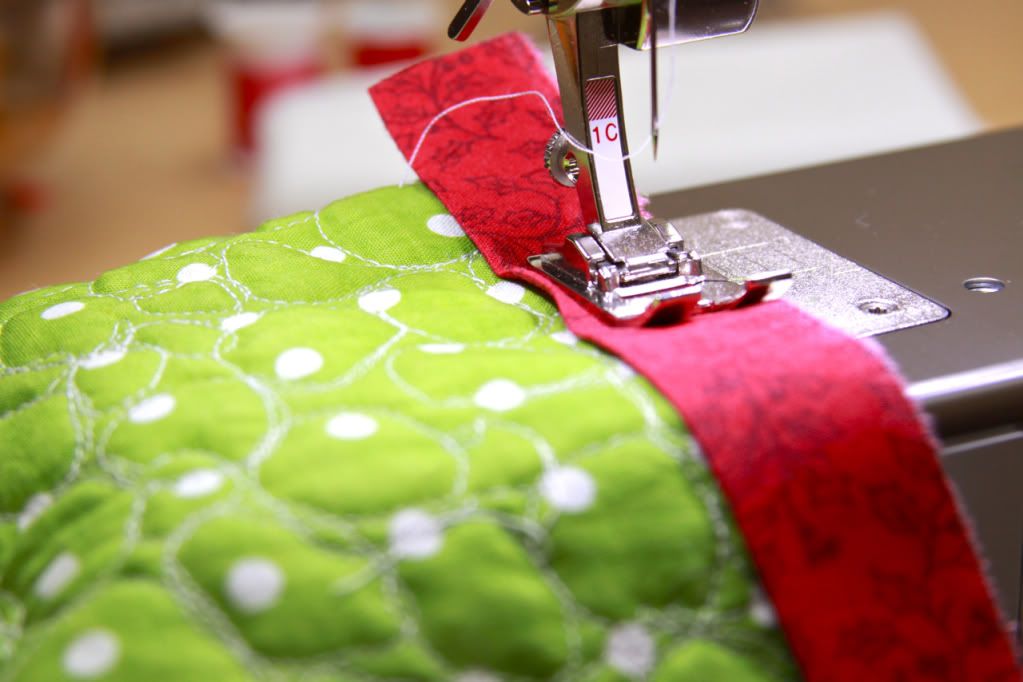
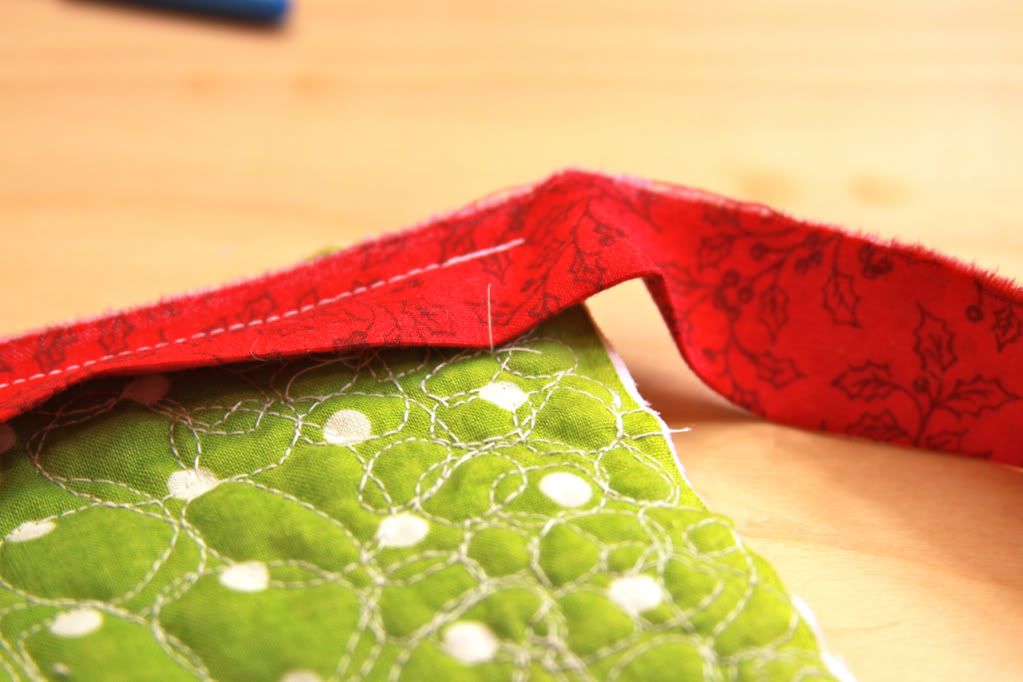
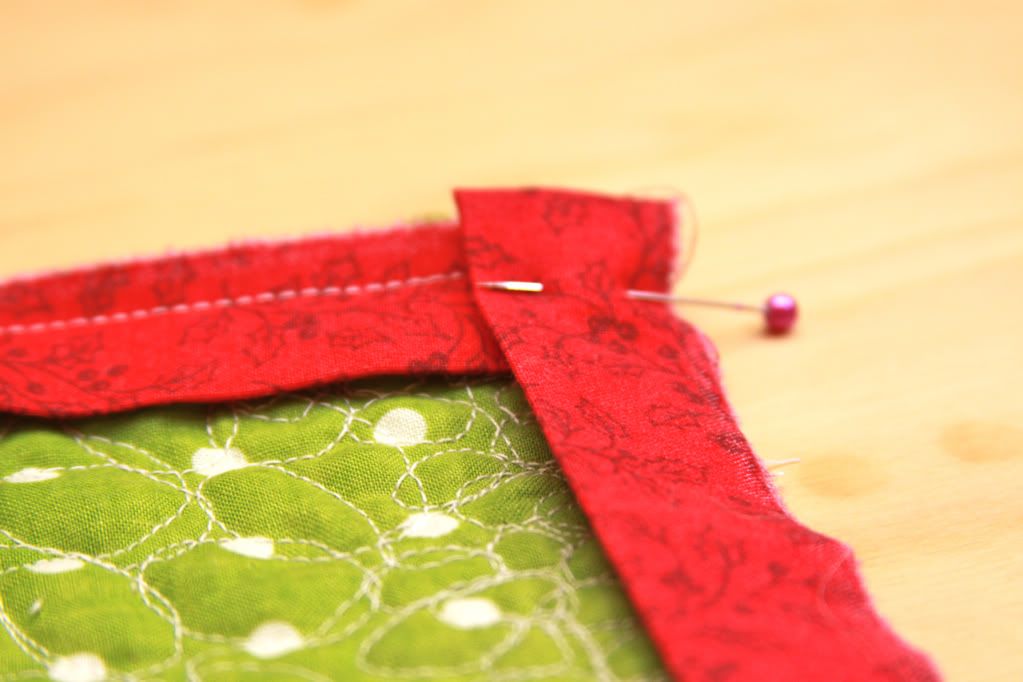
Another first, I tried my hand out at quilt binding. (truth be told, I still need LOTS MORE a little practice) So I am NOT going to add a tutorial on binding, but I will show you the pictures of it along the way. There are tons of tutes out there that you can google, that will help you way more than mine.
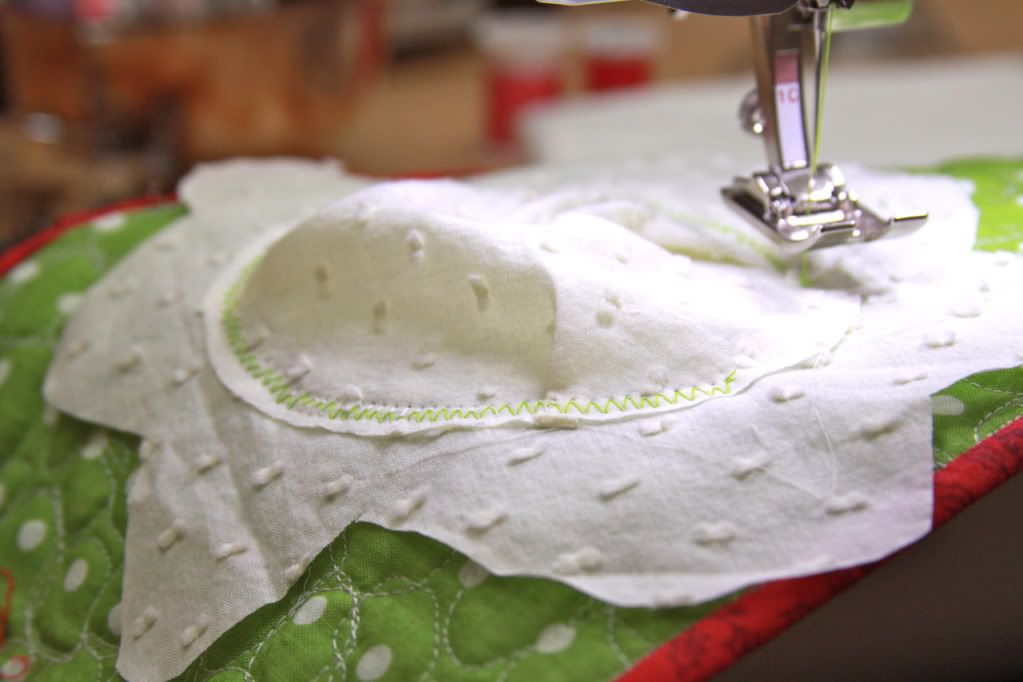
I cut a circle with a diameter of about 4". Once I cut it out, I placed it on a piece of fabric about 6" X 6" and cut petals around the edge.

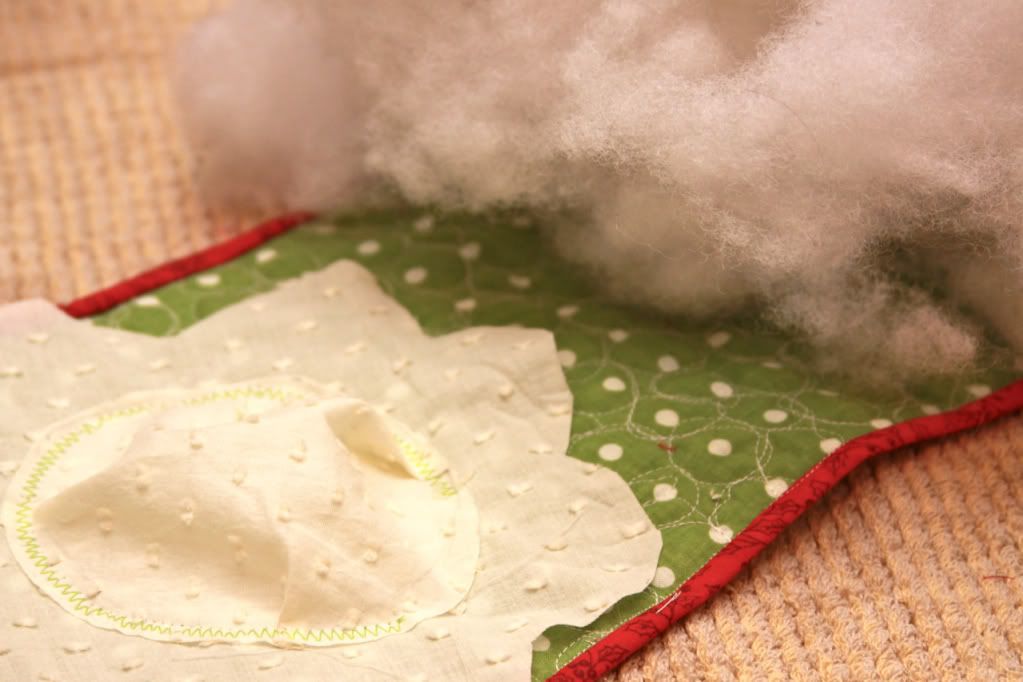
Then sewed all the way around, adding a pleat every few inches to make the edges lay flat, leaving about an inch open...
Now...stuff it! and finish the stitching.
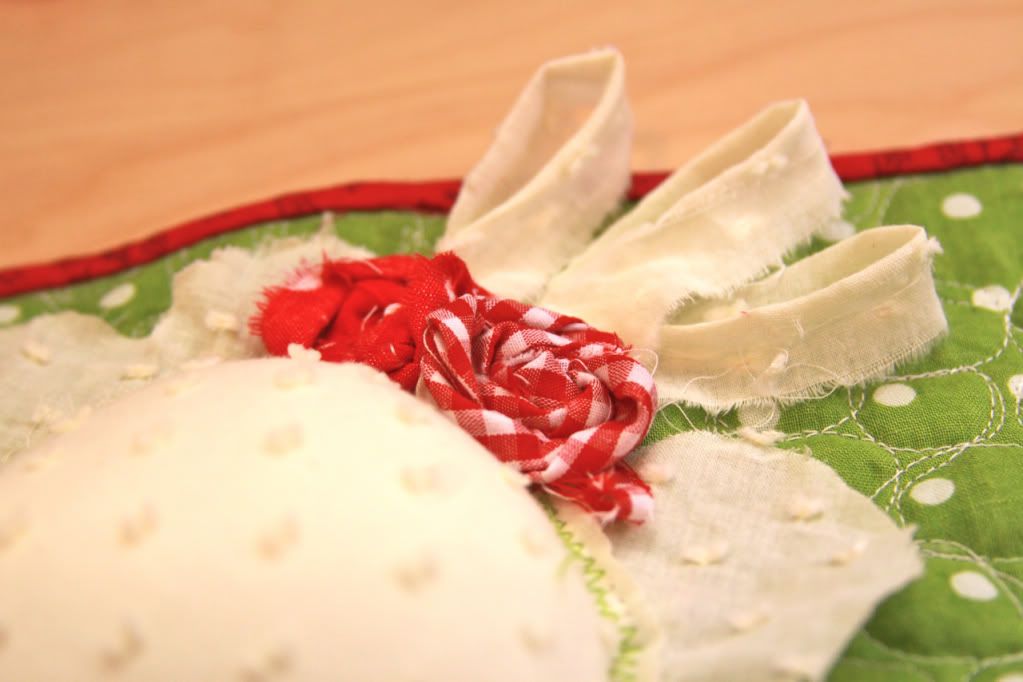
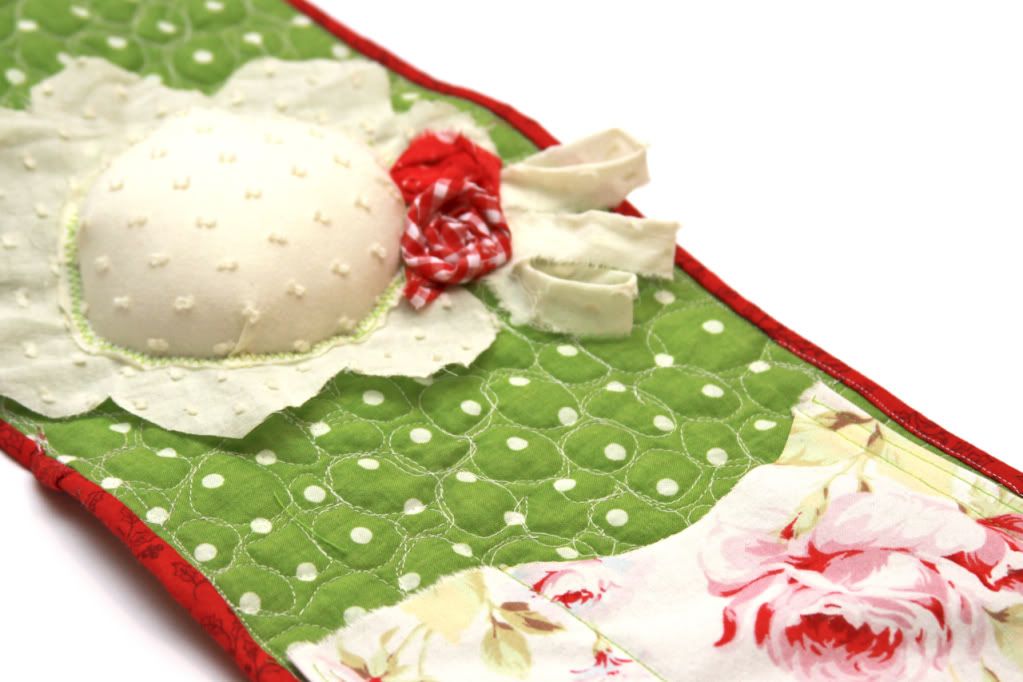
I added a couple of tiny rosettes and leaves.
Lastly, I added my pocket (leaving the top edge frayed, and altered just a bit)

No more looking all over my messy table top for my pincushion! :)
Hugs and Blessings,
Ingrid
{**quick update, my plan did not work...at ALL. Not only did I completely forget to turn the timer on, BUT, this post is going up 3 days after I started the original post**}