TUTORIAL ... Easy Knit Headband -hairband Instructions
These are the BEST!!!! I love them, my girls love them... they are fun and quick to make... not to mention adorable to match up with any outfit!!! You'll soon be making one in every color!!!! :-)
These are the BEST!!!! I love them, my girls love them... they are fun and quick to make... not to mention adorable to match up with any outfit!!! You'll soon be making one in every color!!!! :-)
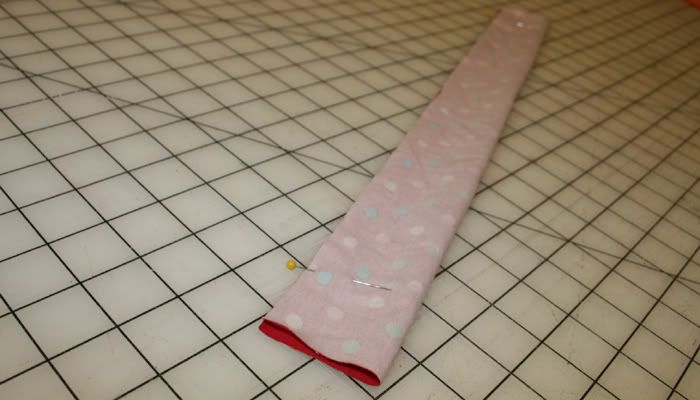
You will need a piece of stretchy knit fabric... I normally cut mine 18" long by 4" wide. This size nicely fits toddler thru adult! If you want a wider, funky hairband instead of 4" wide go as wide as you like! Once you have your piece cut fold it in half as shown below! You will want to leave the ends open a little (about 1") so I place a pin there to remember not to stitch all the way to the end (ask me why I do this)! :-)
Now stitch as shown below... NOTE... I use a serger OFTEN, most normal people would probably use their sewing machine... I just happen to have a serger addiction! :-) SOOOOO... you can just do a straight stitch with your sewing machine!
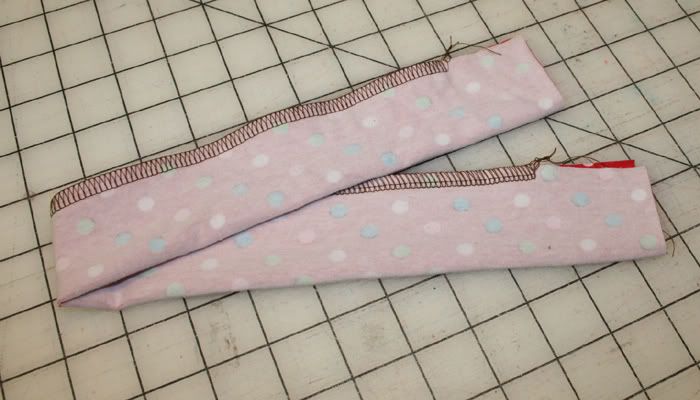
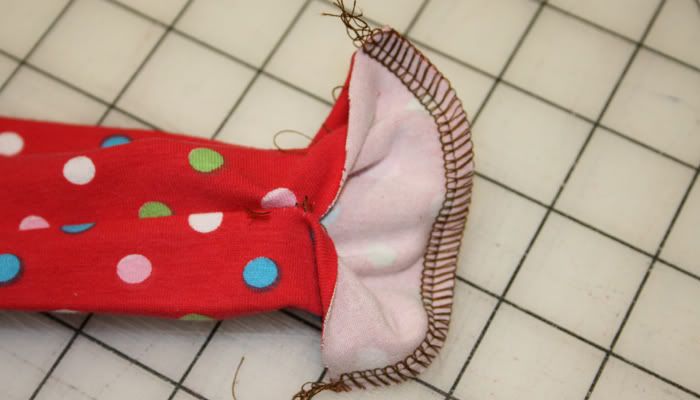
After done stitching you will turn right side out and iron! I like to move the seam around until its in the middle and iron... shown below. The side where you see the seam will be the inside!
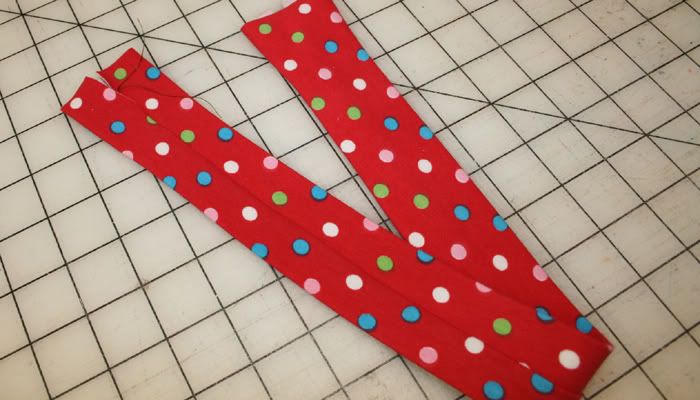
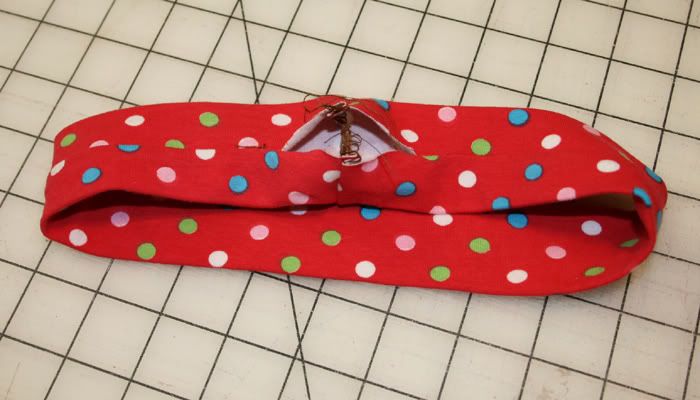
Now you will want to join your ends... pin your starting place, take to the machine and stitch the ends together... shown below...
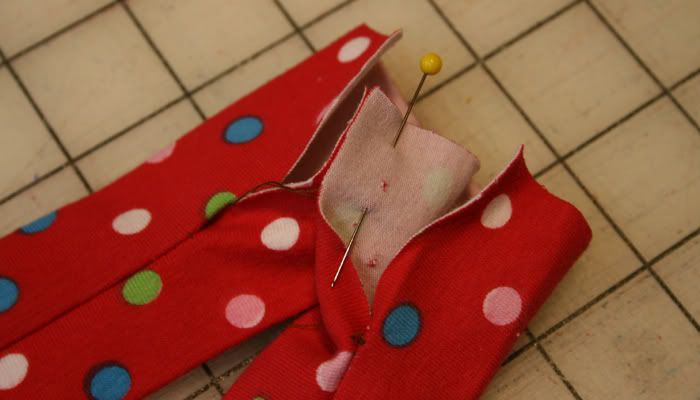

Now pull straight and tuck everything that is still sticking out in! :-)
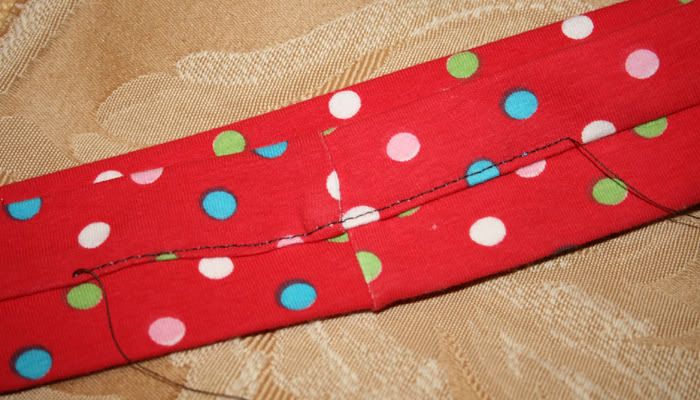
Now at this point I am just going to stitch a stright line along that center seam to close everything up. If you dont want to see the stitching you could hand stitch this closed. It normally does not matter to me as this is normally the back bottom of my hairband! OR... another FUN option is that it can be the top front and you can embellish it with a flower, button, or whatever fun thing you can think of to go right over that stitching to cover it up!
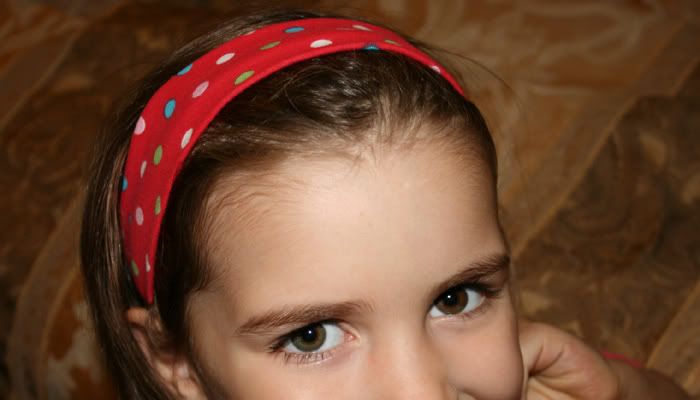
You are ALL DONE!!! Now, go find a little cutie to try it on!!! OR try it on yourself, find a mirror and admire your work!

I hope you enjoyed!! :-)
Blessings,
Charity <><


No comments :
Post a Comment
Thank you for taking time to comment at karatootie! Your comments light up my day! Big Hugs! Ingrid