Anyways this little tute, is dedicated to our Codi. It is a blanket for our other furry friend Minnie. She is a tiny little thing of a Maltese so I would really compare her with a baby doll. So if you only have the latter, you can still make your little girl(s)very happy with a custom blanket for her little friend.
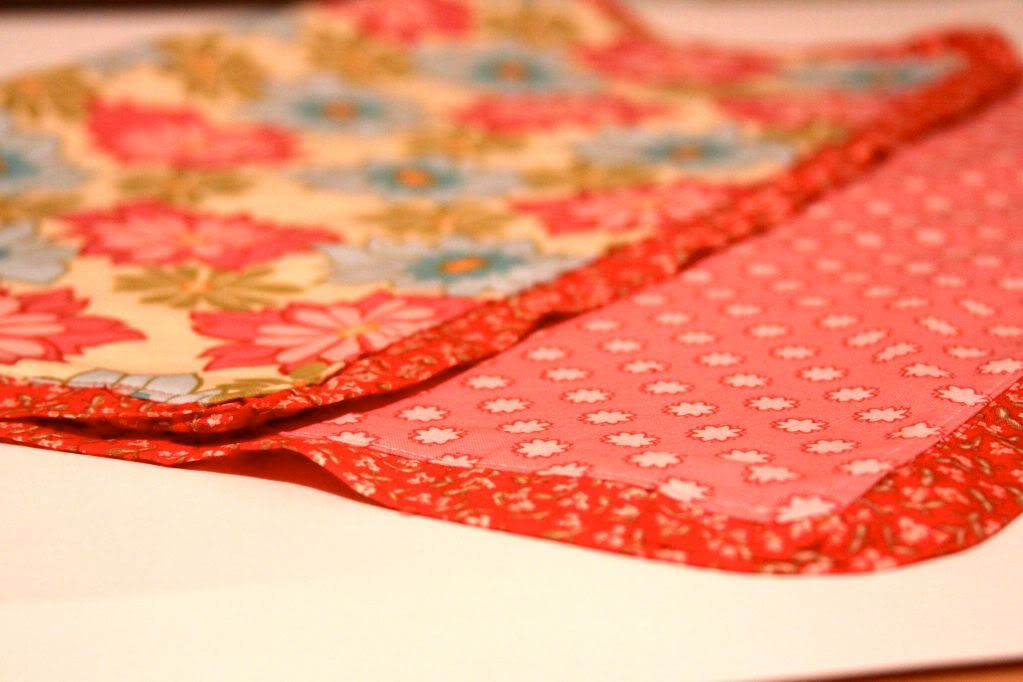
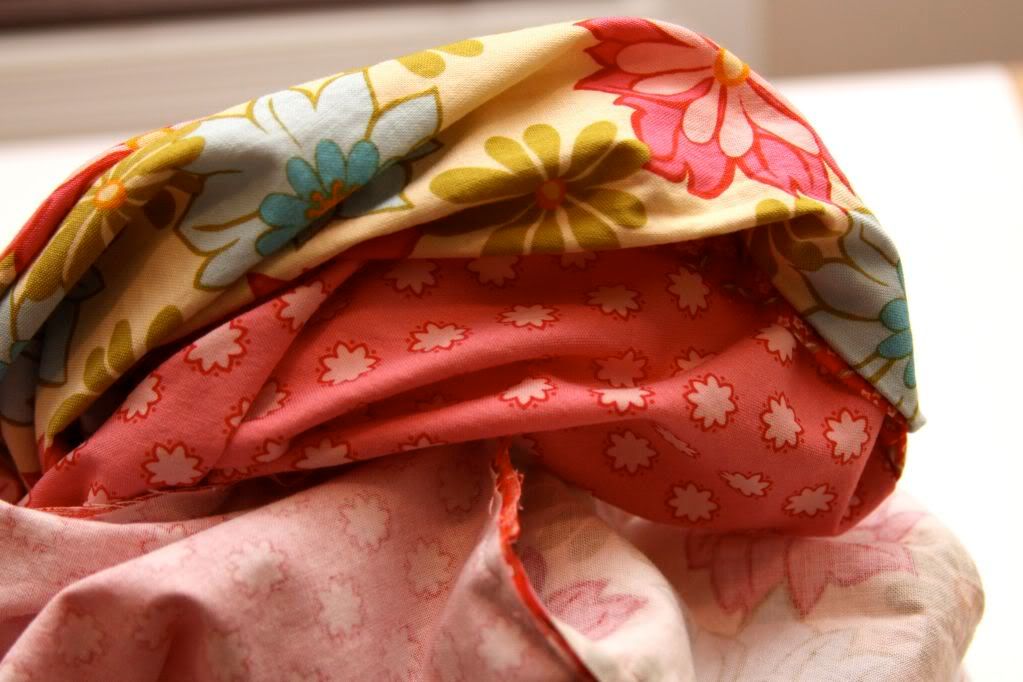
Here are the fabrics that I used. I wanted 2 coordinating pieces for each side and a contrasting piece for the ruffle. You can chose to do 3, 2, 1 or even 10! Be creative!

This is a very versatile blanket. You can alter the colors, the dimensions, the colors, even the shape!
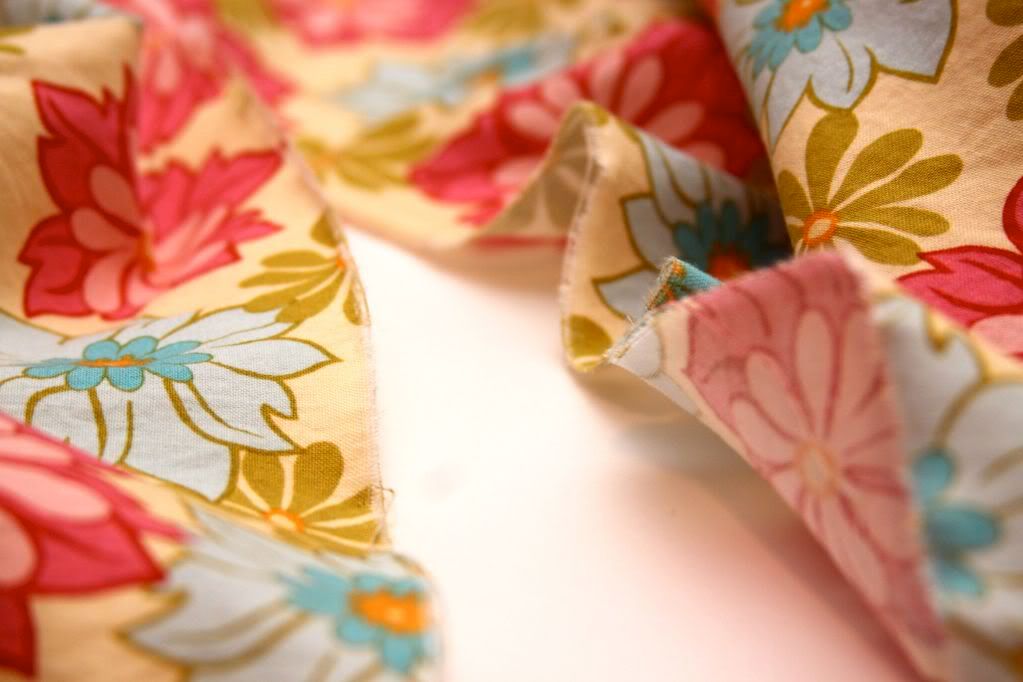
I took my 2 coordinating fabrics (using the Sandi Hendeson Ginger Blossom line) and cut each one into a 17 X 24" piece.
I actually rip my fabric, it rips right at along the grain and makes a straight line. So if you're frustrated at the end of the day, because you've already cleaned your kitchen 3 times today, snip a piece of fabric and...
RRRRRRRRIIIIIIIIIIIIIIIIIIPPPPPPPPPPP
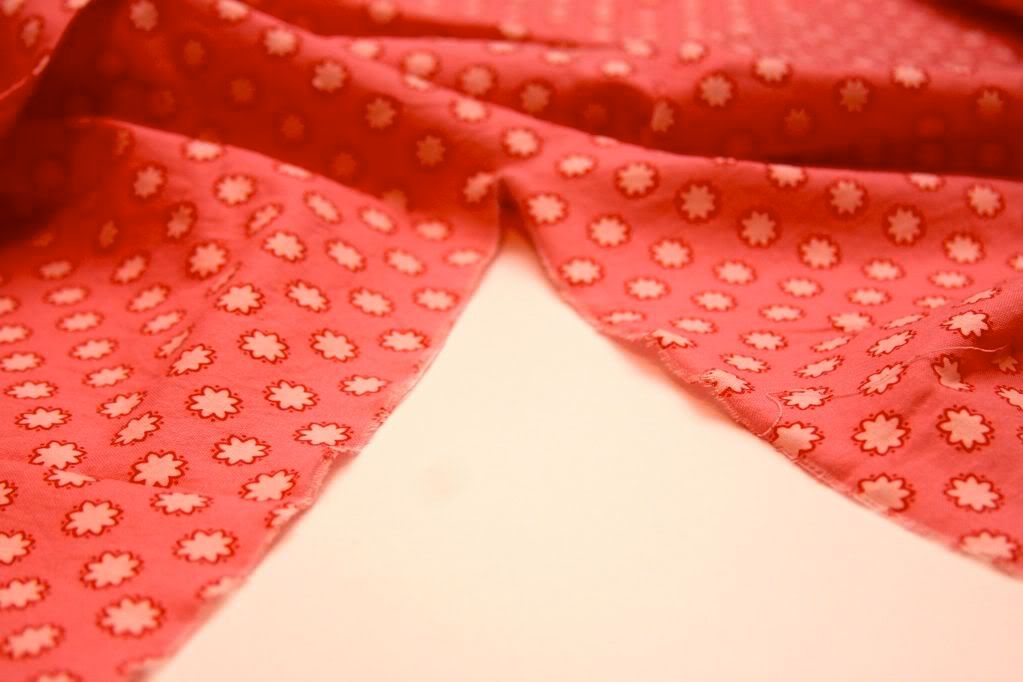
Then measure your width to 24 and cut both pieces to that width. (I lined mine up and cut once)
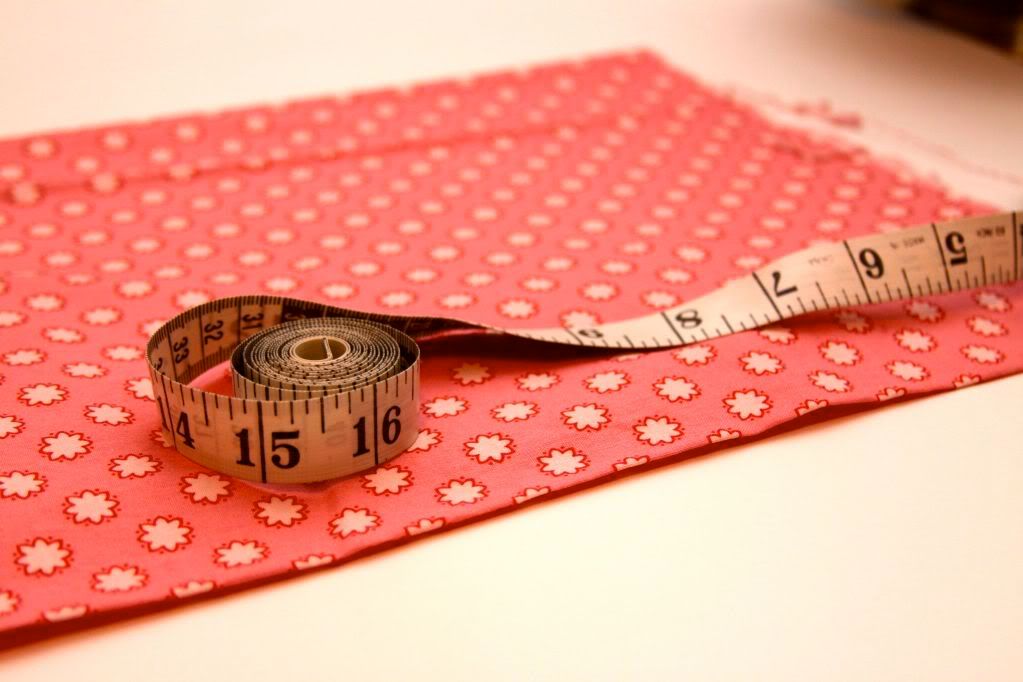
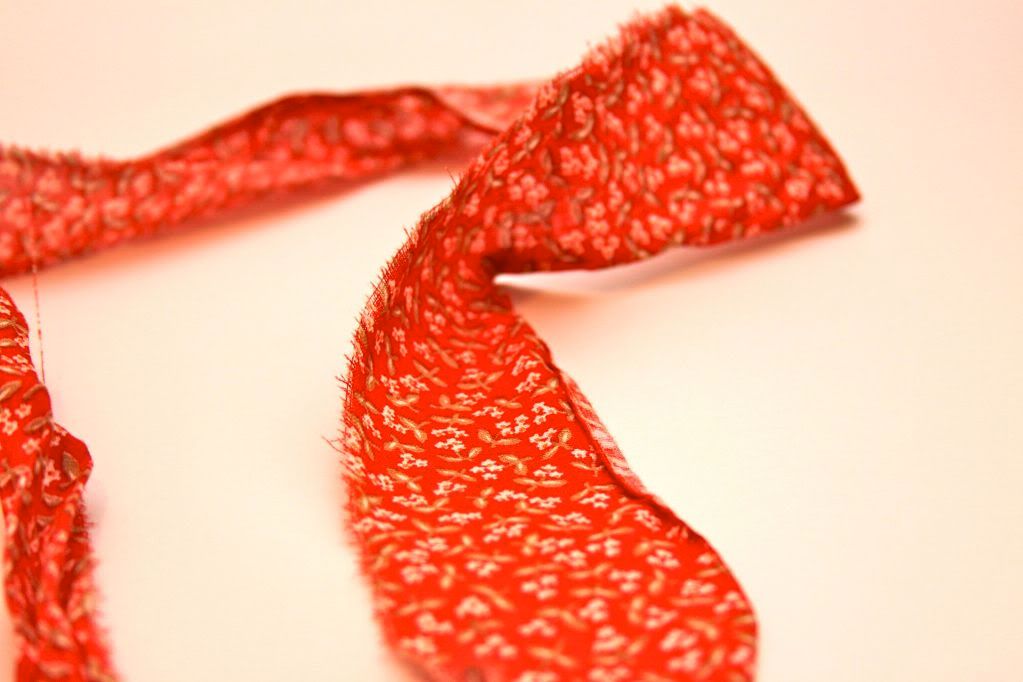
Since My piece is essentially 4 sides measuring 17 X 24 X 17 X 24 (equalling 82" total) I cut my ruffle piece 90" (this will give me some extra to play with as well). (this will not be a full ruffle and pretty much just be gathering at the corners) To get that, I ripped two, 2" pieces salvage to salvage. Then, sewed them together creating one long strip.
Next I put my main pieces right sides together.

Following, is probably the most time consuming part. You are going to sandwich your ruffle piece inside the 2 pieces and pin all three together. (sandwich on the inside, so when you're pinning you can't see the ruffle)
At the corners, I just hand gathered, to create a little gather, and go around the edges. Pin in place.

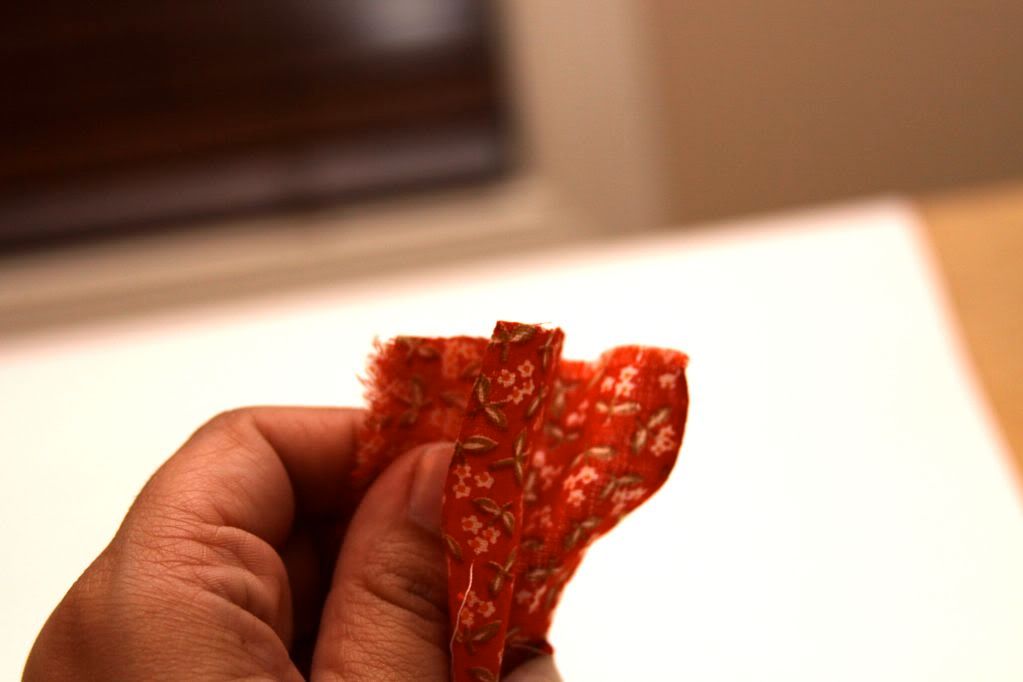
You will need to match up the ruffle piece create a seam.
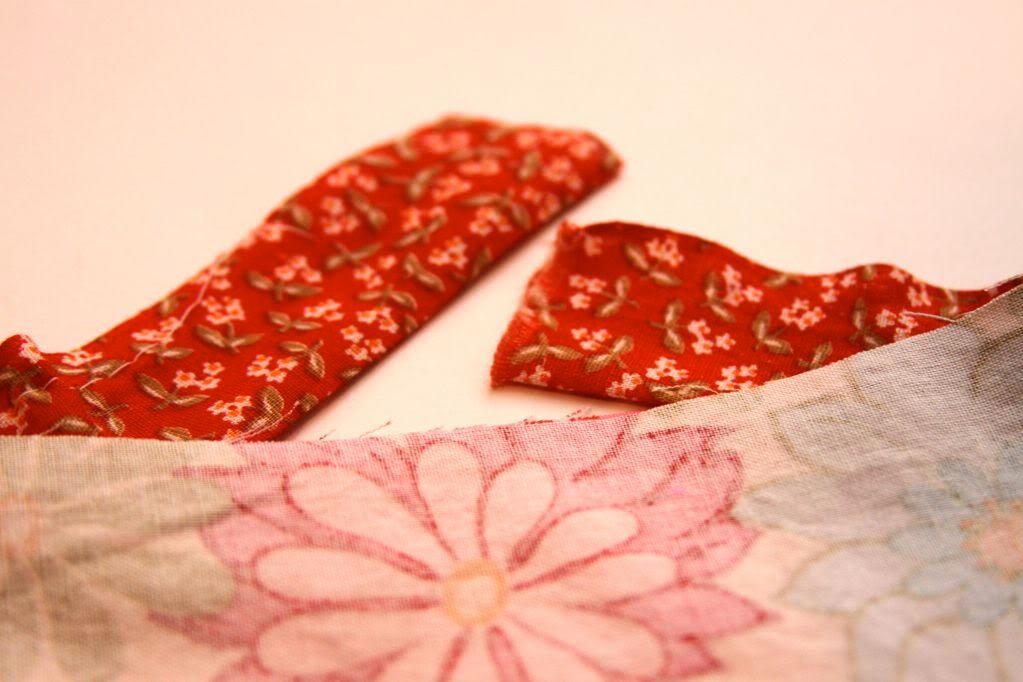
Match it up, sew a seam and cut off any excess.
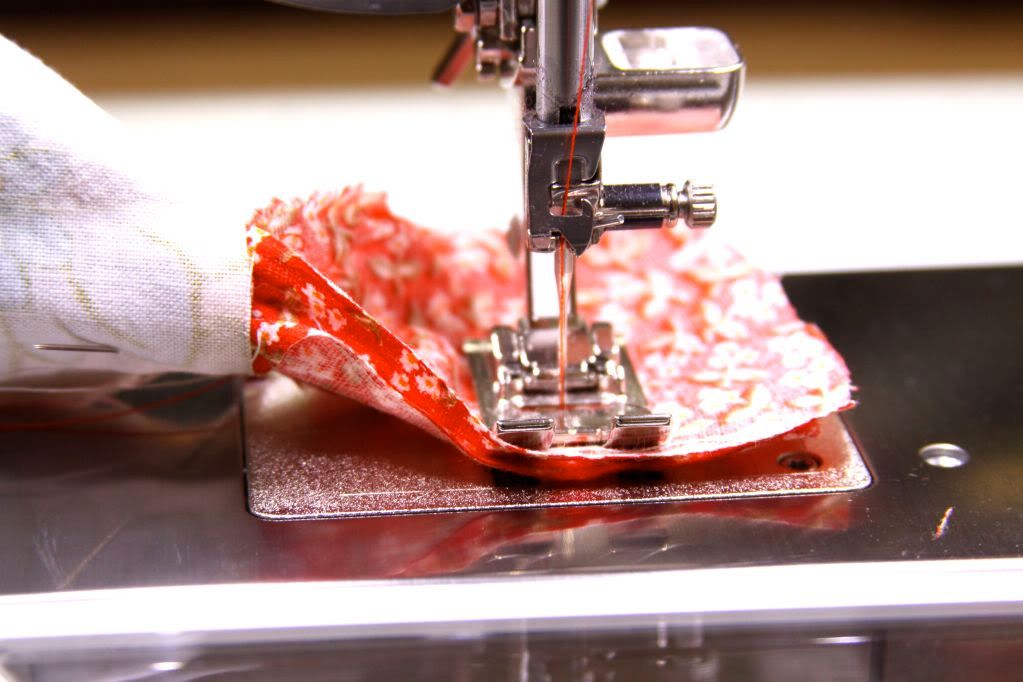
Next sew, using a 1/4 inch seam almost all the way around. (start in the middle of one of your long sides)(not shown here)
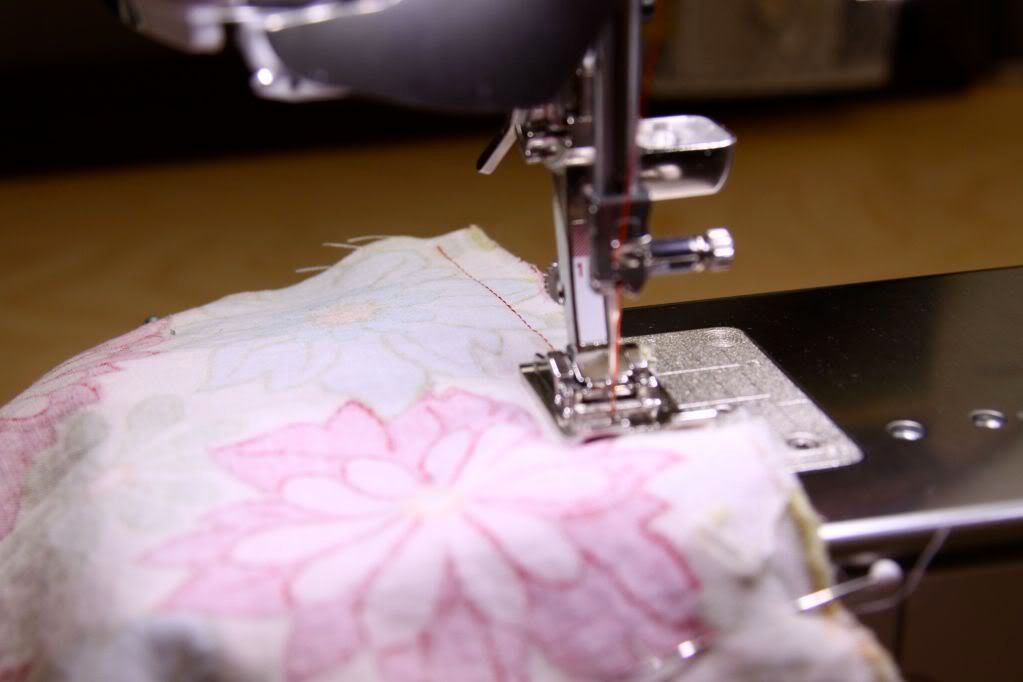
You will need to leave a space (large enough to get your hand through, to pull the fabric right side out)
Go ahead and pull it right side out, and pin the hole in place.

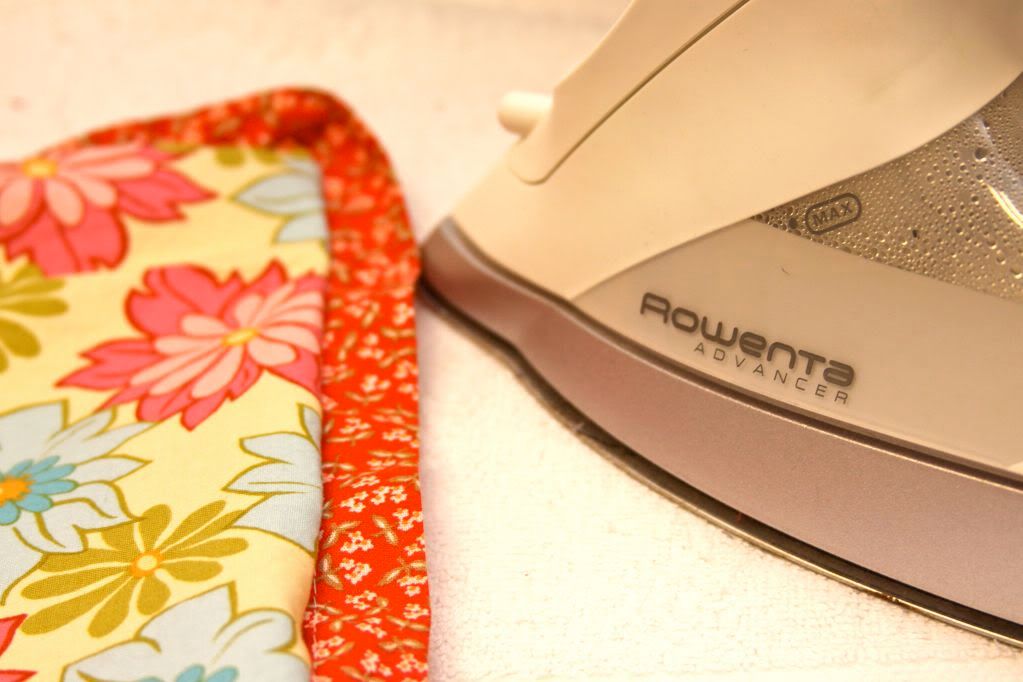
Head to your iron and press the whole thing so that it is crisply ironed.
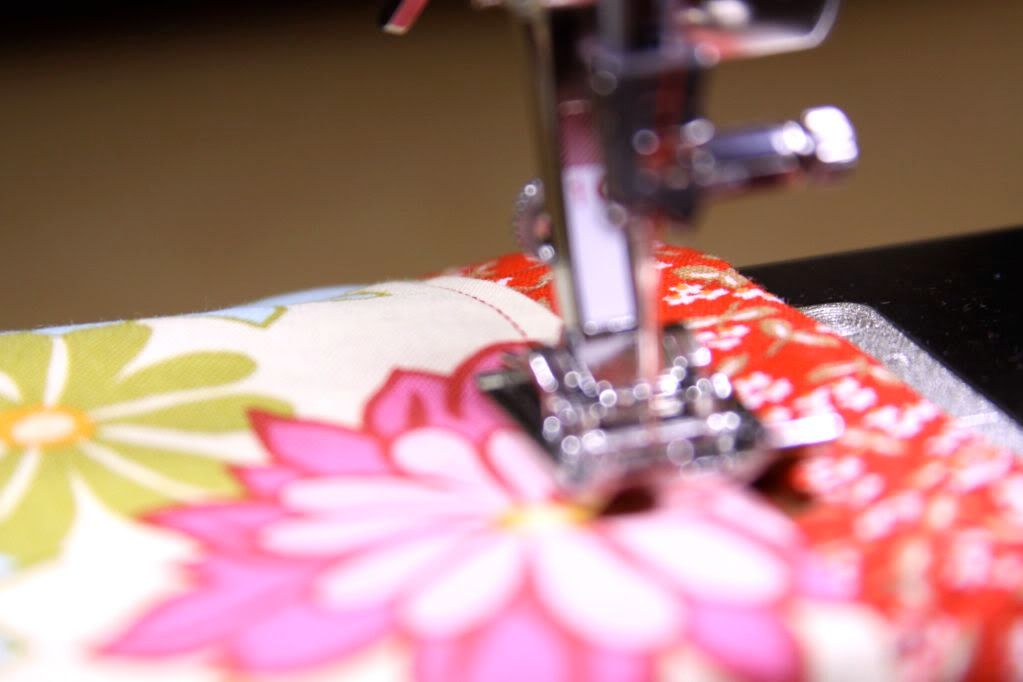
Last step, go around the whole thing with a topstitch about 1/4 from the edge.
Sit back and admire your new blankie. Wouldn't this make a cute Christmas gift?

Hugs and Blessings!
Ingrid


I love the fabric combination!
ReplyDeleteOkay, a) love the fabric choice b) love the macro photography and c)Would you consider linking this over at Tell Me Tuesday on Vintage Pollyanna? I'd love to have you! http://vintagepollyanna.blogspot.com/2010/11/tell-me-tuesday-link-party-1.html
ReplyDeleteSuch pretty fabrics!! Please come link up to Handmade Tuesdays @ Ladybug Blessings www.ladybug-blessings.com
ReplyDeleteI gave you an award! Stop by and check it out!
ReplyDeleteww.zibelineknits.blogspot.com
So cute!!!
ReplyDelete