Because we have had such success in our first MONTH of running Karatootie. As a Thank You to all of our readers and Followers, I have decided to give you a secret glimpse into my applique.
When I first discovered the world of Boutique clothing and appliques, I learned one thing FAST, no one would give away their tricks. As a (fairly) crafty mom of a new baby girl, I wanted to dig my hands right in and learn. I didn't have anyone to teach me, so I just started playing around, making up my own techniques as I went along. I love to hear that other new moms want to make goodies for their little ones, something that can be passed on for generations. I always say that if I could do it, anyone can! (REALLY) If you are intimidated, don't be, just try it, and really the worst case is, it is not as cute as you'd like. It was still made with your precious hands, and if you enjoy the process, practice, you'll get better...I promise :)
So with that in mind, this may not be the best way, the fastest way, or easiest, but it is my way...and I want to share it with you....my newest best friends: :)
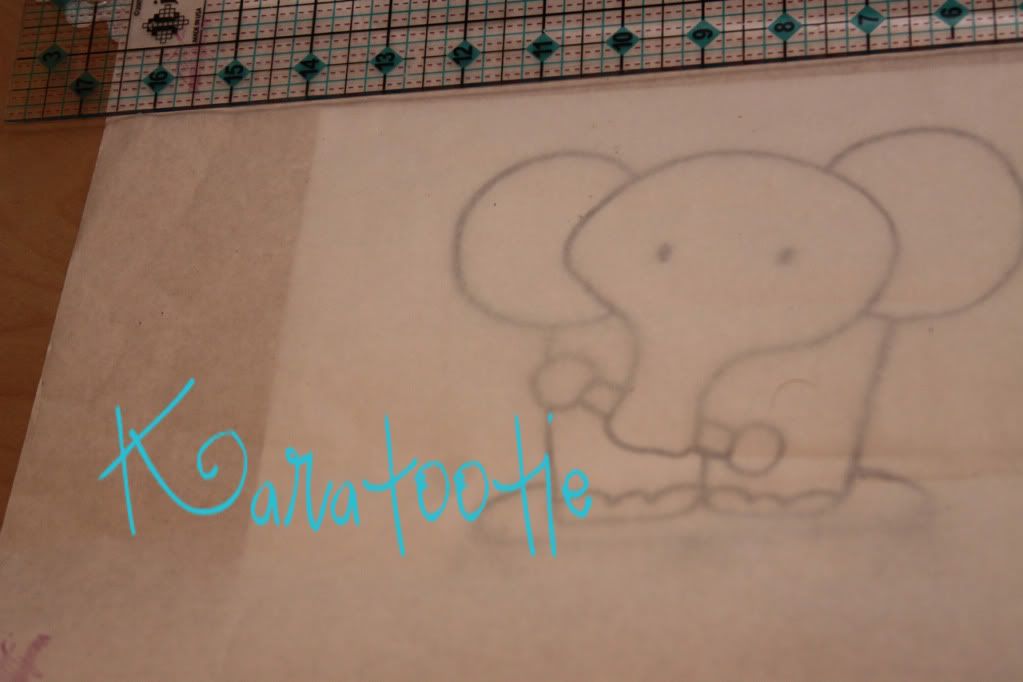
When I applique, my first step is drafting a design that I love, in this case, it is a sweet fumbling lil' elephant, I have named Mr. Saggy Bottoms. I drew him out on unlined paper. If I like the design enough, I go over it with a black marker to make it easier to see. (I used to use sharpies, but after the cloud of disorientation had lifted, I decided to go with plain ol crayolas)

Next, I place my design under my heat n bond. Remember that your design will be the opposite of however you put it on the heat n bond. So for example here my trunk will actually end up going to the right instead of the left. Speaking of heat n bond, I use light, which means it has less glue to gum up your needle.
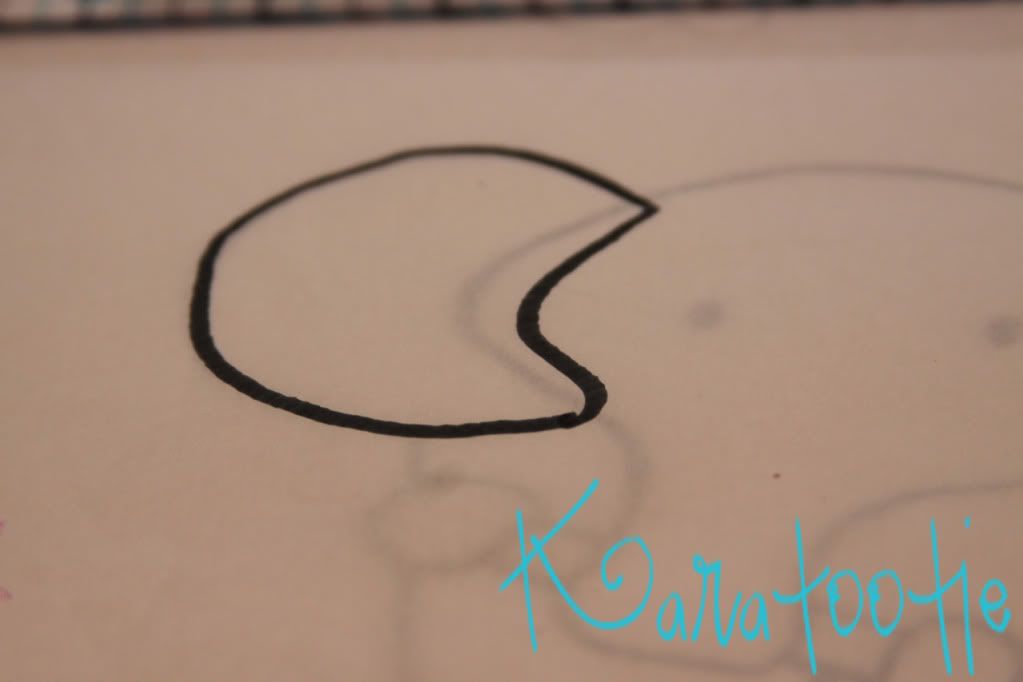
Don't put your marker down just yet, next I trace each piece Mr. Saggy Bottoms. Starting with the ear here, and I am going to overlap it just a bit so that it can go under the face, and be more secure when we start stitching :)
Here are my pieces so far:

Go ahead and get your pieces traced out one by one and join me next week for the next steps :)
Hugs and Blessings,
Ingrid


oooo! i cant wait!! cute! cute!
ReplyDeleteoo! I've never had anyone explain these steps to me either. Thank you so much for the clear pictures and explanation!
ReplyDeletelove this post! I have had troubles in this area and am looking forward to trying your tips!
ReplyDeleteAlso hoping to win the fabulous prizes over at TT&J!