Easy Peasy Drawstring Baggie
I decided to make a few of these for the kids for advent. This is our first year to all be participating. My little dude is 6 and the Cuppicake is 4, so they both kind of "get it" now :) ((getting the gift part...anyways))
This one is super easy. You can do it by hand as well, if you don't have access to a sewing machine.
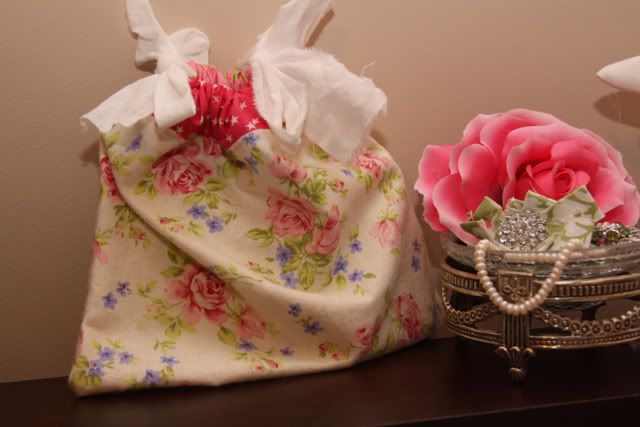
I decided on 3 fabrics for the main body of the bag and another one for the drawstring.
CUT:
2 pieces (the main body) to 11" X 8"
2 pieces (the top band of the bag) 11" X 4" {I used different fabrics for each side}
1 piece 1.5" X 35" {I wanted a tattered effect, so I left the fabric ripped at the edges}
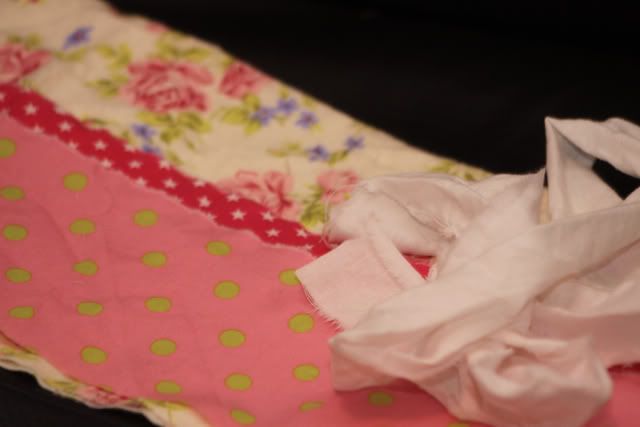
Assembly:
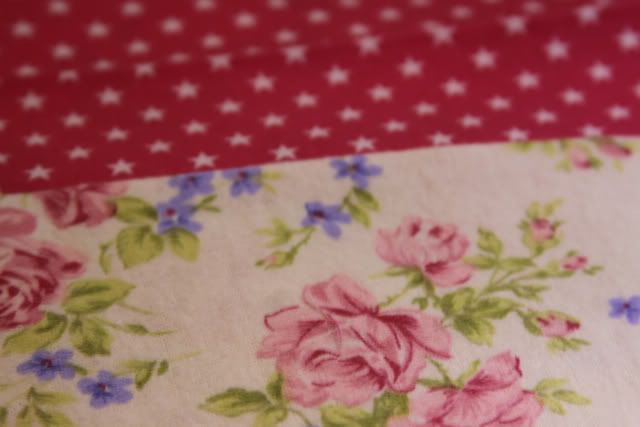
Put the top of the bag to the body, right sides together.
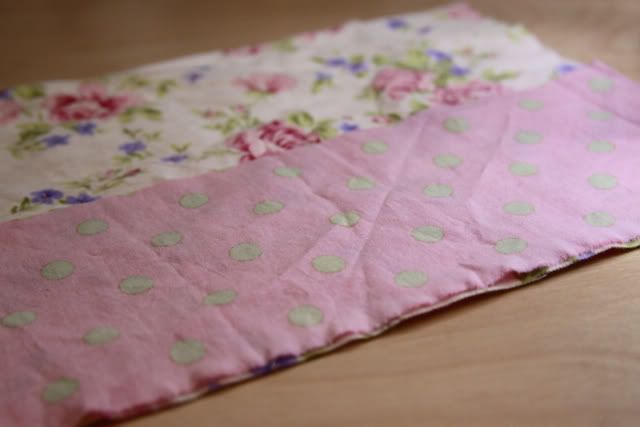
Sew them together. Do both sides....
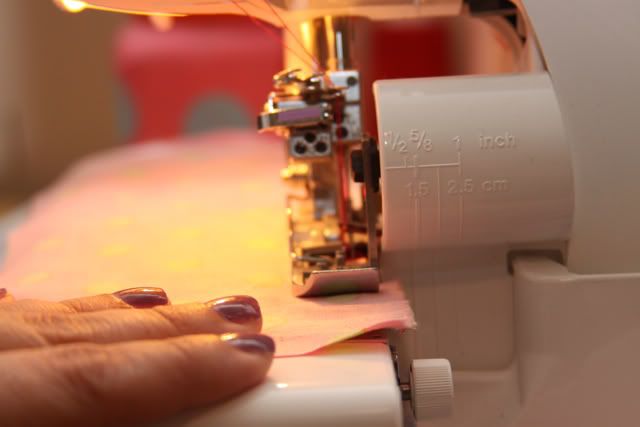
Press, Press, Press {again, I was going for tattered, to I did not finish (press) the sides}
Press the top band in half

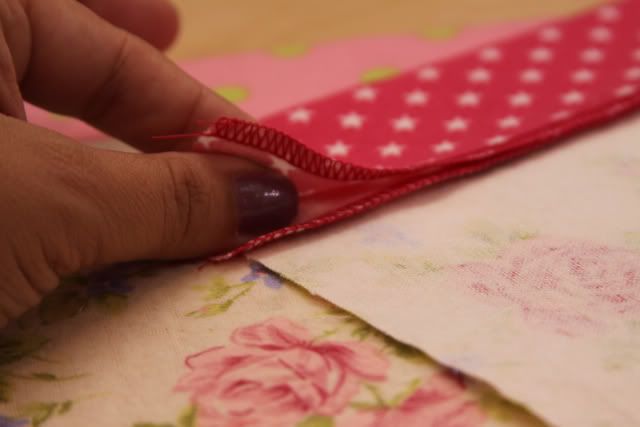
Topstitch
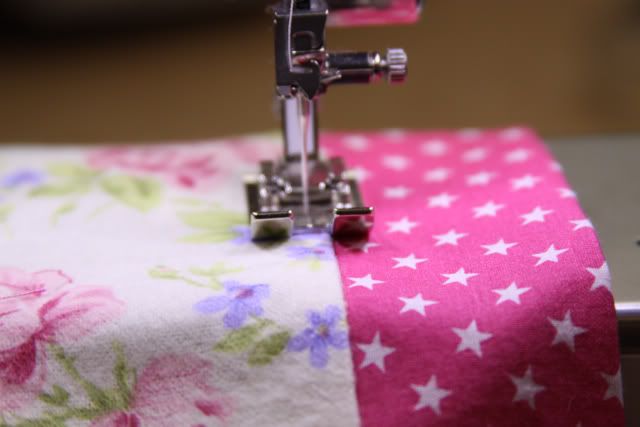
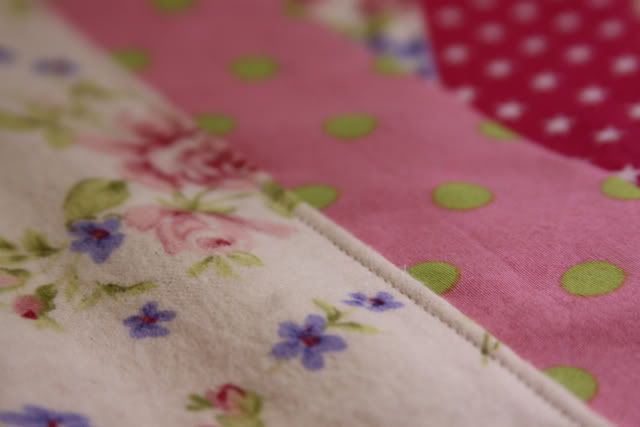
Now sew those two sides together up to the top band {don't forget to start and end with a backstitch}

Turn inside out
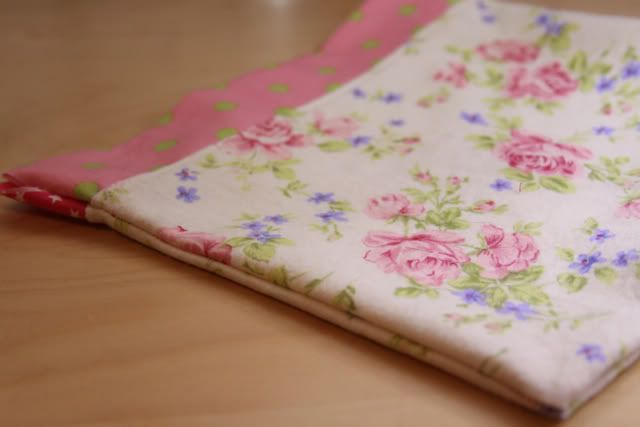
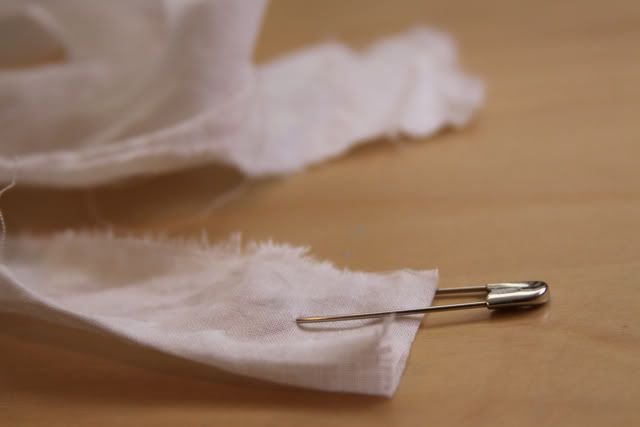
Get your drawstring and attach a safety pin at one end
Feed it through your first band
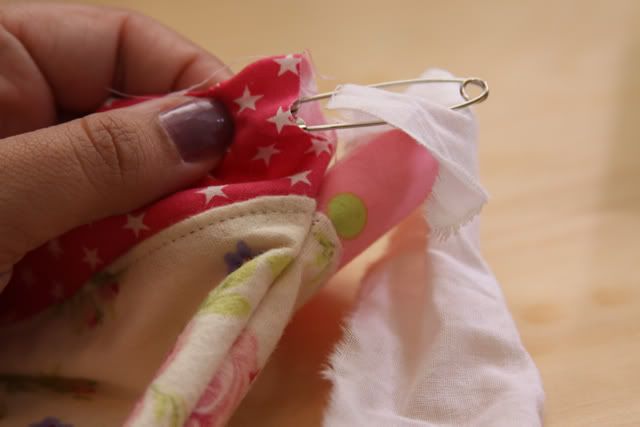
then the next
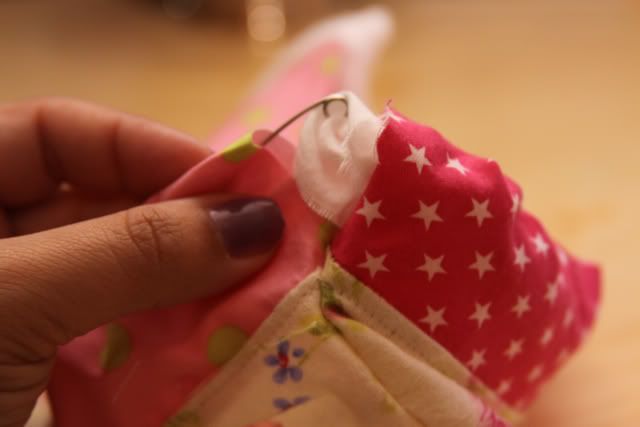
Snip it in 1/2
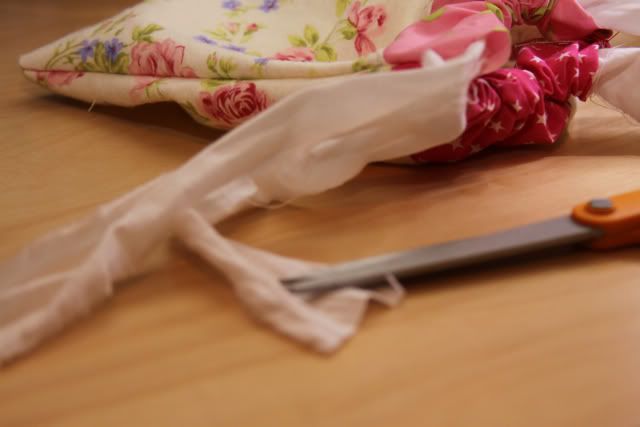
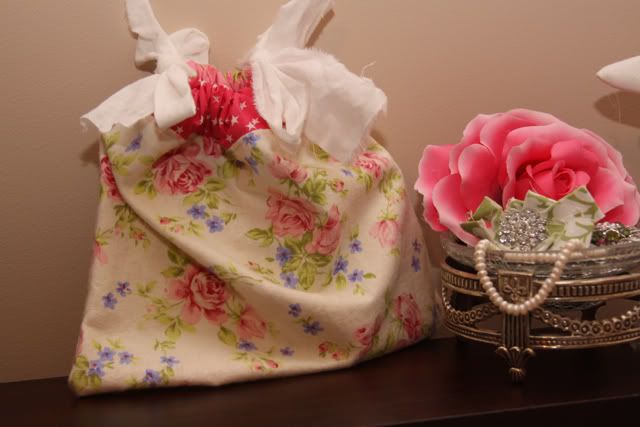
Fill with goodies, cinch and admire!
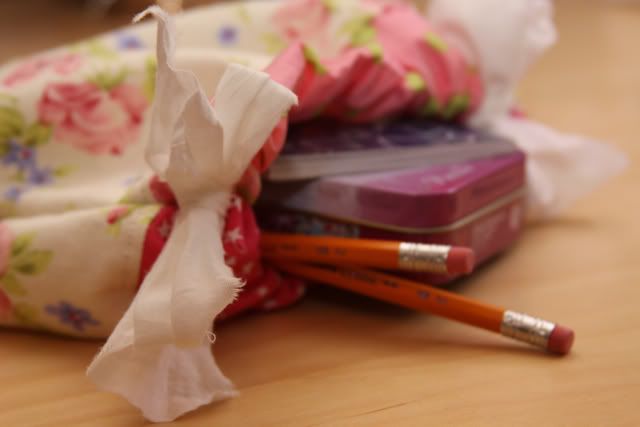
See...I told you that would be easy peasy!
Hugs and Blessings,
Ingrid



that turned out super cute, love the fabric. visiting from Tutorial Tuesday.
ReplyDeleteThis is so adorable. They would also make cute "purses" for little girls to carry after they open the gift.
ReplyDeleteyou make everything (no matter how "easy") look absolutely adorable... now I just need to get myself a sewing machine
ReplyDelete