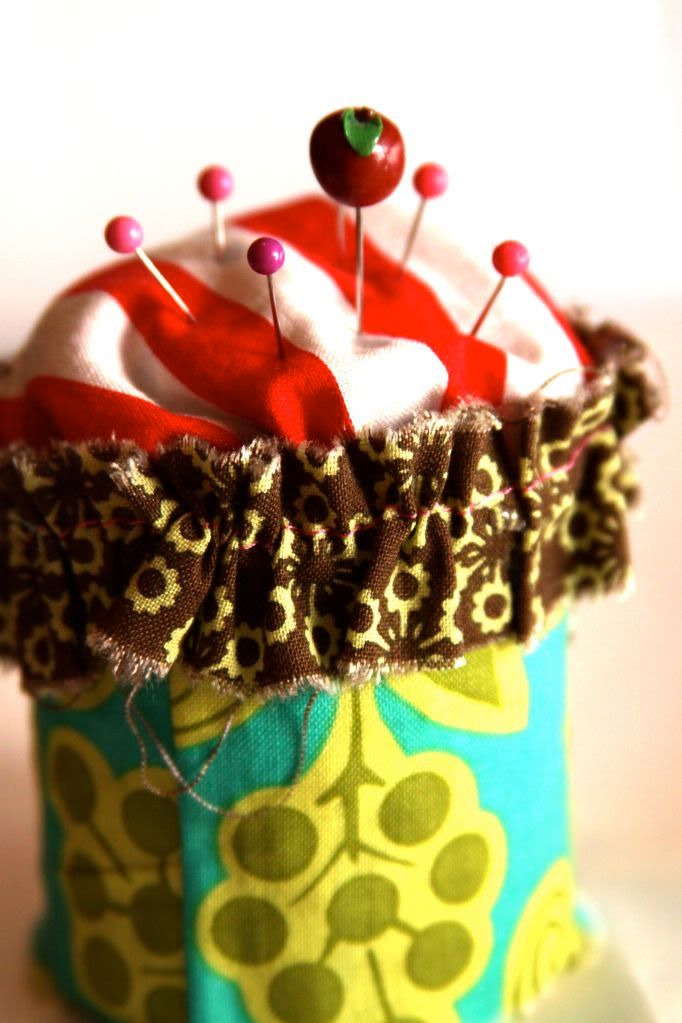
Grungy Ruffled up Pin Cushion!
First, let me explain that although I took a lot of pictures, this project was as easy as they get!
Third and last disclosure, I used a can of Vienna Sausages that my parent's left on their last trip (no offense mom and dad, or anyone else out there that loves those little stinky things)...they make me gag! I think when I was younger I may have been gaged, tortured and forced to eat them, or maybe I liked them...who knows?
Either way, knowing that no one would eat them around here, (if you are my brother reading this please look away now)(he never wastes food) I dumped them out!
Wait Wait, it was for a kind of good cause...this AWESOME tutorial!
Here is the culprit...and take a WHIFF, after I washed it a few times....no stinky smell! ;)

First, measure your cans width and height, mine came out to 8.5 X 2

Using the scraps of the fabrics Charity sent me for our challenge this week, I measured at
my salvage 2" and ripped it across. Then I
cut it by 9", to leave about 1/2" for the
seam.
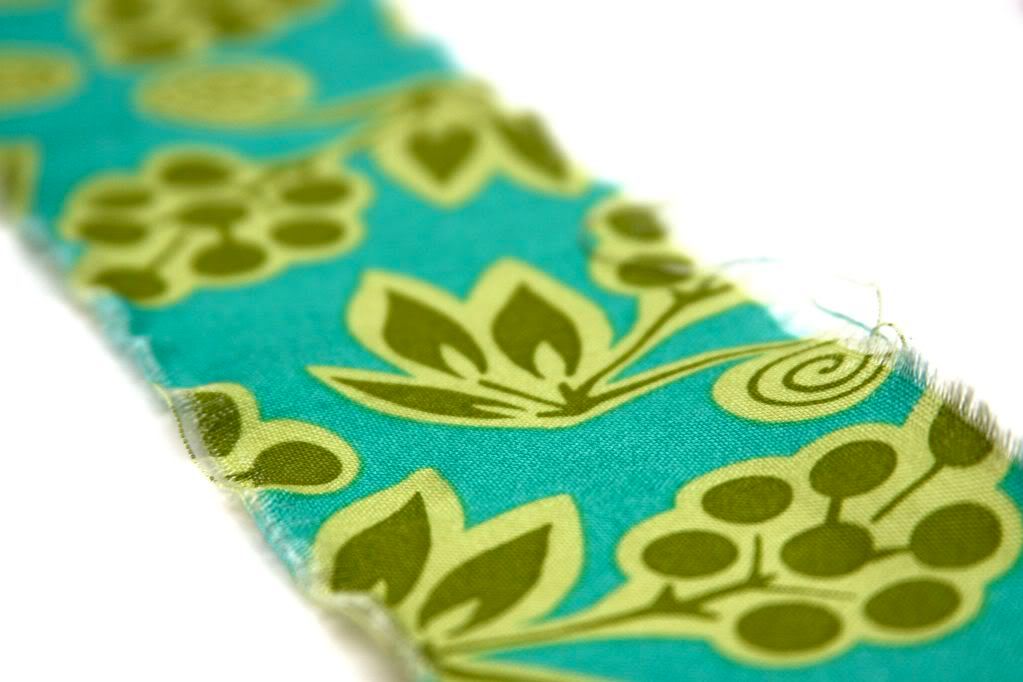
I laid my can on my next fabric and cut around the base leaving about 2"

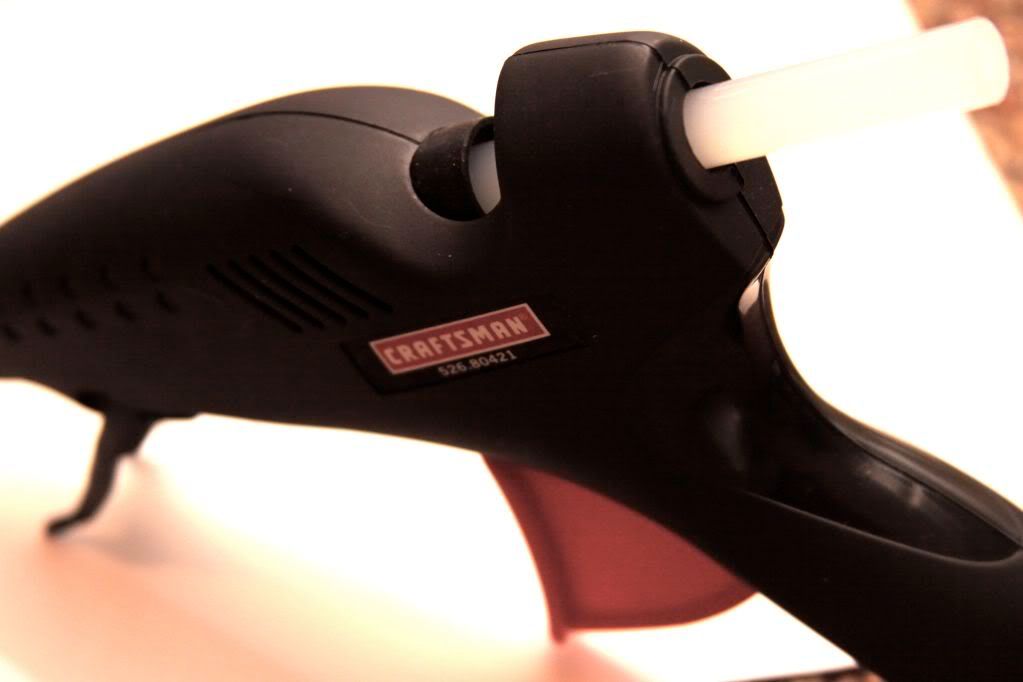
Guess who's making his guest appearance tonight...it is my super hot industrial strength glue gun. (He hates my fingers!)
Very carefully and quickly, apply glue to small sections of the can, and spread the fabric over it, tightly.
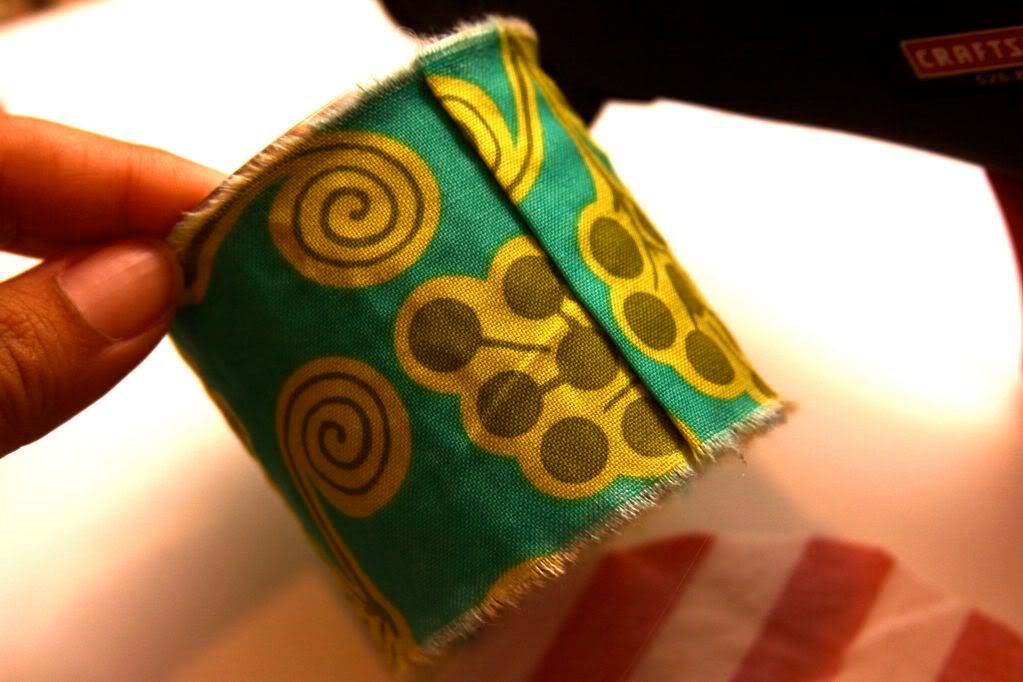
Fold over your edge and glue it down.
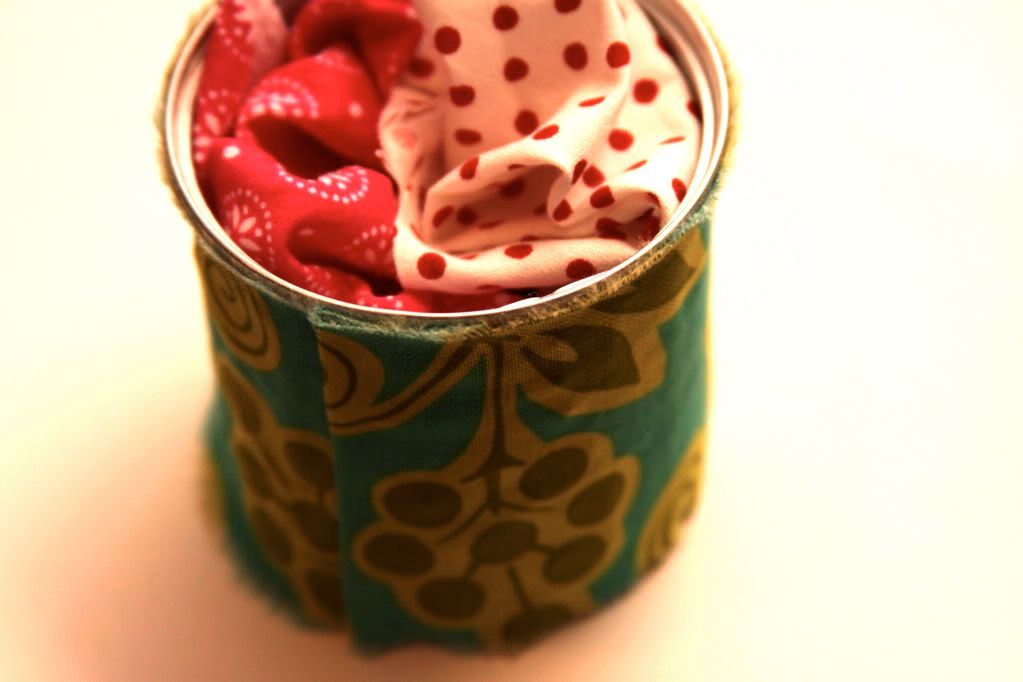
Ok, since I wasted those perfectly yummy sausages ;) I decided to keep the scrap theme going, and I stuffed my can with more scraps. Stuff it with whatever you have laying around.
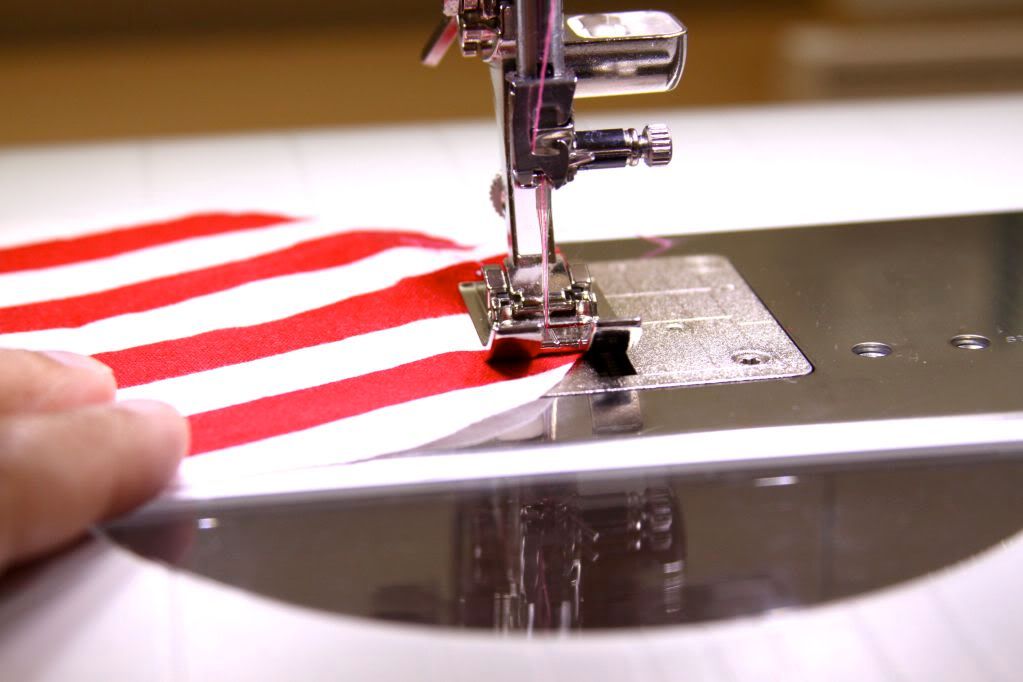
Take your top piece and head to your sewing machine. Make a basting stitch (long stitch) and then gather.
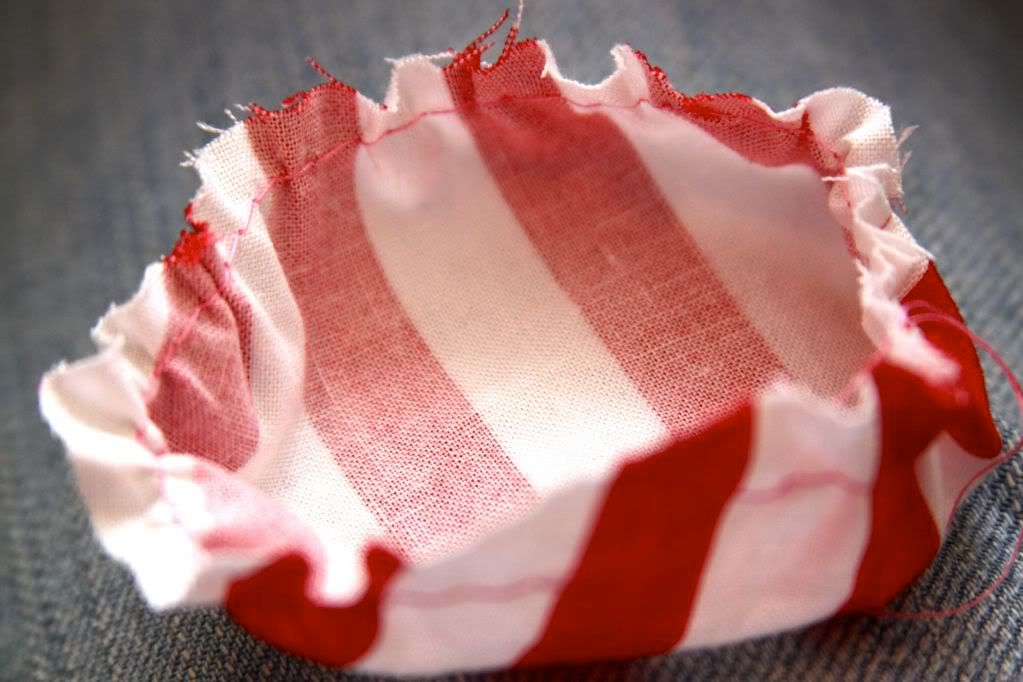
You'll have something that resembles a shower cap. (cute huh?)
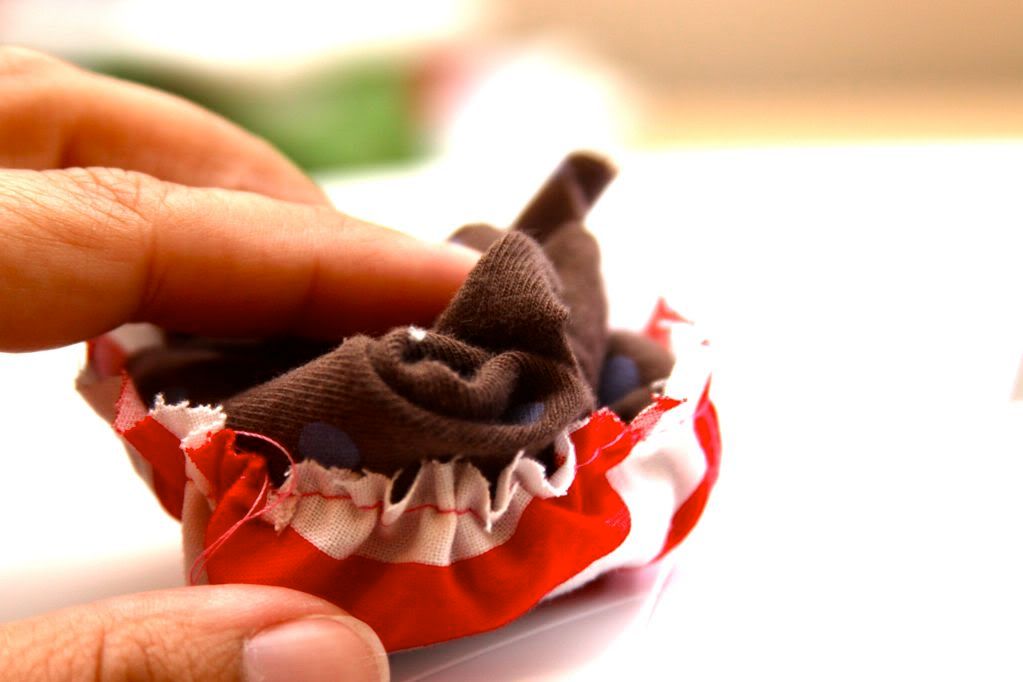
Again, stuff the cap, with more scraps.
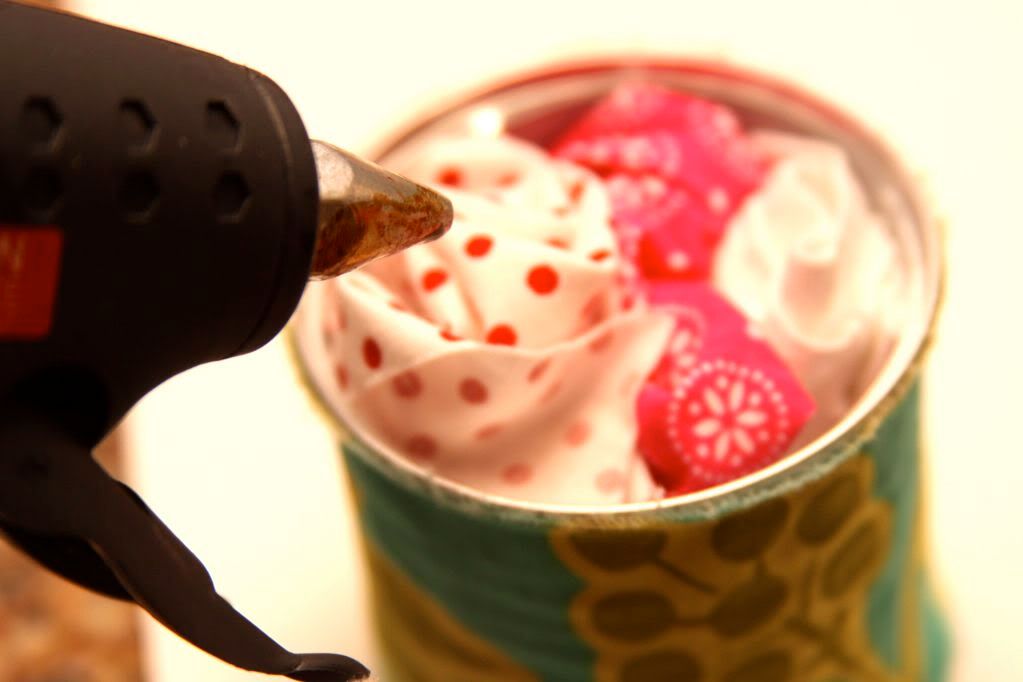
Glue (in small sections again) around the inner edges, and lay your cap on top.
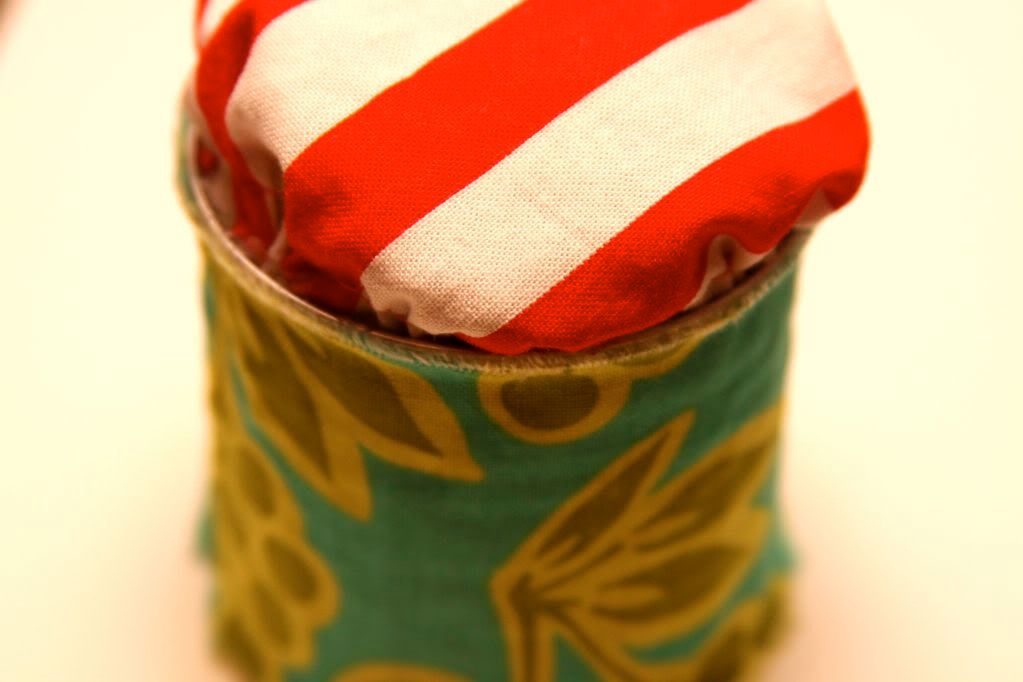
It is ok if it is not perfectly round. I would have messed with this more to get the cap more even, but for times sake here it is imperfect and all!

I took another scrap, snipped it at 1.5" and tore it from salvage to salvage....
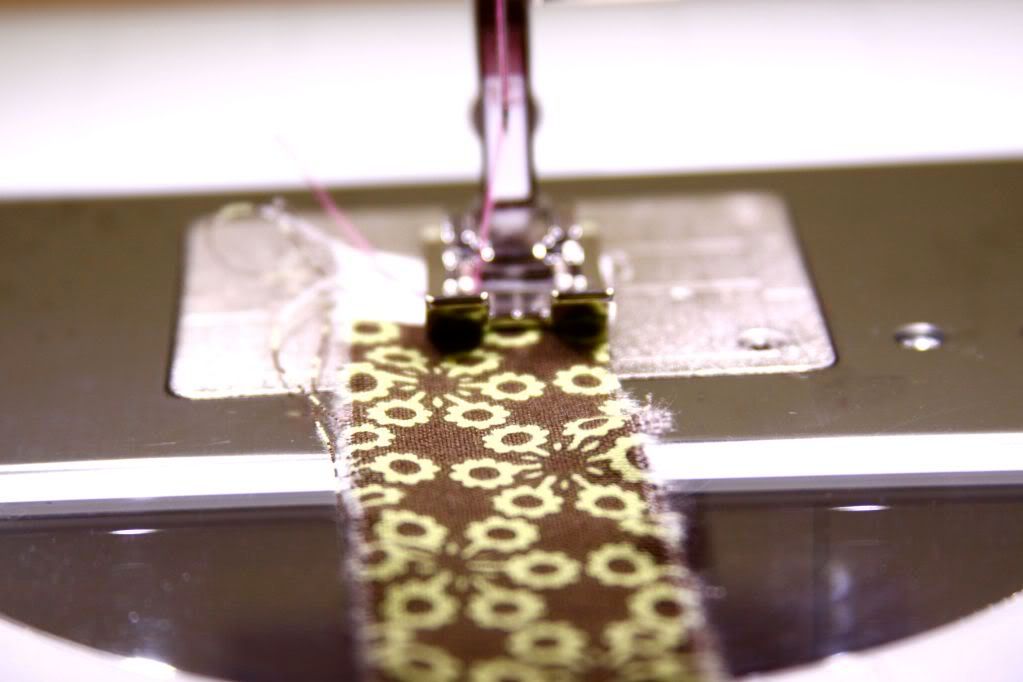
...ran a basting stitch through it about 1/4 from the top edge and gathered
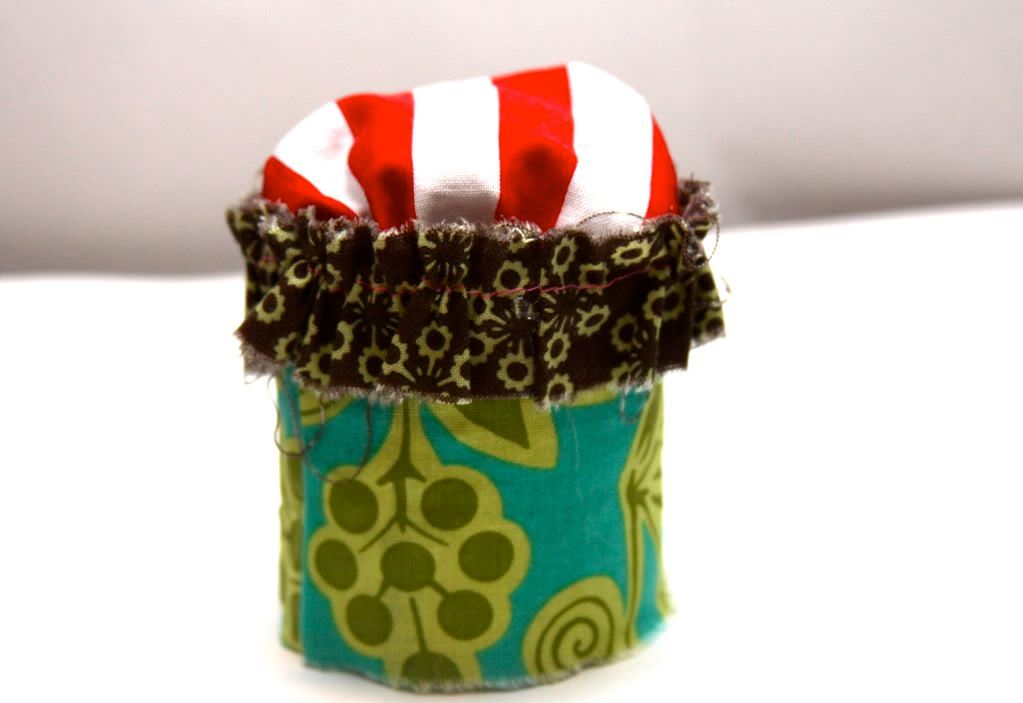
I glued the ruffle to the top edge of my can.
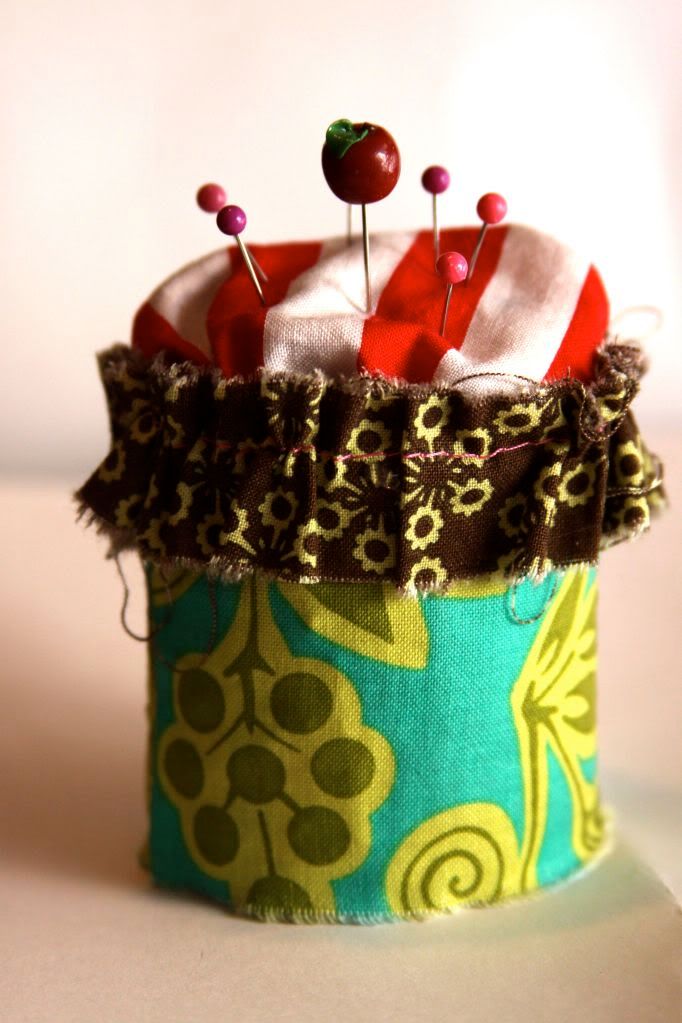
Added some pins and...we're DONE!
I love the grungy look of the tattered edges. Feel free to finish them off for a more polished look.
Come back tomorrow for our big REVEAL!!
Hugs and Blessings,
Ingrid


I love this! I think it is super cute and have no problem with the dumping of those nasty little vienna boogers ;) I will be trying this very soon. Thanks for the inspiration (and thanks to Living w/ Punks, too).
ReplyDeleteFound you from Fireflies and Jellybeans. Come check out LBT when you get a chance. Thx!
Angelene
http://littlebuggietutu.blogspot.com
Wow this is so creative and I appreciate the tute... what a darling blog! Thx for joining us at A Crafty Soiree... hope you share more craftiness tomorrow. I'm your newest follower (-:
ReplyDeleteMalia
www.yesterdayontuesday.com