Pin It button on image hover
Showing posts with label easy crafts for kids. Show all posts

Monday, November 1, 2010

leg warmers

How to make leg warmers out of tights or knee high socks instructions - tutorial - fun socks tutorial too!

Leg warmers... adorable, fun, functional and just plain easy!!!  :-)  

This is SUCH a great way to get some use out of tights that are too small!  OR, if your favorite store has tights on a "too good of a sale to pass up even though you don't need them" sale!   

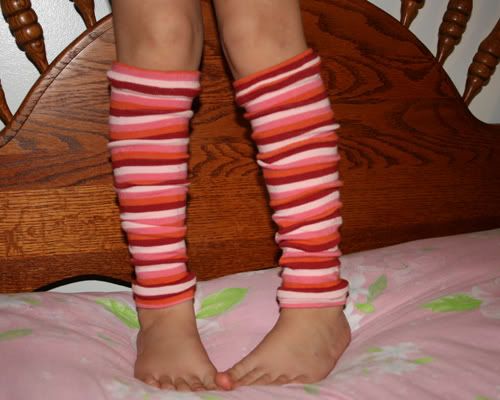
Ahem, theses used to be my SUPER cheapo great buy tights from Gymboree... now they are my little ones ADORABLE new leg warmers!!!
               IMG_7288copy-1.jpg picture by thevinesbranches


IMG_7276copy.jpg picture by thevinesbranches

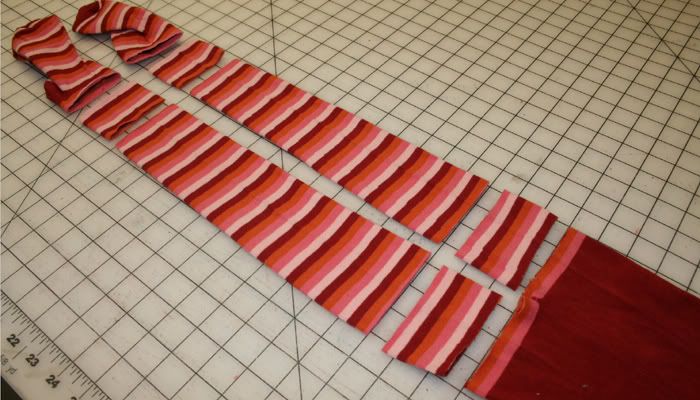
Lay your tights out and cut as shown.  The strips on the ends will need to be 2", the middle section if really up to you (and will depend on the size of the tights you are using).
IMG_7278copy.jpg picture by thevinesbranches

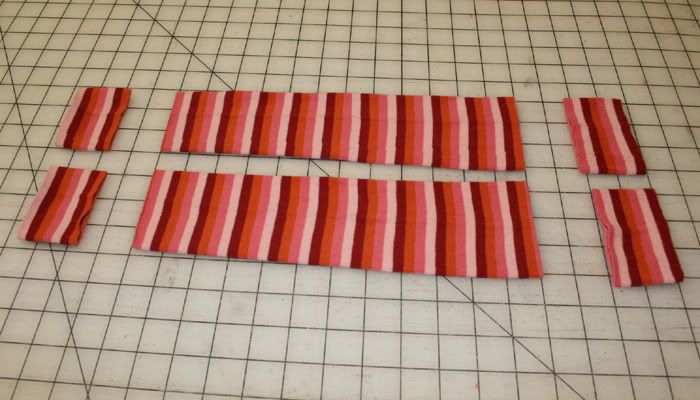
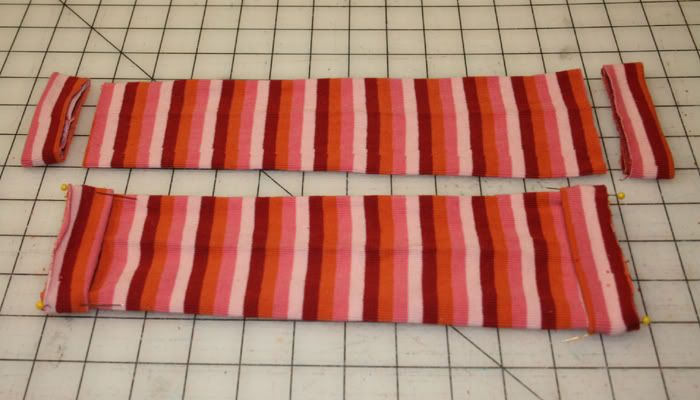
Here is what we are using... set your other pieces aside.
IMG_7279copy.jpg picture by thevinesbranches

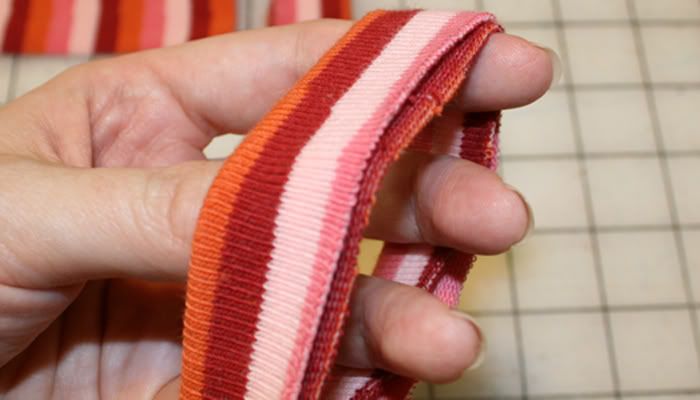
Now take your 2" end pieces and fold them in half as shown.
IMG_7282copy.jpg picture by thevinesbranches

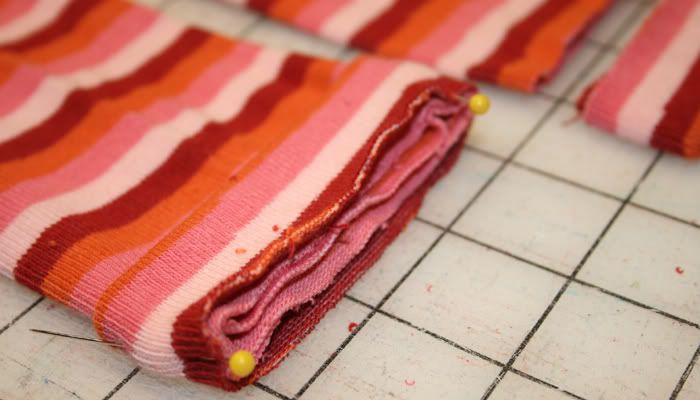
Take the folded end pieces and pin them to the ends of your main piece... all raw edges will be sticking out.
IMG_7281copy.jpg picture by thevinesbranches


IMG_7283copy-1.jpg picture by thevinesbranches

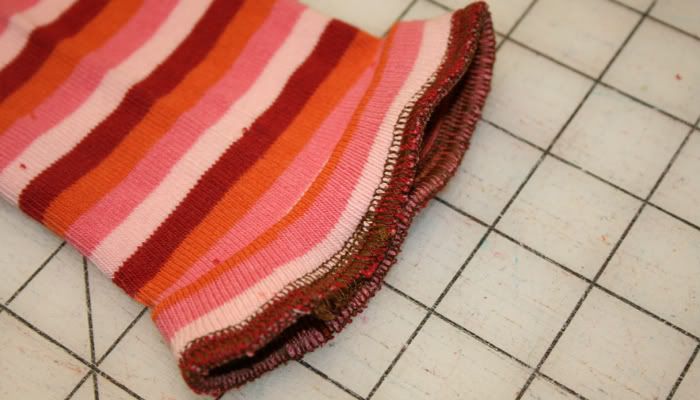
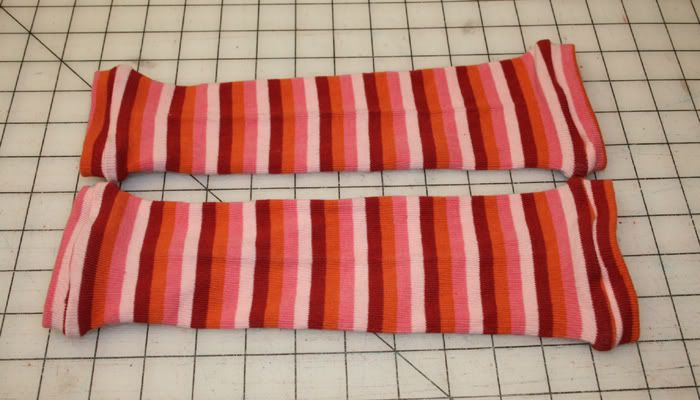
Go to your machine and stitch together as shown... I use my serger... well, for just about everything... but no need to, a straight stitch on your sewing machine is totally fine!  :-)  

Repeat this for each end.
IMG_7284copy-1.jpg picture by thevinesbranches

That is IT!!!!  You now have a new pait of adorable leg warmers!!!
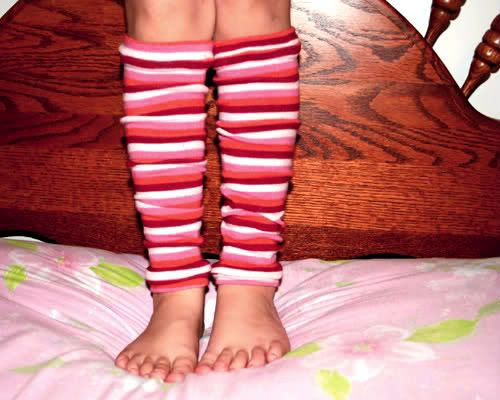
               

Now, go wake up your sleeping child at 10 pm to make her try them on for you!  :-)  

(No, I really did do it... only she actually was still a little tiny bit awake... just heading to la la land... not all the way there yet!  Notice she is standing on her bed!)  :-)

Wait... we cant waste those scraps!!!!  

SOCKS... lets make some socks!!!

IMG_7289copy-1.jpg picture by thevinesbranches


IMG_7292copy-1.jpg picture by thevinesbranches

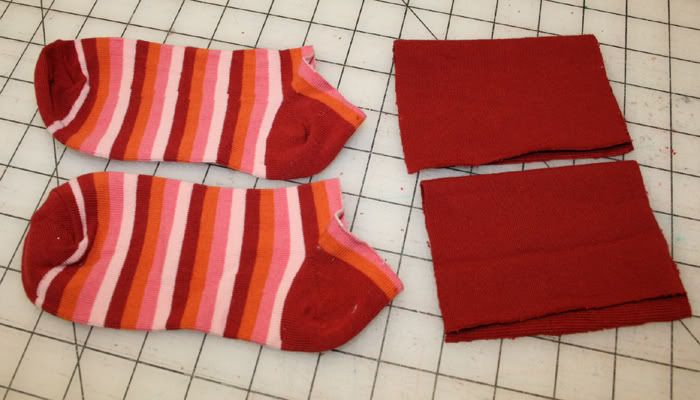
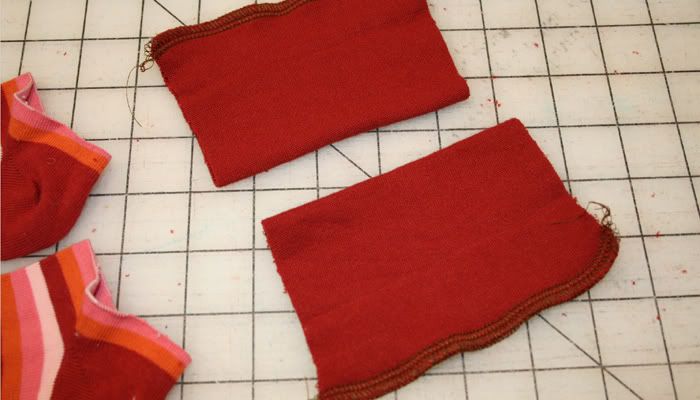
Cut two strips for the sock band... I just held the piece of fabric I was using up against the top of the sock to figure out how wide to make it... notice it tis folded.
IMG_7294copy-1.jpg picture by thevinesbranches

Stitch the sides closed and then fold it in half.
IMG_7295copy-1.jpg picture by thevinesbranches

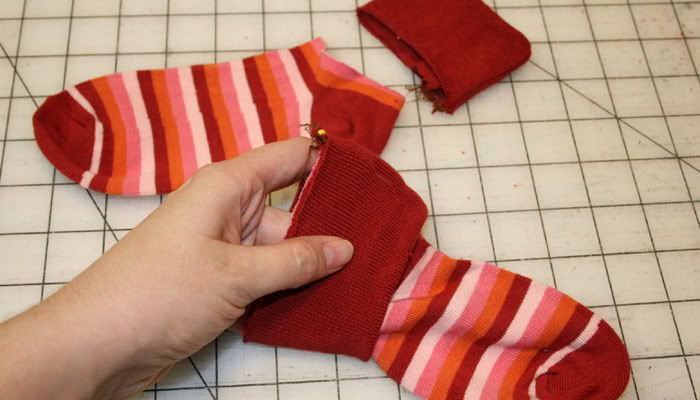
Pin it onto the sock top, all raw edges facing out as shown... take it to your machine and stitch together! 
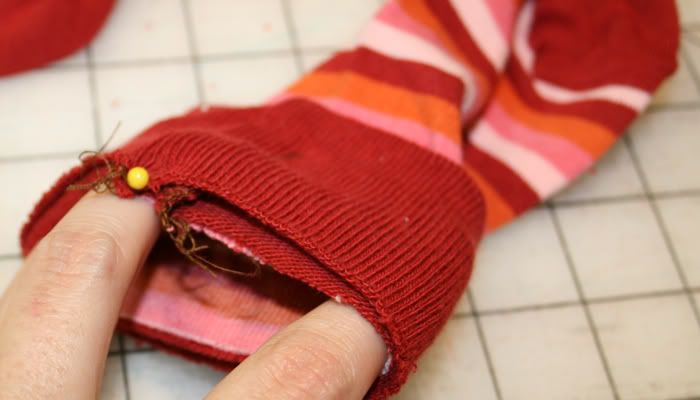
IMG_7296copy-1.jpg picture by thevinesbranches

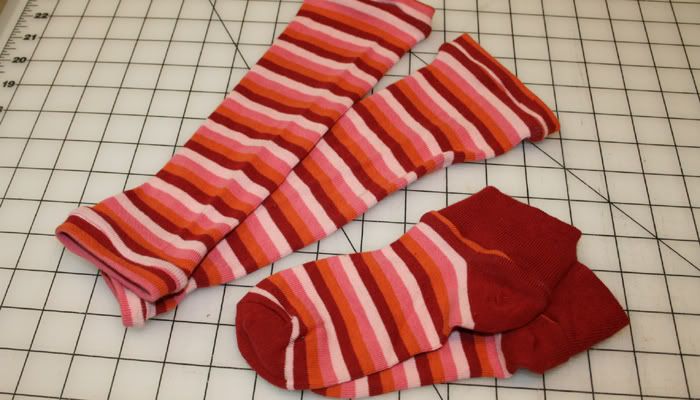
Turn right sides out and admire your adorable new socks!!!
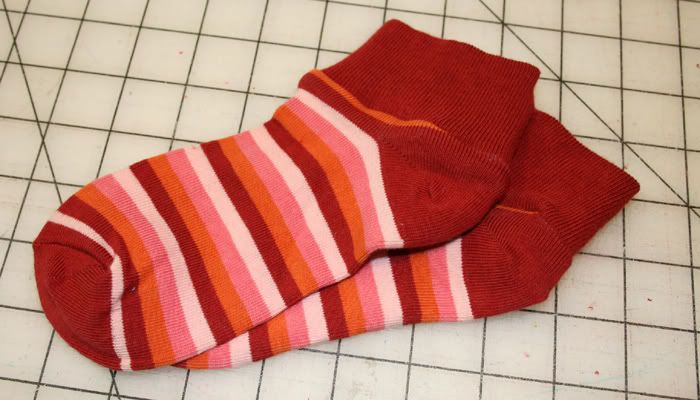
IMG_7297copy-1.jpg picture by thevinesbranches

IMG_7298copy-1.jpg picture by thevinesbranches

The best part... no waste!!!  :-)


Thursday, October 28, 2010

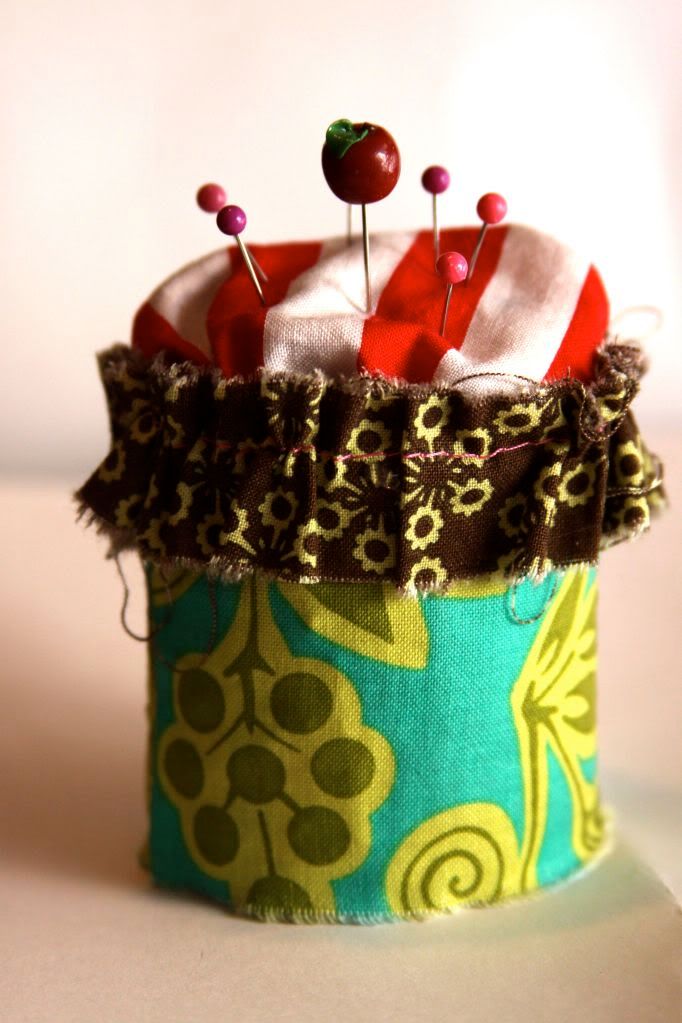
Pin Cushion!

Grungy Ruffled up Pin Cushion!


First, let me explain that although I took a lot of pictures, this project was as easy as they get!  

Second, I want to thank, Living With Punks, for the inspiration for this one!

Third and last disclosure, I used a can of Vienna Sausages that my parent's left on their last trip (no offense mom and dad, or anyone else out there that loves those little stinky things)...they make me gag!  I think when I was younger I may have been gaged, tortured and forced to eat them, or maybe I liked them...who knows?  

Either way, knowing that no one would eat them around here, (if you are my brother reading this please look away now)(he never wastes food) I dumped them out!  

Wait Wait, it was for a kind of good cause...this AWESOME tutorial!

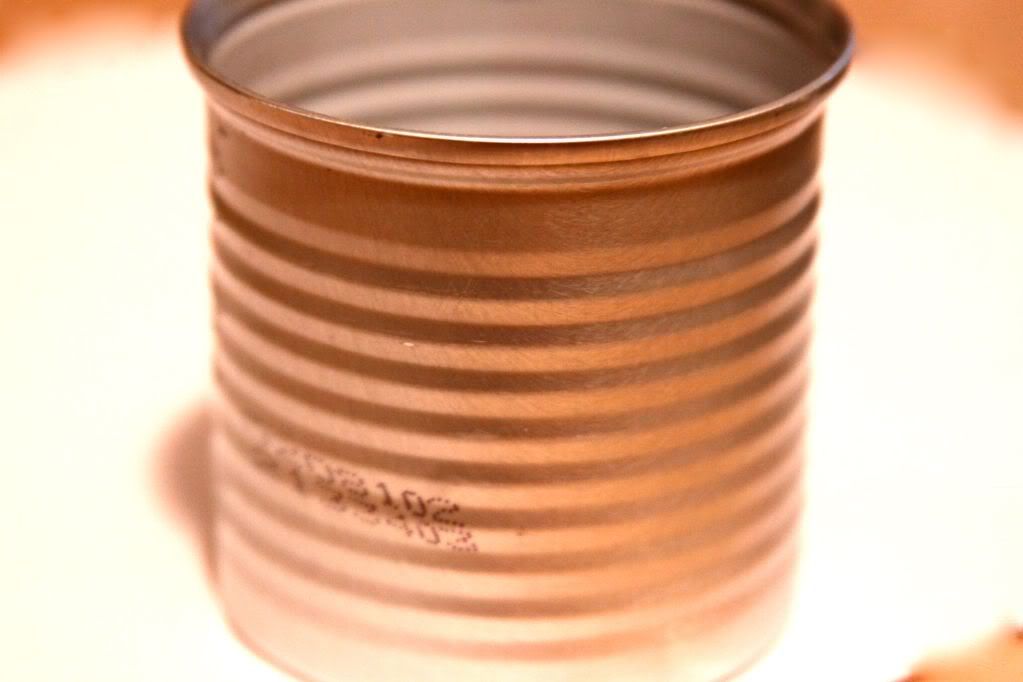
Here is the culprit...and take a WHIFF, after I washed it a few times....no stinky smell! ;)


First, measure your cans width and height, mine came out to 8.5 X 2


Using the scraps of the fabrics Charity sent me for our challenge this week, I measured at    
 my salvage 2" and ripped it across.  Then I    
 cut it by 9", to leave about 1/2" for the 
 seam.


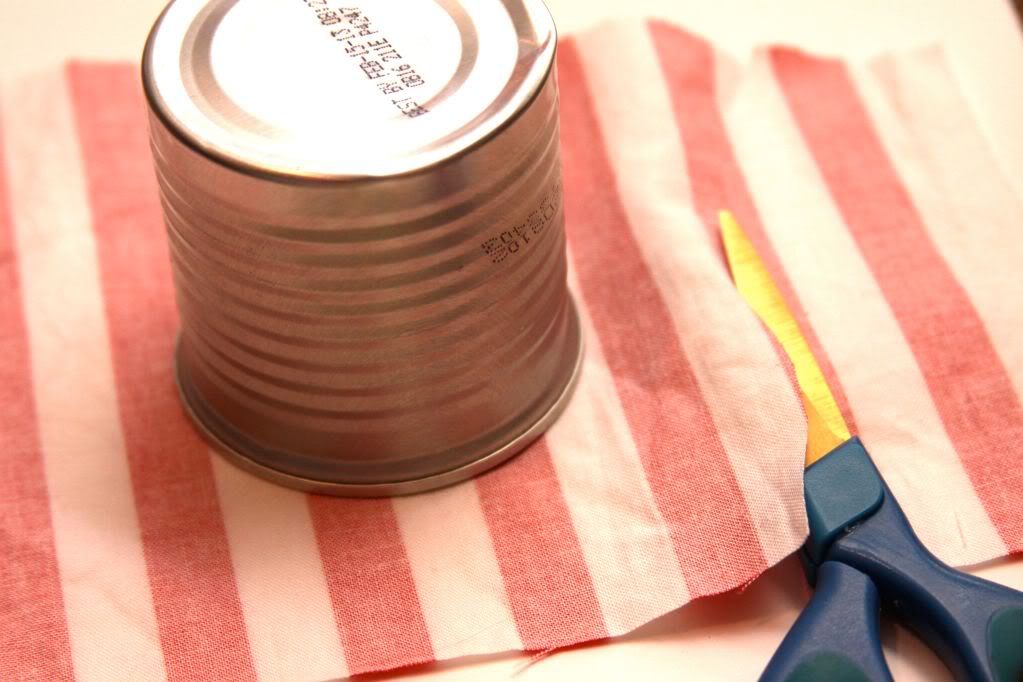
I laid my can on my next fabric and cut around the base leaving about 2"


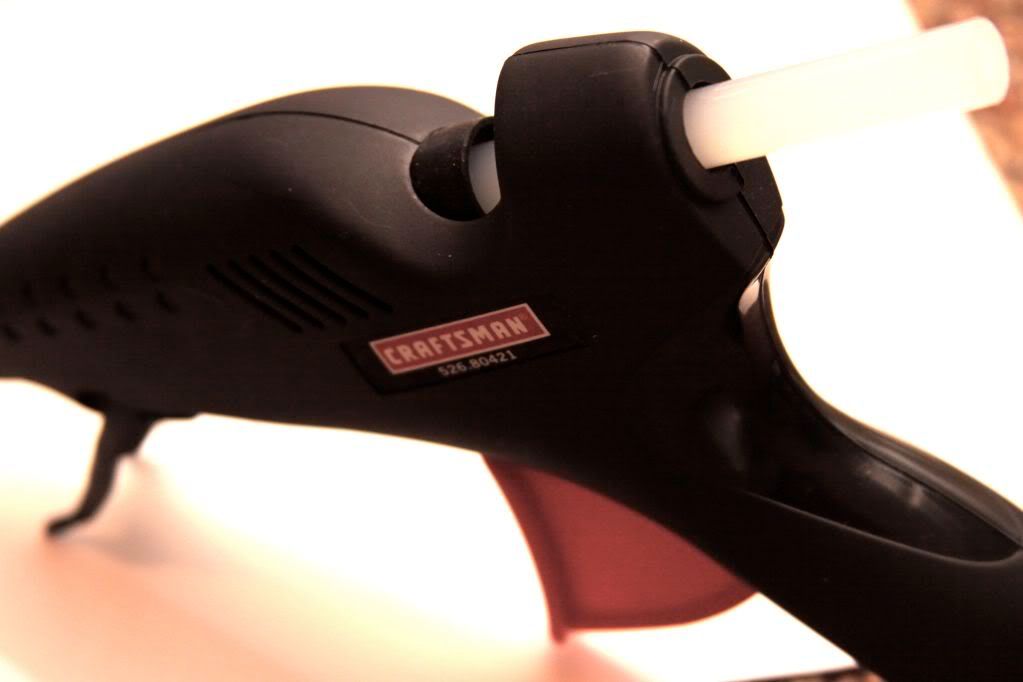
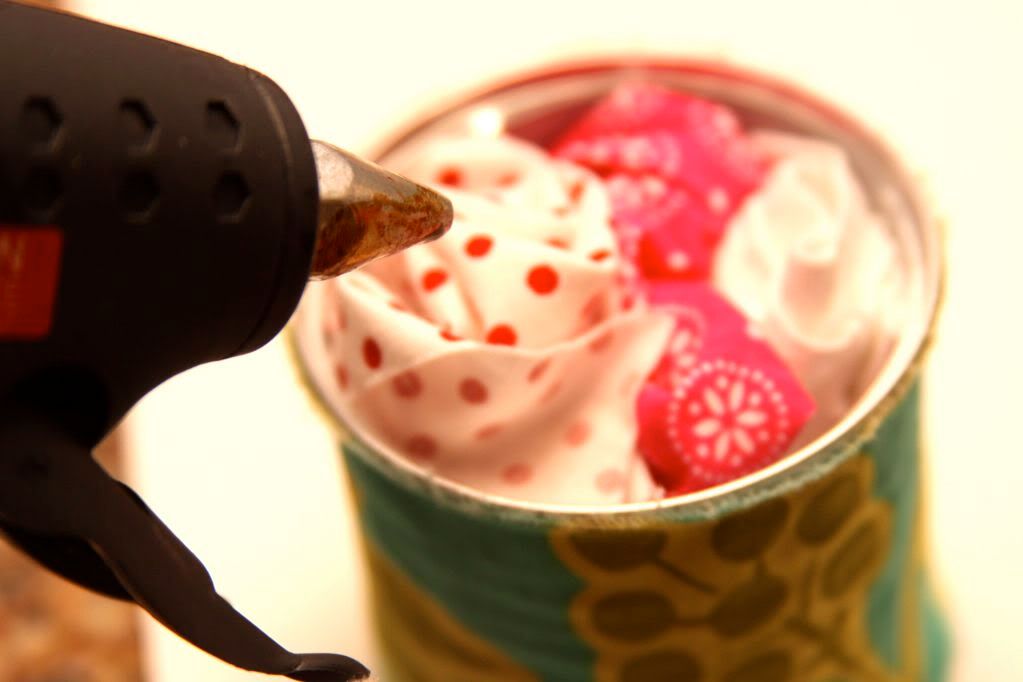
Guess who's making his guest appearance tonight...it is my super hot industrial strength glue gun.  (He hates my fingers!)


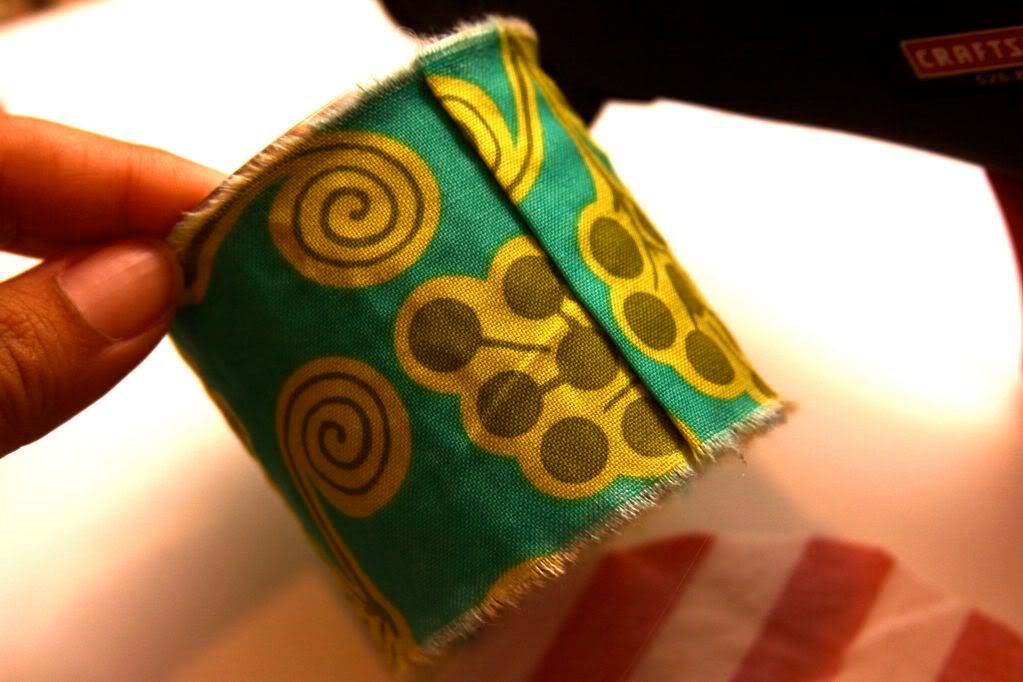
Very carefully and quickly, apply glue to small sections of the can, and spread the fabric over it, tightly.


Fold over your edge and glue it down.


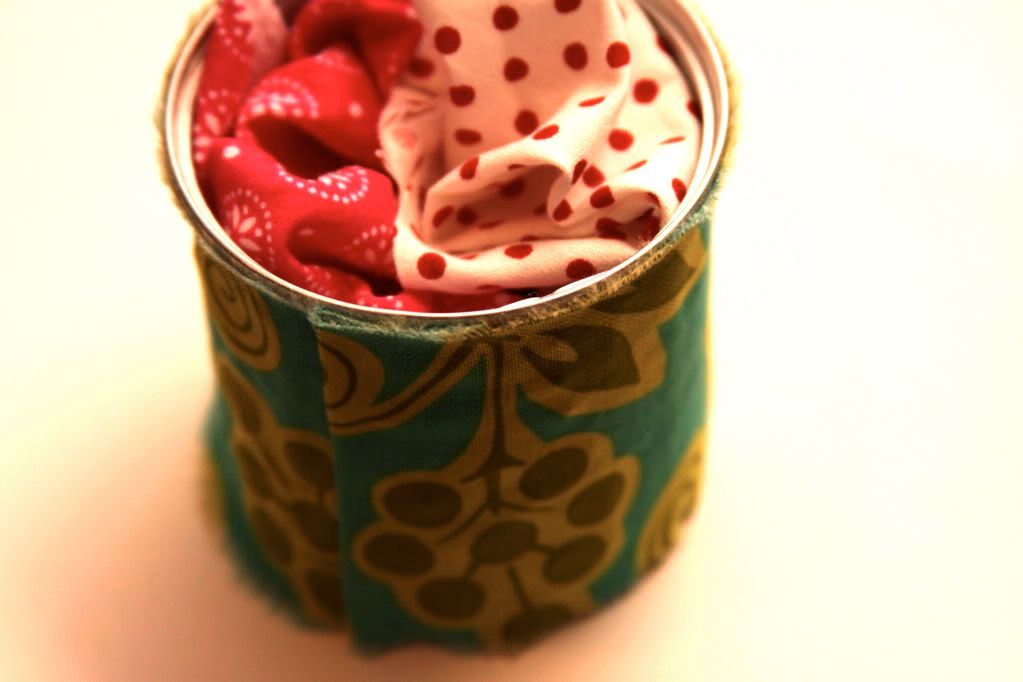
Ok, since I wasted those perfectly yummy sausages ;) I decided to keep the scrap theme going, and I stuffed my can with more scraps. Stuff it with whatever you have laying around.


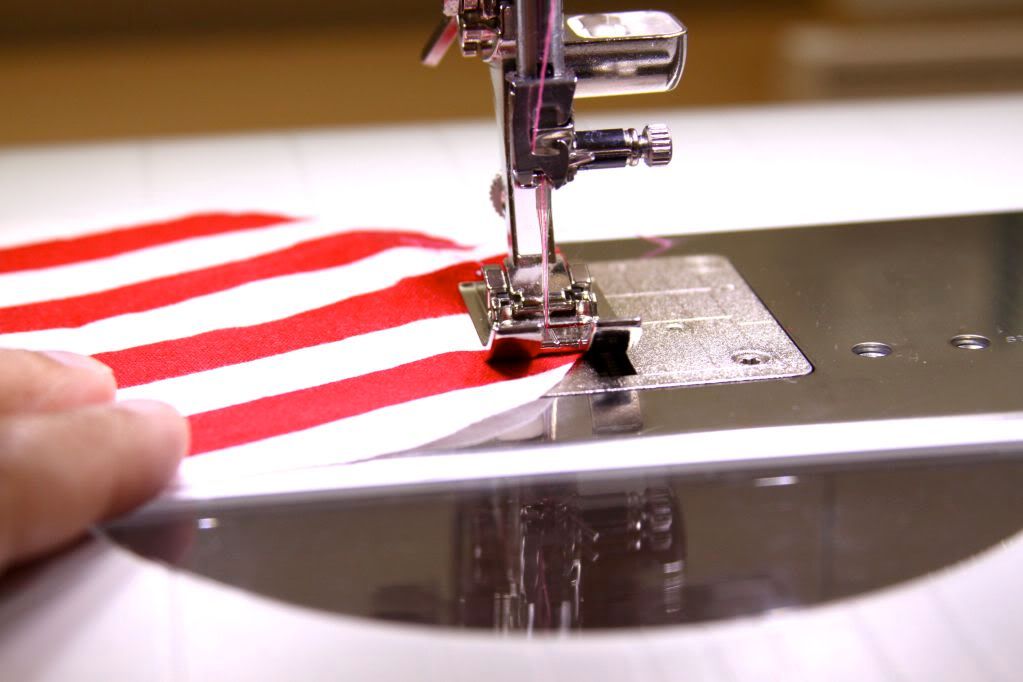
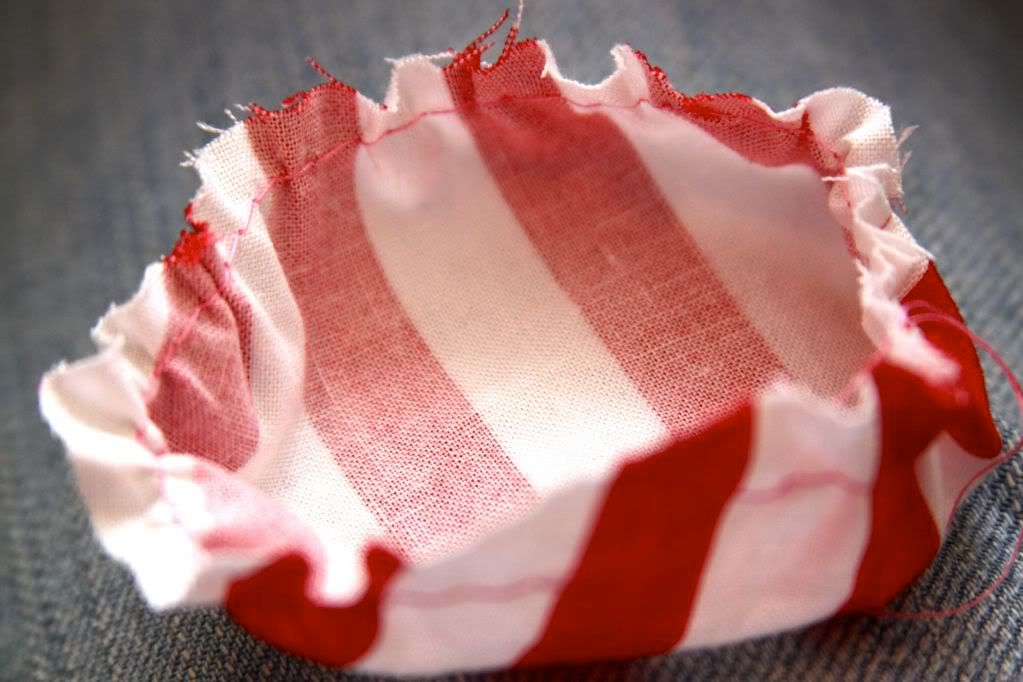
Take your top piece and head to your sewing machine.  Make a basting stitch (long stitch) and then gather.


You'll have something that resembles a shower cap.  (cute huh?)


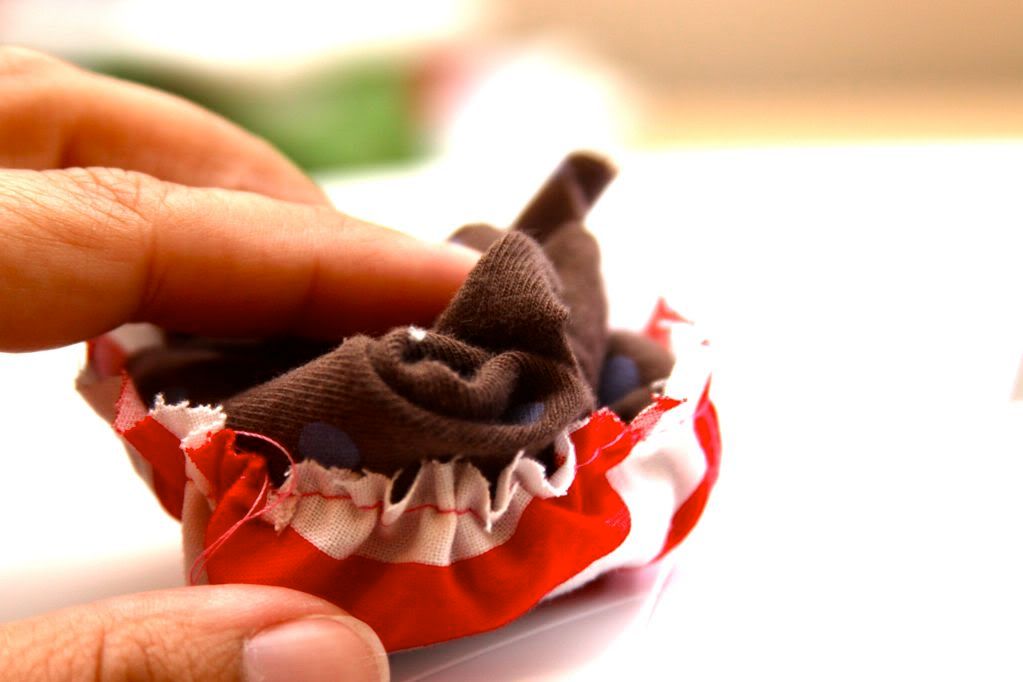
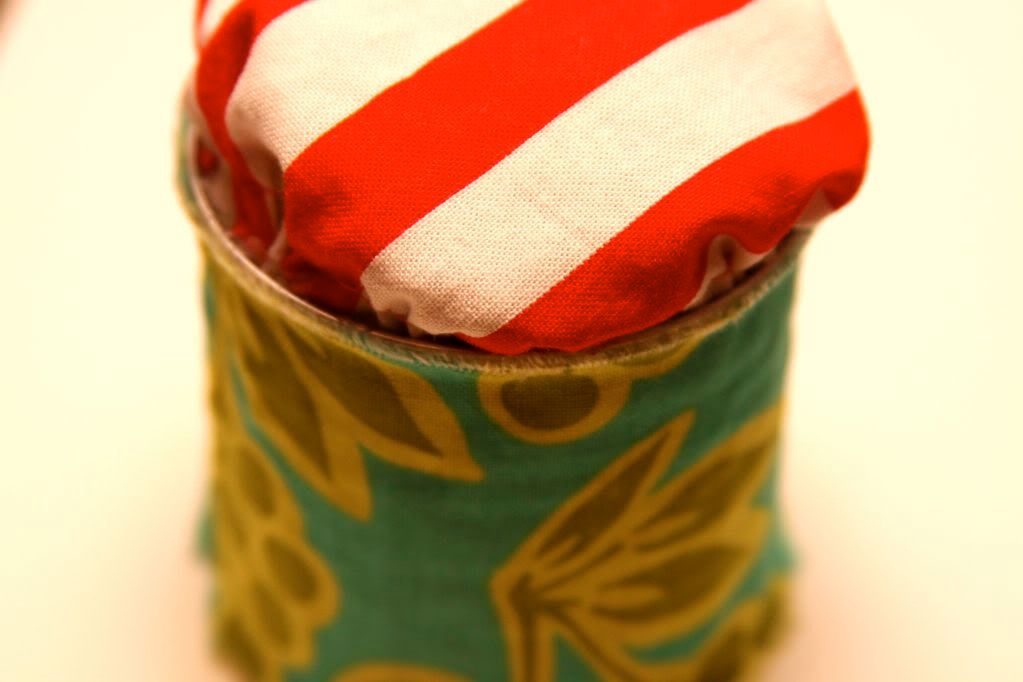
Again, stuff the cap, with more scraps.


Glue (in small sections again) around the inner edges, and lay your cap on top.


It is ok if it is not perfectly round.  I would have messed with this more to get the cap more even, but for times sake here it is imperfect and all!


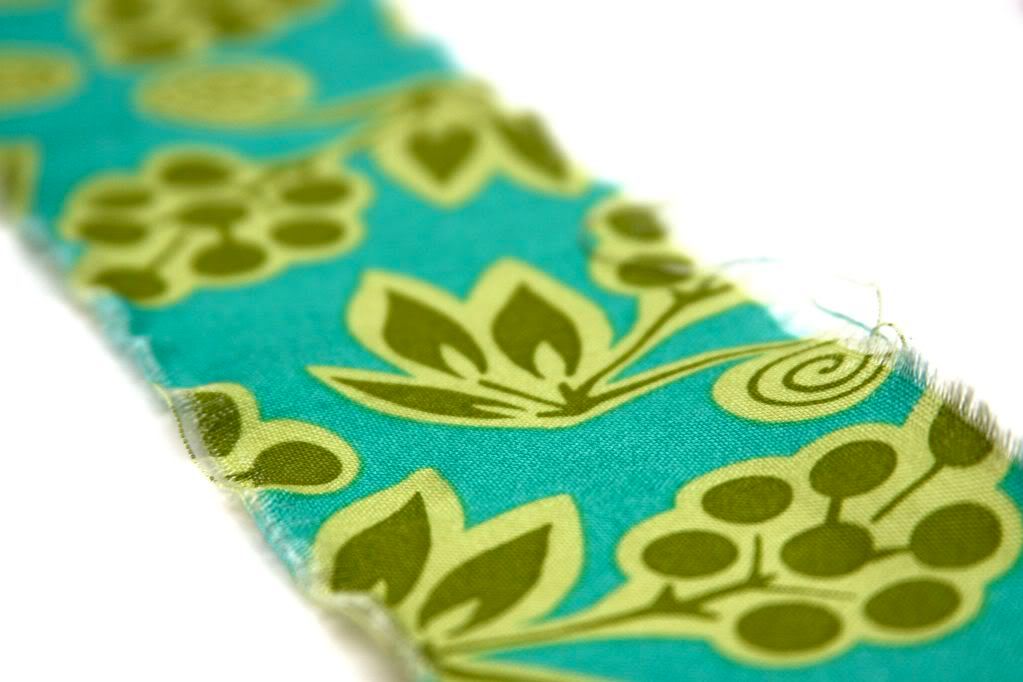
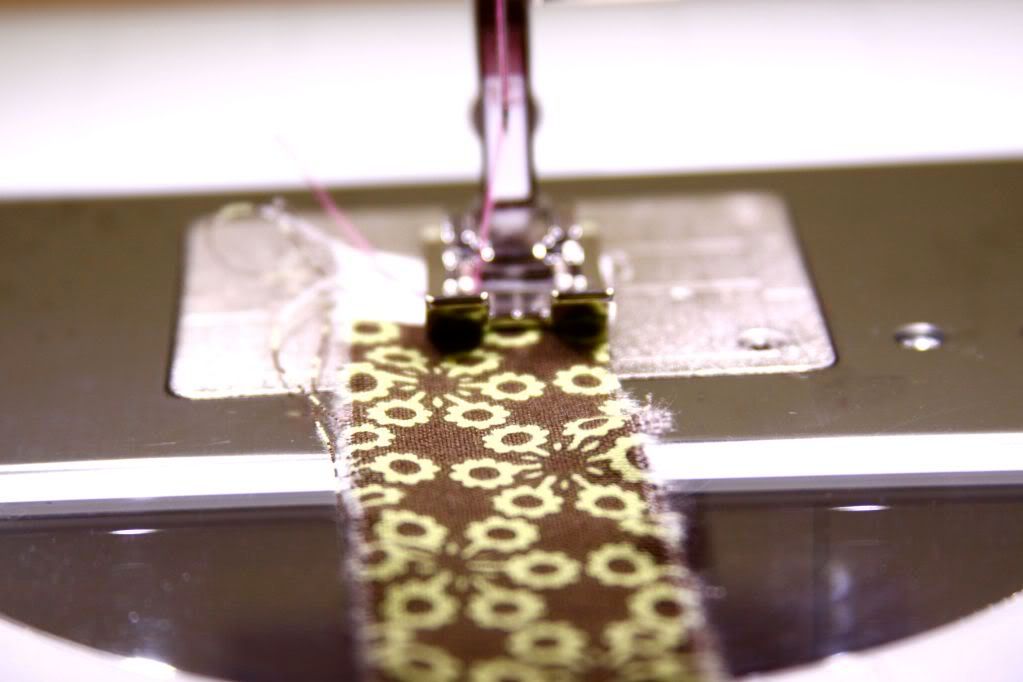
I took another scrap, snipped it at 1.5" and tore it from salvage to salvage....


...ran a basting stitch through it about 1/4 from the top edge and gathered


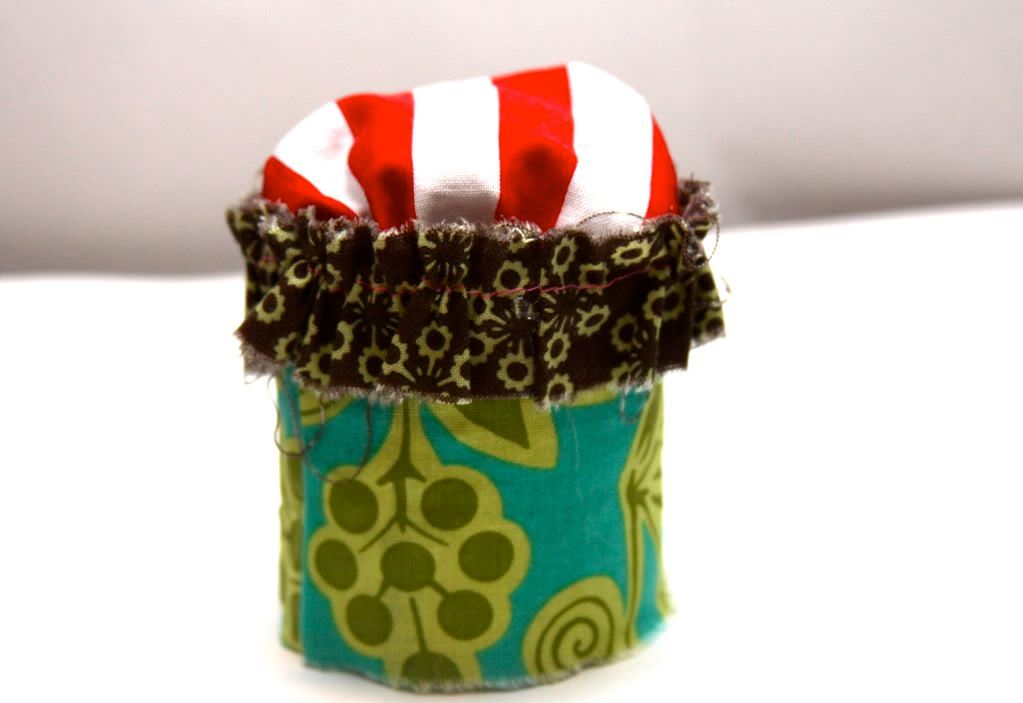
I glued the ruffle to the top edge of my can.


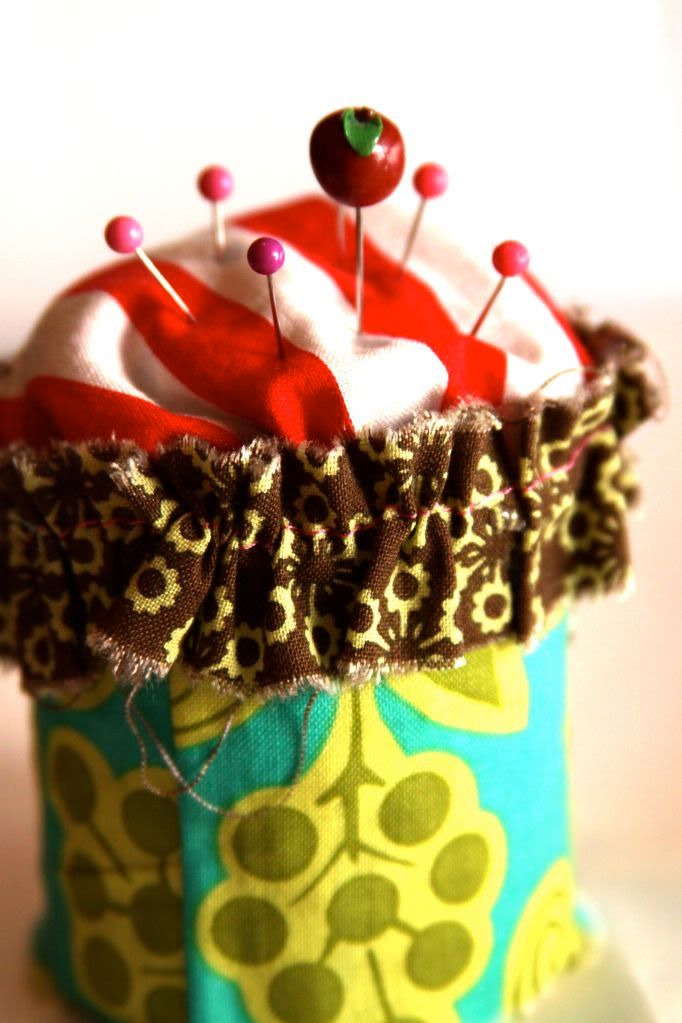
Added some pins and...we're DONE!


I love the grungy look of the tattered edges.  Feel free to finish them off for a more polished look.

Come back tomorrow for our big REVEAL!!

Hugs and Blessings,
Ingrid

LinkWithin