
Easy Peasy Drawstring Baggie
I decided to make a few of these for the kids for advent. This is our first year to all be participating. My little dude is 6 and the Cuppicake is 4, so they both kind of "get it" now :) ((getting the gift part...anyways))
This one is super easy. You can do it by hand as well, if you don't have access to a sewing machine.

I decided on 3 fabrics for the main body of the bag and another one for the drawstring.
CUT:
2 pieces (the main body) to 11" X 8"
2 pieces (the top band of the bag) 11" X 4" {I used different fabrics for each side}
1 piece 1.5" X 35" {I wanted a tattered effect, so I left the fabric ripped at the edges}

Assembly:
Put the top of the bag to the body, right sides together.

Sew them together. Do both sides....

Press, Press, Press {again, I was going for tattered, to I did not finish (press) the sides}

Press the top band in half


Topstitch


Now sew those two sides together up to the top band {don't forget to start and end with a backstitch}

Turn inside out

Get your drawstring and attach a safety pin at one end
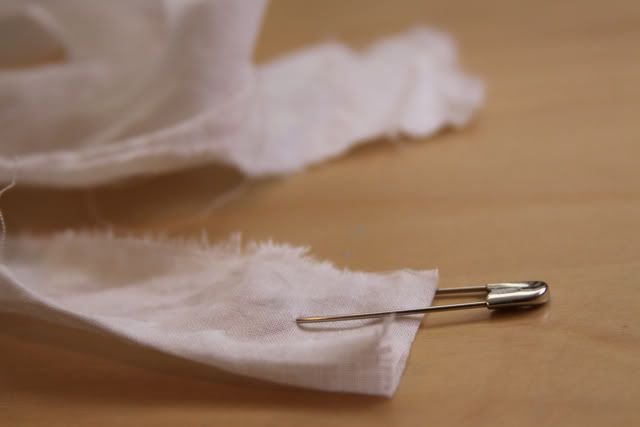
Feed it through your first band

then the next

Snip it in 1/2

Fill with goodies, cinch and admire!

See...I told you that would be easy peasy!
Hugs and Blessings,
Ingrid


 Posts
Posts


