Flower Pin Tutorial (broach if you're fancy) ;)
Flower Pin Tutorial
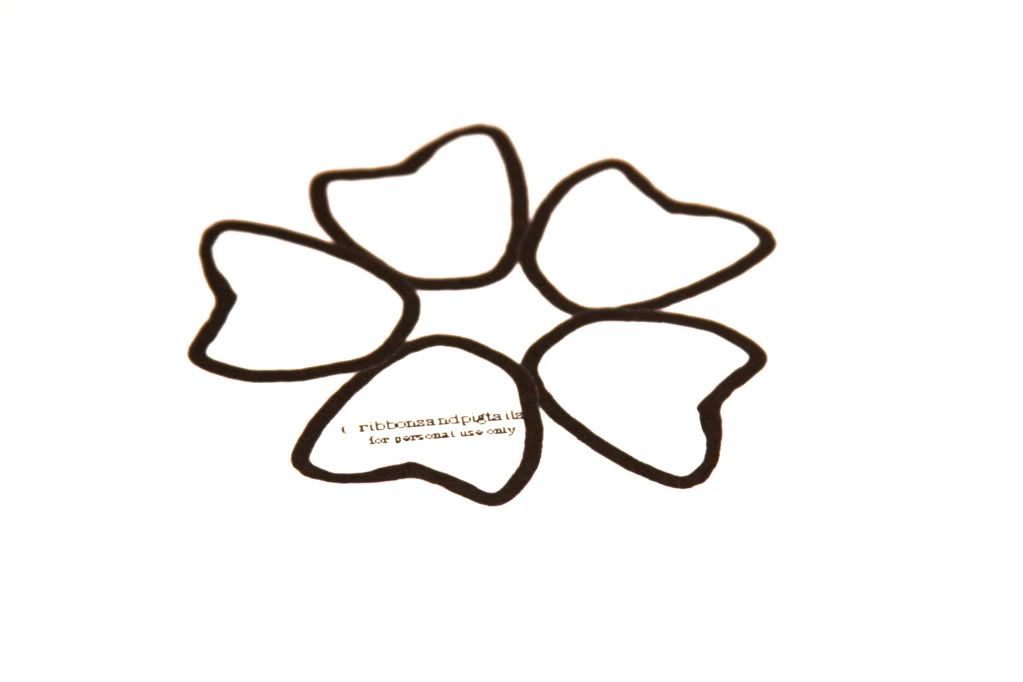
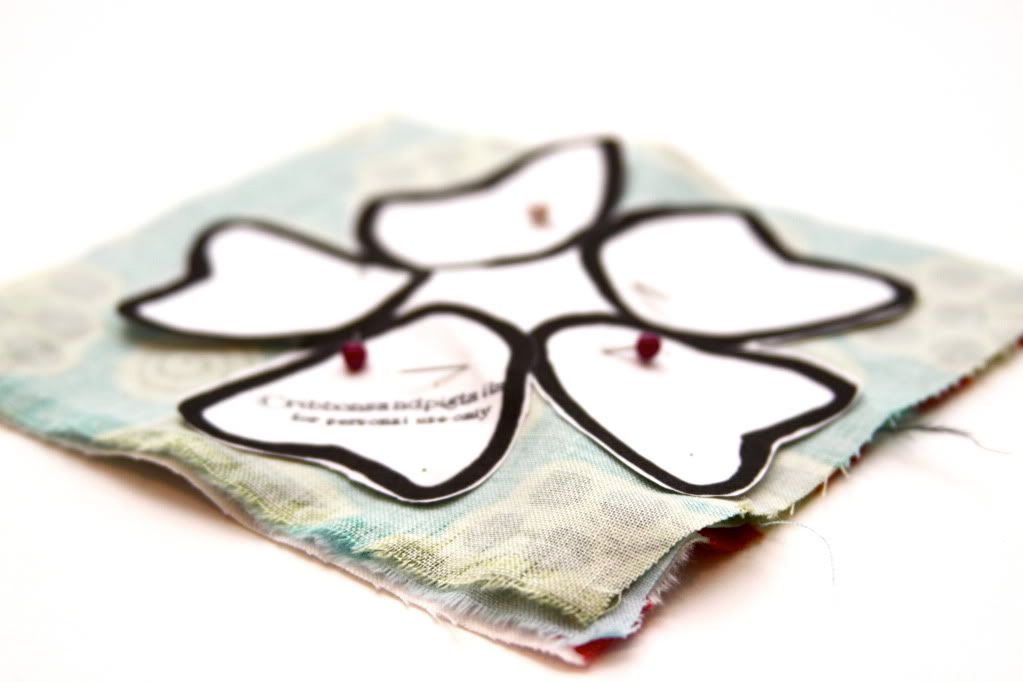
Download our free pdf pattern to use with this tutorial

side note: if you use chenille, know that you will have a cotton wonderland around you, so if you are ready for winter, and can't wait for snow...cut up some chenille!
Place on the wrong side of fabric and cut your first flower out:

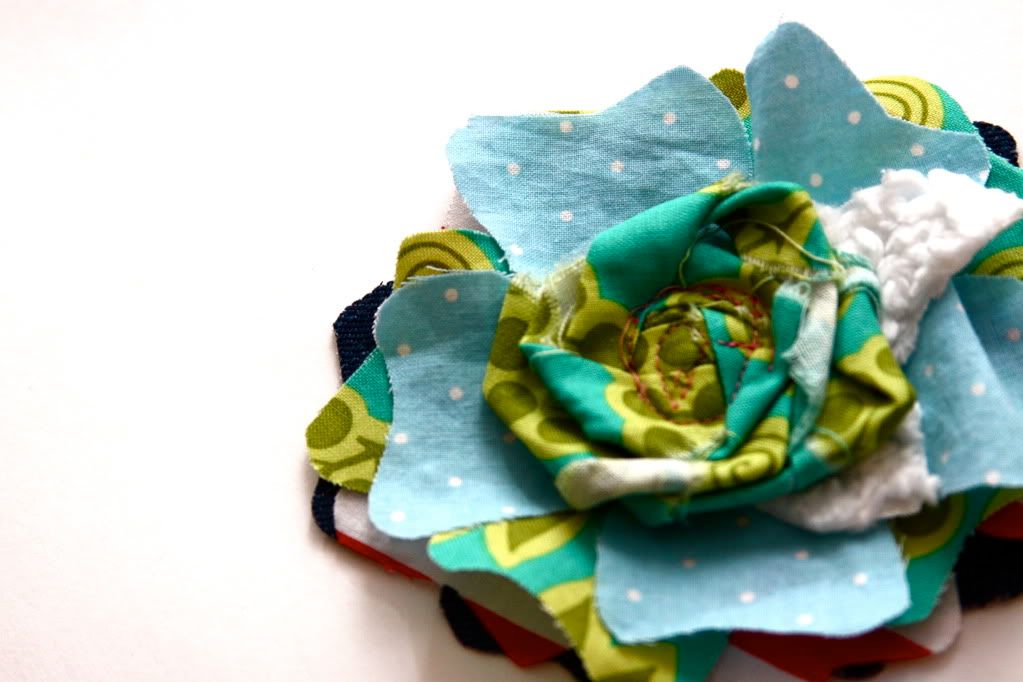
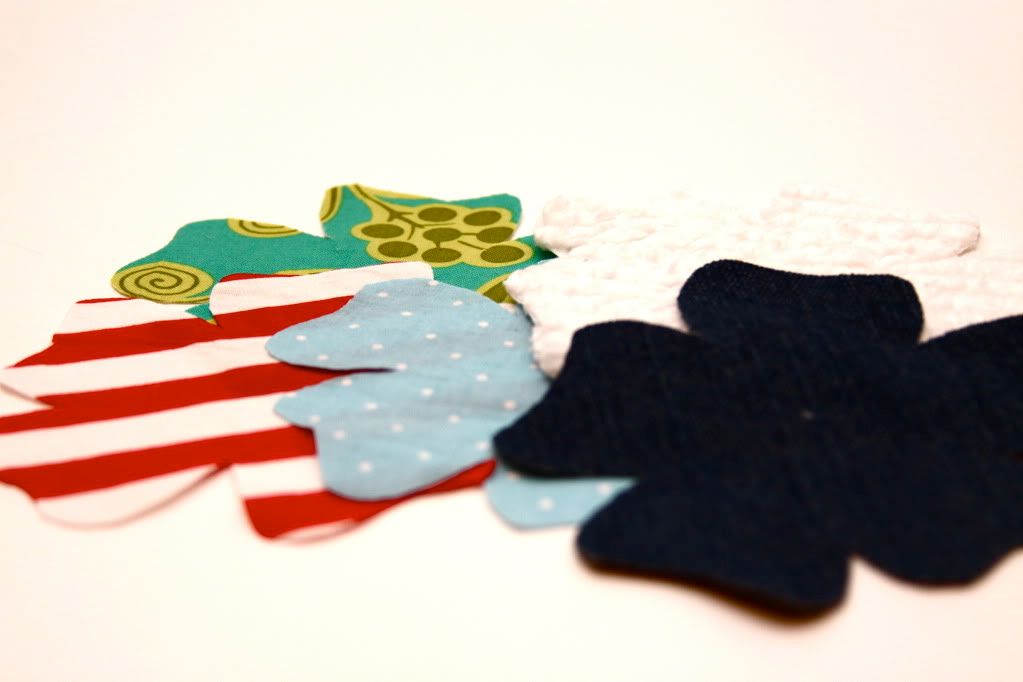
These are the fabrics (scraps) that I decided to use. Notice how I strategically placed some denim in there...none I am never quite happy unless I have a ((little)) denim ;)
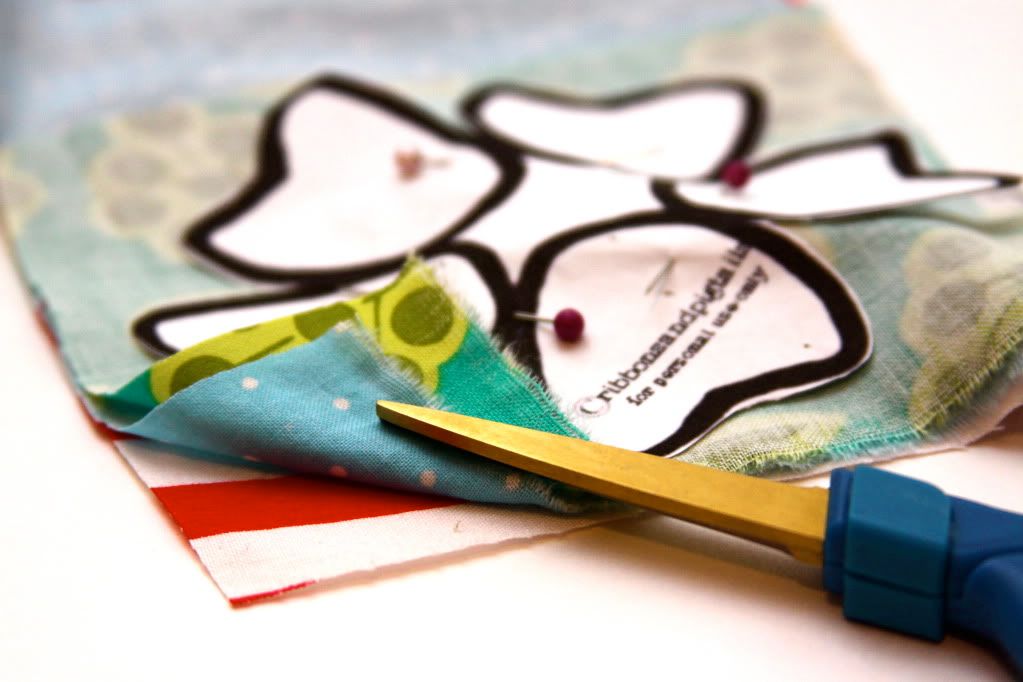
A little tip: if your fabric is not too heavy, lay all your fabrics together and cut out a square around the flower:
Here are the flowers I ended up with. Although after trying to arrange them, I decided to ditch the chenille (kind of).
You can stop here, arrange your flower and add a button to the middle, or, take another coordinating scrap and make a rosette.
(I personally love those cute little suckers)
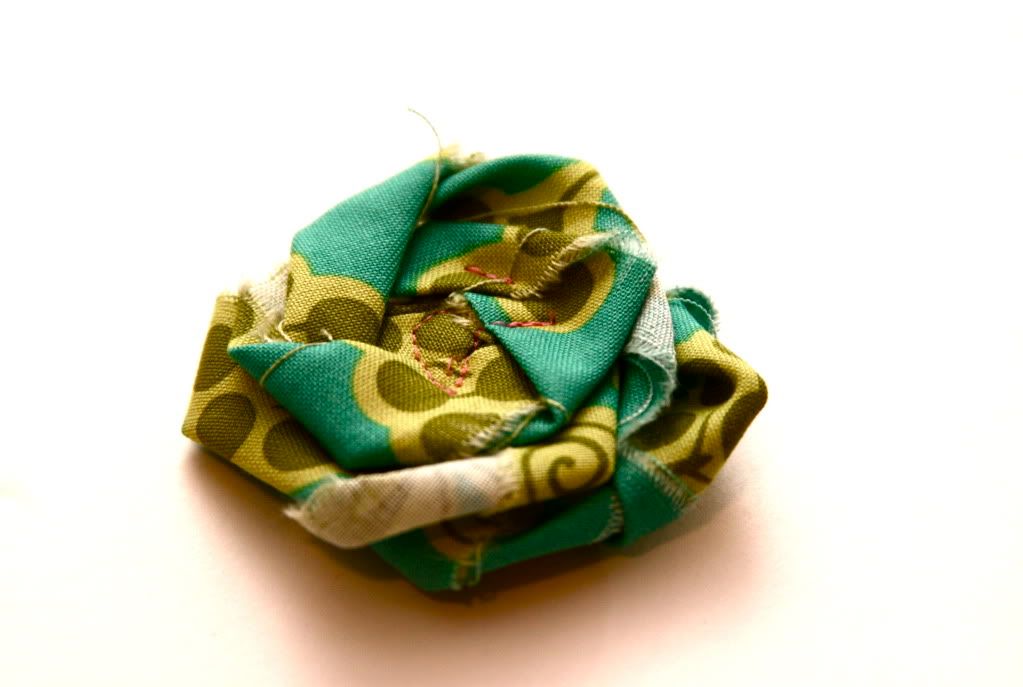
Arrange your flower like you want:
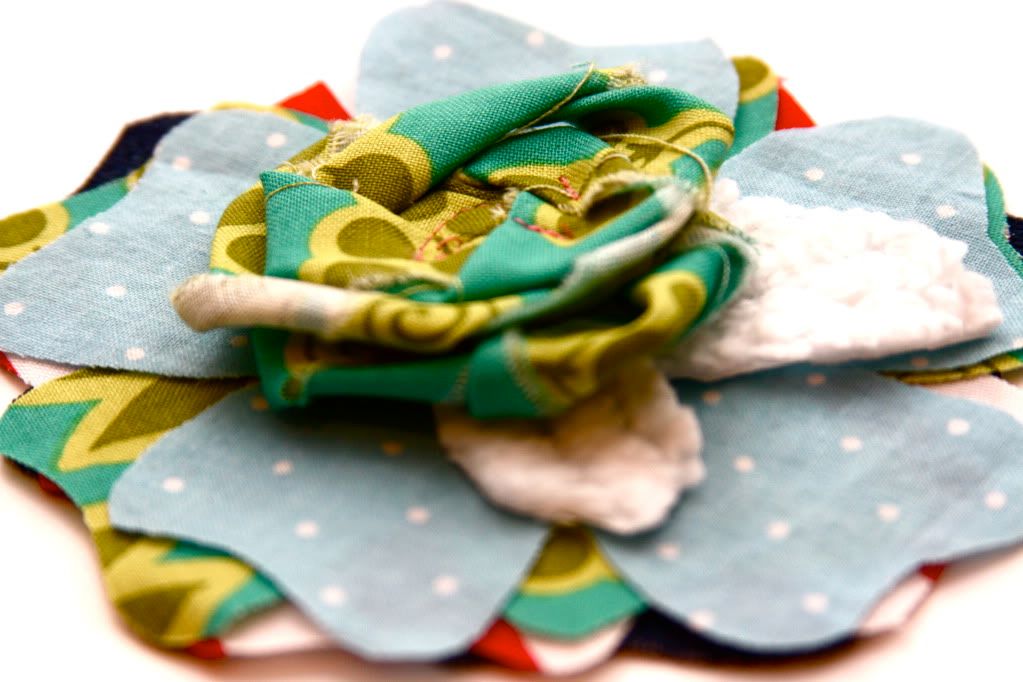
Sew the whole thing together.
(in a swirly manner, of course!)

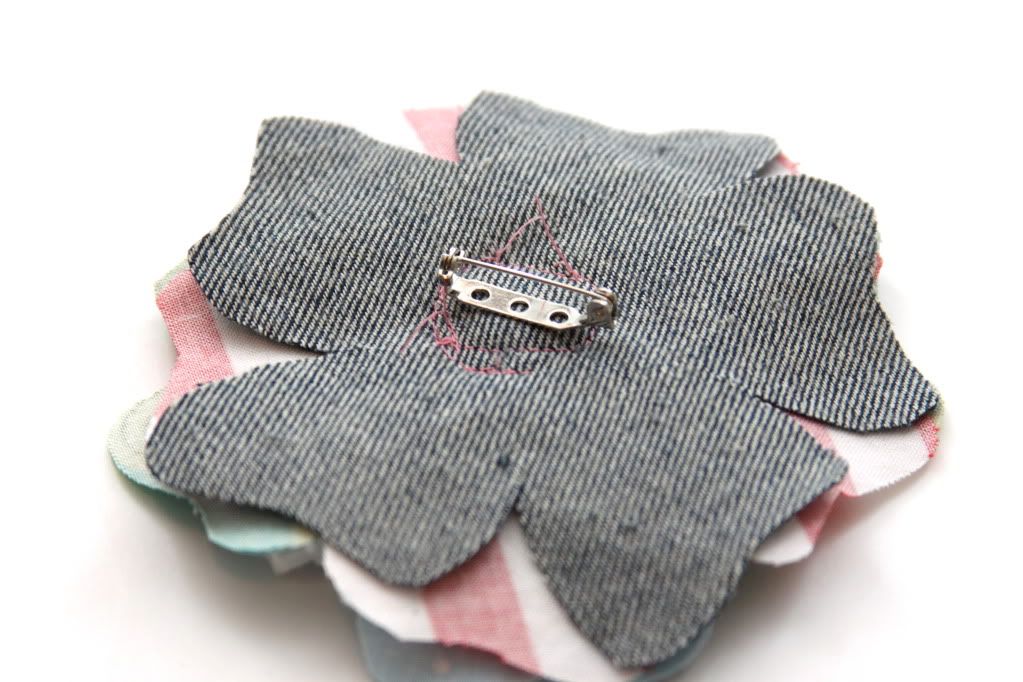
Turn over and attach your pin backing. You can hand sew it on, glue it, or if you'd prefer, you can even sew it right onto something.
(just remember that the edges will fray, so cut the washing to a minimum!)
Now smooch up your flower, to grunge it up a little.
(don't be so gentle...SMOOCH!)

Admire you little pretty.
(Think about how the ladies in the neighborhood are gonna so wanna be you!!) ;)
Ta-Da! Stinkin Cute!!
Flower Pin